These lemon bars with shortbread crust have a buttery, press-in base, a tangy lemon filling, and a bright raspberry sauce on the side. Simple enough for a weeknight, special enough for a holiday table.
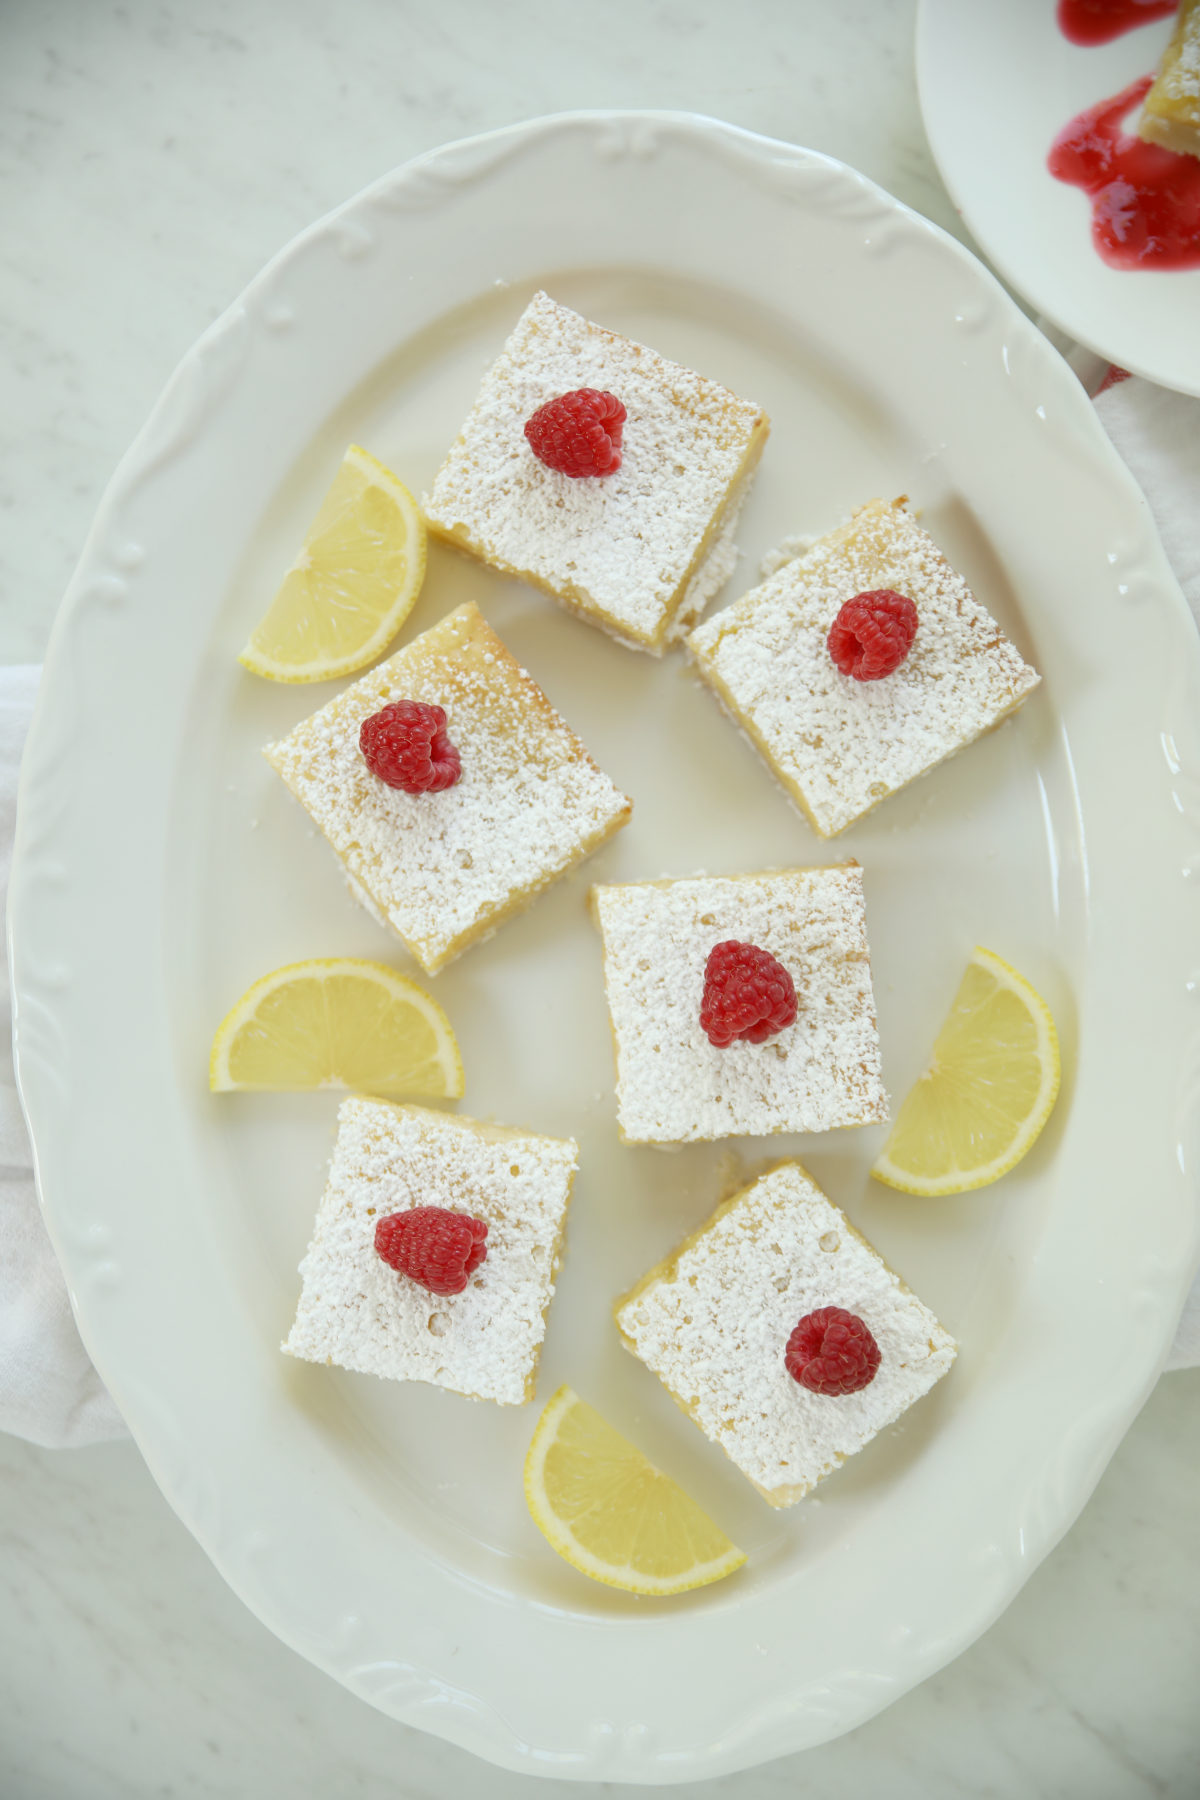
There’s a reason lemon bars show up at every potluck, bake sale, and picnic. That hit of sweet-tart filling against a buttery crust never gets old. This version leans into a thick, press-in shortbread crust instead of a thin cookie base, so every bite holds up under the lemon filling instead of going soft. A quick raspberry sauce on the side adds a pop of color and just enough tartness to balance the sweetness of the glaze. Besides, it is a unique serving twist on the original I love!
What’s Different About These Lemon Bars With Shortbread Crust
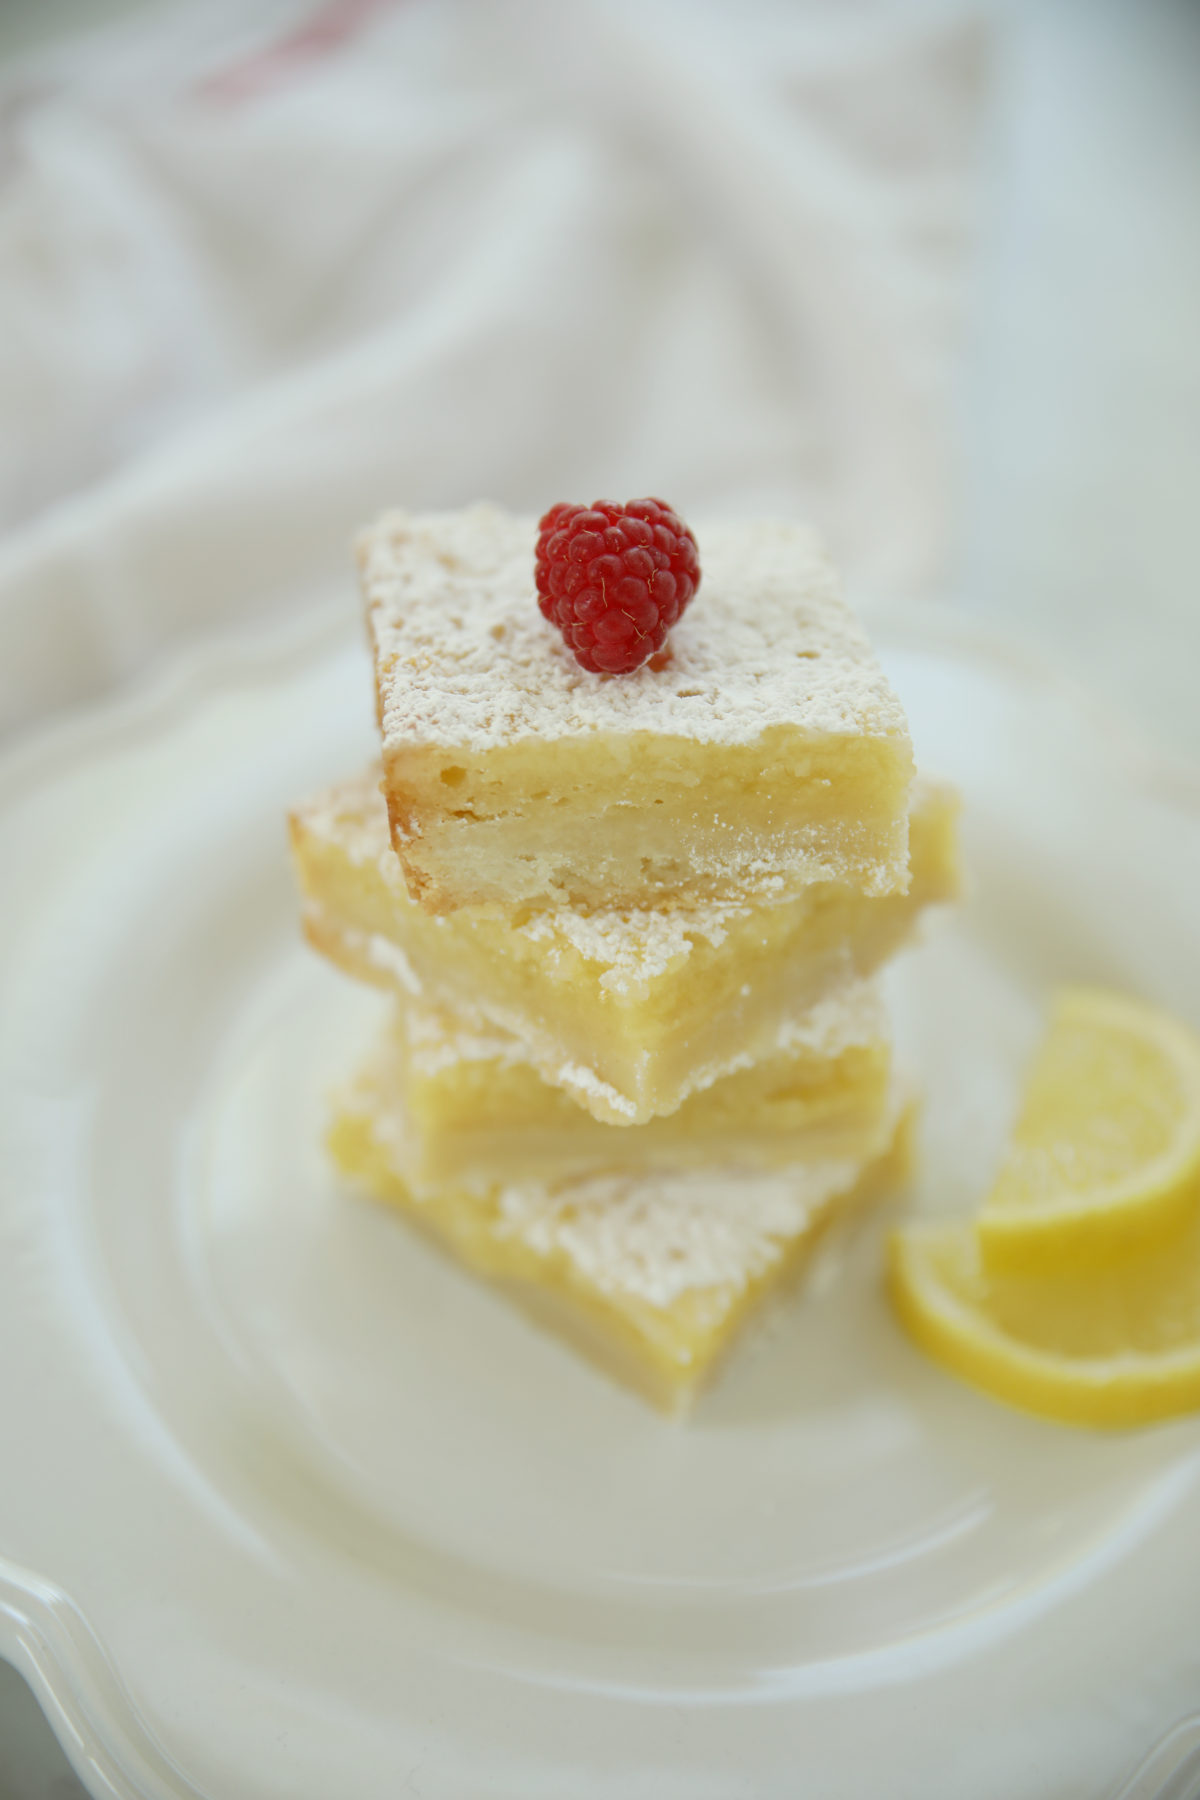
- Thick, sturdy shortbread crust. This isn’t a thin cookie-crust situation — it’s a real, press-in shortbread base that holds its own against the lemon filling.
- Bright raspberry sauce. Cooked down and strained smooth, it’s the perfect tart contrast to the sweet glaze.
- Make-ahead friendly. Both the bars and the sauce keep well in the fridge, so you can make this a day or two before you need it.
- Great for a crowd. One 9×13 pan cuts into 24 bars, and they slice cleanly once fully cooled.
Lemon Bar Ingredient Notes
- Lemons: Use fresh lemon juice here. You’ll need about 4 medium lemons total between the filling and the glaze. Fresh makes a real difference in a recipe where lemon is the star. With this much juicing to do, an electric citrus juicer is a genuine time-saver. This is worth it if lemon recipes are a regular thing in your kitchen.
- Raspberries: Fresh or frozen both work well for the sauce — if using frozen, let them thaw first so they mash and cook down easily.
- The crust: This press-in dough is essentially a shortbread cookie crust — all butter, flour, and powdered sugar, kneaded by hand rather than rolled out. No chilling required. A quality, 9×13 metal pan matters more than you’d think here. I use this USA Pan bakeware pan for all of my bar recipes. It bakes evenly and releases cleanly, which paired with a parchment sling means these lift right out.
How to make lemon bars with shortbread crust
Full ingredient amounts and details are in the recipe card below — here’s the overview.
To make the crust: Preheat the oven to 350°F and line your pan with a parchment sling (You just want a piece of parchment paper that has overhang up the sides. This gives you handles to lift the full batch out for slicing!) Combine the flour, butter, and powdered sugar, knead by hand into a crumbly dough, and press it into the pan. Bake 25-30 minutes until the edges just start to turn golden.
To make the raspberry sauce: While the crust bakes, cook the raspberries, sugar, and lemon juice in a saucepan, mashing as you go, until it reaches a boil. Strain through a fine mesh sieve to remove the seeds, then refrigerate.
To make the filling: Whisk the eggs until lightened, then whisk in the lemon juice, sugar, flour, and baking powder. Pour over the hot crust and bake another 25-30 minutes until set.
To make the glaze: Whisk together melted butter, powdered sugar, and lemon juice, then drizzle over the hot bars — don’t spread it, or you’ll tear the top.
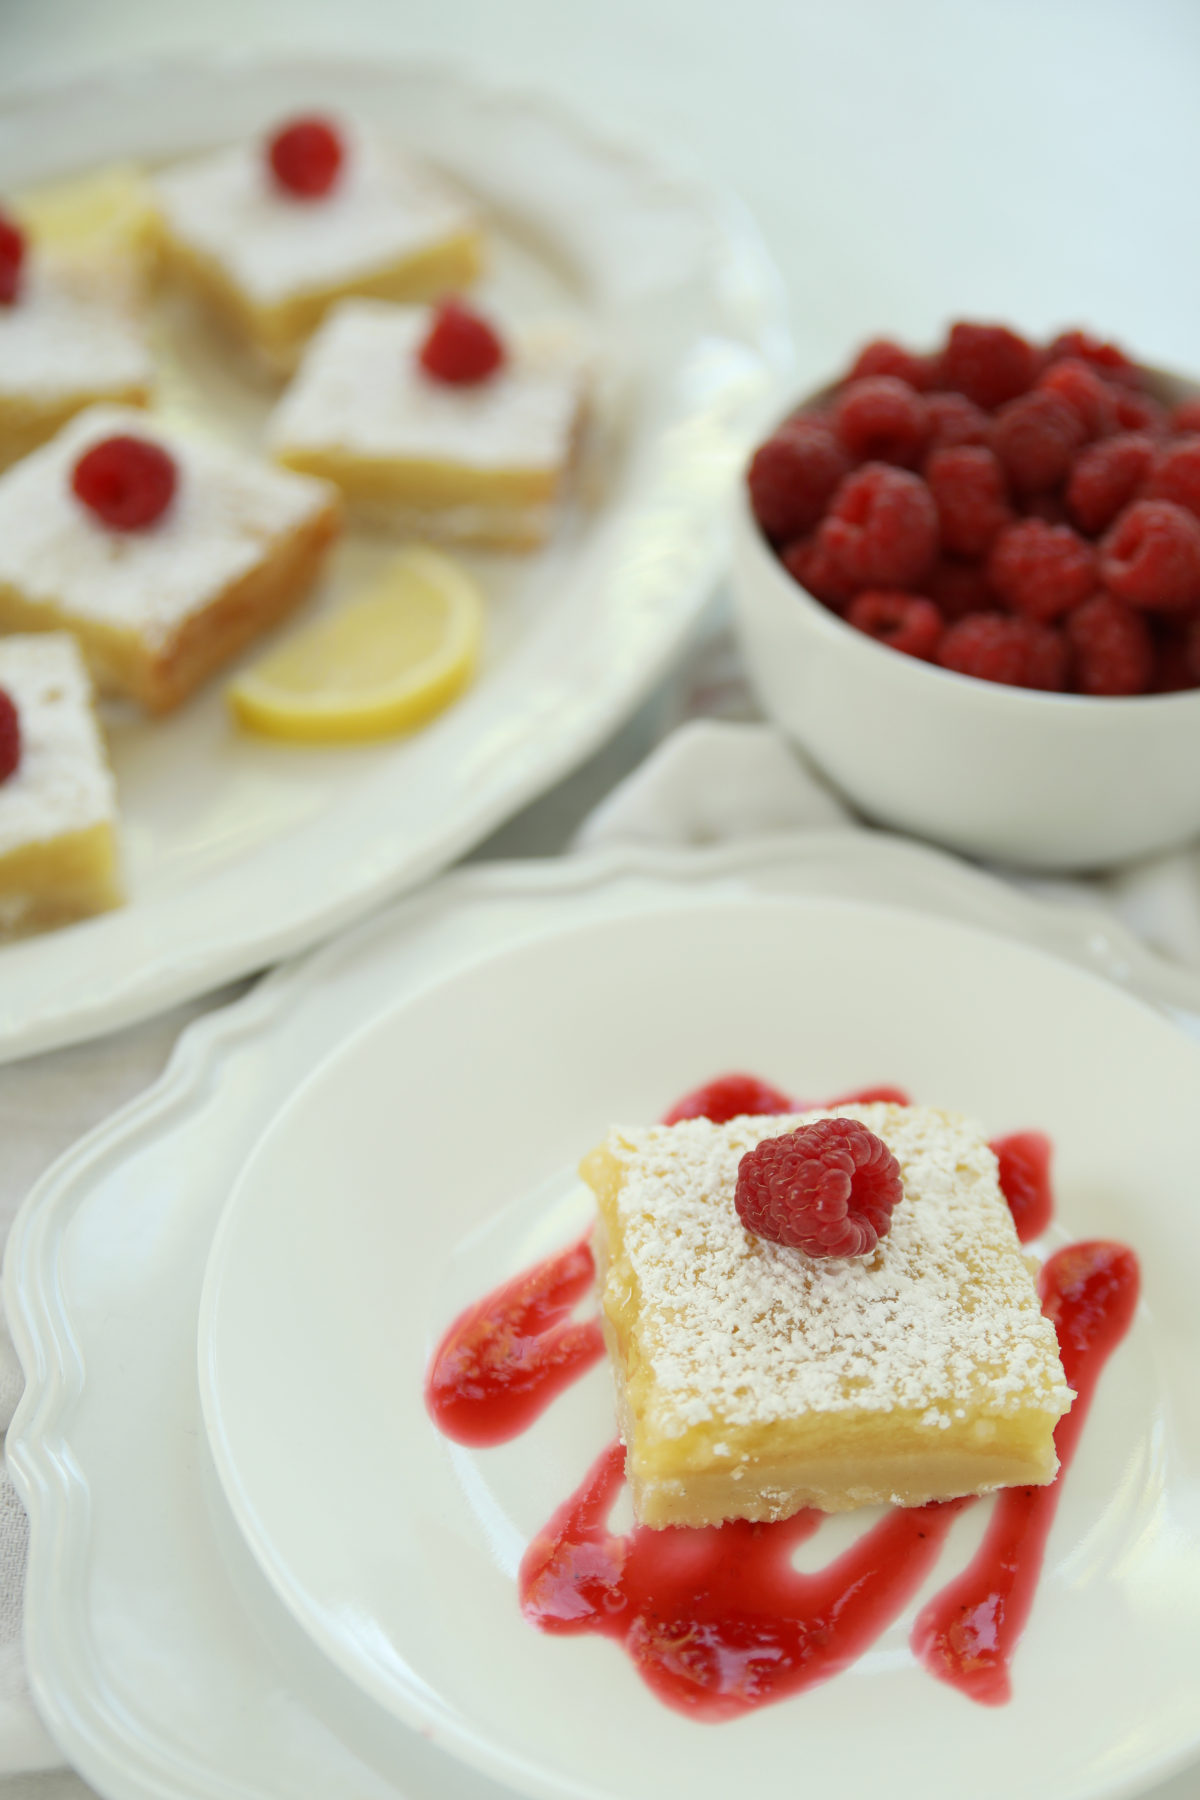
Let the bars cool completely before slicing. I like to chill mine in the fridge before serving when I can — they’re best served cold, with the raspberry sauce spooned over the top or drizzled around.
Lemon Bar Storage and make-ahead tips
Make ahead: Both the bars and the raspberry sauce can be made a day or two in advance — in fact, the flavor settles nicely overnight.
Storage: Store bars in an airtight container in the fridge for 5-7 days. Keep the raspberry sauce in a separate sealed container.
Frequently asked questions
Can I use frozen raspberries?
Yes. Just let them thaw first so they break down easily when you mash and cook them.
Do I have to strain the raspberry sauce?
It’s worth it. Straining removes the seeds and gives you a smooth, glossy sauce instead of a seedy jam. If you don’t have a fine mesh sieve, a regular strainer lined with a bit of cheesecloth works too. Heads up your cheesecloth will be pink forever.
Can I use a different berry?
Strawberries, blackberries, or a mix all work using the same method — cook down, mash, and strain.
Why is the filling so gooey?
That’s normal — lemon bar filling is meant to be soft and slightly gooey. Just make sure it’s fully set (not jiggly in the center) before pulling it from the oven, and let the bars cool completely before cutting for the cleanest slices.
Can this recipe be doubled?
You’ll need a second pan for this one — two batches won’t fit together in a single 9×13.
Mirlandra’s Lemon Bar Tips
- Use the parchment sling. It makes lifting the whole pan of bars out for slicing so much easier, and keeps the edges from sticking.
- Don’t skip cooling time. These need to cool completely before slicing, or the filling won’t hold its shape.
- Glaze while hot. The glaze sets and looks glossiest when poured over bars straight out of the oven.
- Cut into a 6×4 grid. This gives you 24 tidy bars — a good size for a dessert this rich.
More lemon recipes you’ll love
- Extra Zesty Lemon Sugar Cookies
- Drizzled Lemon Loaf
- Mixed Berry Fresh Squeezed Lemonade
- Lemon Drop Martini
- Lemon Berry Cocktail
Lemon Bars with Shortbread Crust and Raspberry Sauce
Ingredients
For the Crust
- 3 cups flour
- 1 ½ cups salted butter softened
- ¾ cup powdered sugar
For the Raspberry Sauce
- 12 oz raspberries fresh or frozen (thawed)
- 6 Tablespoons sugar
- 1 teaspoon lemon juice
For the Filling
- 4 large eggs
- 4 Tablespoons lemon juice about 2-4 medium lemons
- 1 ½ cups granulated sugar
- 4 Tablespoons flour
- 1 teaspoon baking powder
For the Glaze
- ⅔ cup salted butter melted
- 1 cup powdered sugar
- 2 Tablespoons lemon juice
Instructions
To Make the Crust
- Preheat oven to 350°F. Line a 9x13 metal pan with a parchment sling.
- In a medium mixing bowl, combine the flour, butter, and powdered sugar. Knead with your hands until a sticky, crumbly dough forms, then press evenly into the prepared pan.
- Bake for 25-30 minutes, until the edges just start to turn golden.
- While the crust bakes, make the raspberry sauce and squeeze the lemon juice for the filling.
To Make the Raspberry Sauce
- In a saucepan, combine the raspberries, sugar, and lemon juice. Heat over medium, mashing the raspberries as they cook, until the mixture reaches a boil.
- Press the mixture through a fine mesh sieve to remove the seeds.
- Refrigerate until ready to serve.
To Make the Filling
- Once the crust is done, keep the oven at 350°F.
- In a medium mixing bowl, whisk the eggs until slightly lighter in color.
- Add the lemon juice, sugar, flour, and baking powder. Whisk until no lumps remain. Pour over the hot crust and bake for 25-30 minutes, until the filling is set.
To Make the Glaze
- When the bars are done baking, whisk together the melted butter, powdered sugar, and lemon juice until smooth.
- Drizzle over the hot bars, trying to cover the entire top. Avoid spreading it with a utensil — that can tear the delicate top.
- Allow the bars to cool completely, then chill in the refrigerator before serving if possible — they're best served cold. Serve with the chilled raspberry sauce drizzled over the top, or decoratively on each plate with a bar on top. Either way the pops of raspberry are delicious!
Helpful Recipe Notes
Your Rating Matters
When you leave a comment or star rating, it means more than you might think. It helps me understand what you’re enjoying, builds trust for other readers, and supports real, tested cooking content. If you have a moment, I’d truly appreciate you sharing your experience. - Mirlandra
Nutrition Estimate
A Note on Nutrition
Nutritional info is an imperfect estimate. Please take it with a grain of salt.
Leave a Reply