This buttercream frosting for sugar cookies is the one I have used on every batch of cut out cookies since my late twenties. My mom taught me to make the original when I was a little girl. It tastes like real vanilla buttercream because it IS real vanilla buttercream! Spread it or pipe it; either way, it looks beautiful. Best of all, it forms a light crust, so your decorated cookies can be bagged, gifted, and carried to parties. Even little hands can use it!
Sugar cookies are really just a canvas. The frosting is where the fun happens, and it is the part everyone remembers. I made wedding cakes on and off for about a decade. (I learned the hard way that wedding cakes are not my passion!) Along the way, I tried just about every kind of frosting and icing out there. This is the one I keep coming back to for cookies.
It is a simple American buttercream made with butter, powdered sugar, cream, and vanilla. No meringue powder, no corn syrup, and no fussy timing. You can spread it on with a butter knife or pipe it into rosettes, and it tastes wonderful either way.

Easy Buttercream Frosting for Sugar Cookies
This recipe makes a big batch, and that is on purpose. When you are decorating with kids or making several colors, you will be glad you have plenty. Leftovers keep beautifully in the fridge or freezer, so nothing goes to waste.
I almost always have a container of this buttercream in my freezer, because life has buttercream emergencies! When my kids tell me they need “just a little frosting” for something, I can say, “Yep, I’ve got you,” and pull it right out.
It is the frosting I use on my easy no chill cut out sugar cookies and my no chill chocolate sugar cookies. The two go together perfectly.
Why I Use Buttercream Instead of Royal Icing
Many people decorate cookies with royal icing. Sure, it looks pretty. But it dries rock hard, and honestly, it doesn’t taste very good!
Buttercream tastes like a luxurious treat that is truly worth eating. It is creamy, it has real vanilla flavor, and it stays soft inside for days. If you want cookies that go straight in the trash after the party, by all means, use royal icing. If you want cookies people actually eat, buttercream is the way to go!
Among our friends and family, I’m known for treats that actually get eaten. Some people wait to see what I bring and skip everything else, because they know it will look good AND taste amazing. That’s exactly what I want for you, too.
What Is Crusting Buttercream?
A crusting buttercream is a buttercream that forms a thin, dry “skin” on the outside as it sits. The inside stays smooth and creamy. This sugar cookie frosting is a crusting buttercream, and that is what makes it so good for decorated cookies.
- The crust protects your designs, so piped details hold their shape.
- Once it has crusted, you can slip cookies into treat bags without smearing them.
- It tastes amazing for about a week. After that, it does start to dry out and get crunchy.
How long does buttercream take to crust? It depends on where you live! In dry air, a light crust usually forms in about 15 to 30 minutes. In humid weather it can take a few hours. Here in Idaho it’s so dry that my cookies crust quickly, but when I lived in rainy Oregon it was a whole different story. Touch the frosting very lightly with a fingertip: when it no longer feels sticky, your cookies are ready to bag or move.
How to Make Sugar Cookie Frosting
- Beat the butter. Use softened salted butter and beat it with the whisk attachment until it is creamy.
- Add the powdered sugar slowly. Beat on low speed until it is mixed in. If you have a Bosch, you’re all set, because it has a splash lid. If you’re using a KitchenAid or another open-bowl mixer, throw a kitchen towel over it, or you will be wearing powdered sugar!
- Add the cream, vanilla, and salt. Mix on low until combined, then beat on medium-high for 2 to 3 minutes until the frosting is light and fluffy.
- Taste it. Add a little more vanilla or a pinch of salt if you like.
Use the frosting at room temperature. Cold buttercream is stiff and hard to spread or pipe.
I make this in my stand mixer every time, because this much buttercream is a lot of work for a hand mixer. If you are shopping for a mixer, I love both the Bosch Universal Plus and the NutriMill Artiste. Use my special reader code, 20OFF, to save money. Always thought you were a KitchenAid person? Read my stand mixer face off first.

How to Color Buttercream Frosting
Use gel food coloring, not the liquid drops from the grocery store. Gel gives bold color without making the frosting runny, and a little goes a long way.
I trust two brands. My favorite is the U.S. Cake Supply gel color set. The company says its colors are made in the USA with FDA-approved ingredients, so I feel good using them. It can cost a little more, though. Chefmaster gel colors are a great second choice and come from the same company.
- Dip a toothpick about 1/4 inch into the gel, then swirl the toothpick through the frosting.
- Add color a little at a time. You can always add more.
- Frosting gets a few shades darker as it dries, so stop when it looks just a little lighter than you want.
- My favorite trick: smear a thin layer of the colored frosting on a small white saucer. It sets up much faster than the bowl, so you’ll quickly see what the color will look like once it crusts. Then you can adjust before you frost a single cookie.
- Go easy on black. It takes a lot of coloring to make black frosting, and you can taste it. Use black for small accents and let other colors do the heavy lifting.
A good gel set is worth the investment. Gel coloring lasts for years! I have loads of kids over for cookie decorating parties, and the floor ends up covered in sprinkles. But I’ve never once had a bottle of gel coloring run empty.
How to Decorate Sugar Cookies with Buttercream
Decorating cookies can be as simple or as fancy as you like. Here are the ways we do it at our house.
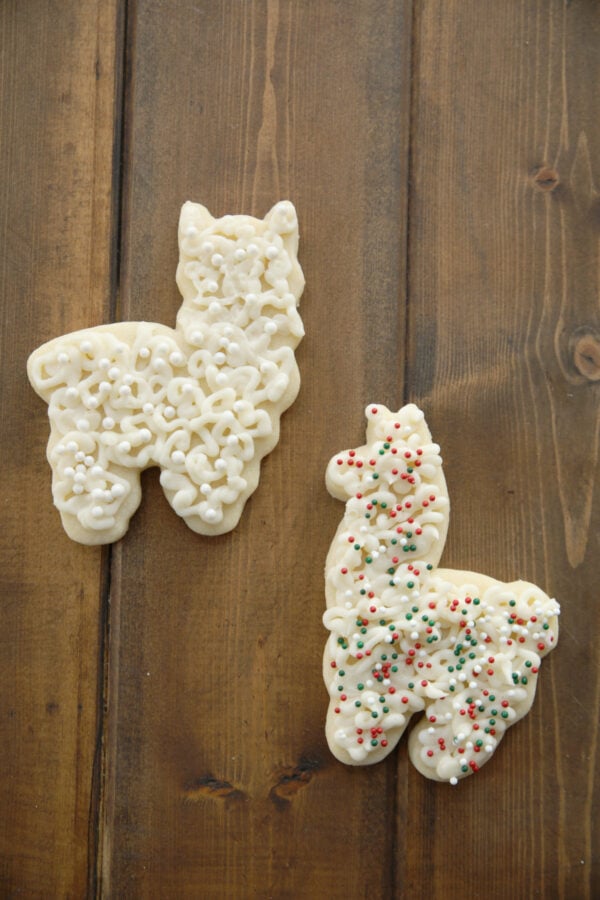
Spread it on. Use a butter knife or a small offset spatula to spread a smooth layer of frosting on each cookie. Add sprinkles right away, before the frosting crusts, so they stick.
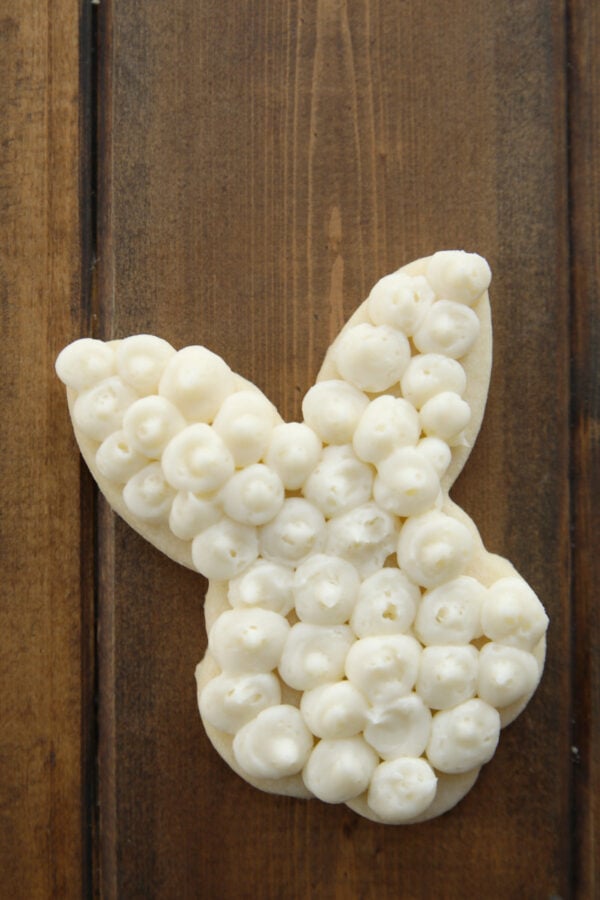
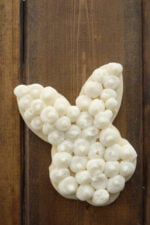
Pipe it on. Fill a piping bag about halfway and pipe dots, stars, or swirls. A big round tip (with an opening about 1/4 inch wide) makes the puffy dots you see on the bunny. An open star tip makes pretty little rosettes. You don’t need a huge collection of tips; a few favorites will keep you busy for years.
Drizzle it. Snip a tiny hole in the end of a piping bag (no tip needed) and zigzag lines back and forth across the cookie. It is quick, it is pretty, and it is very hard to mess up.
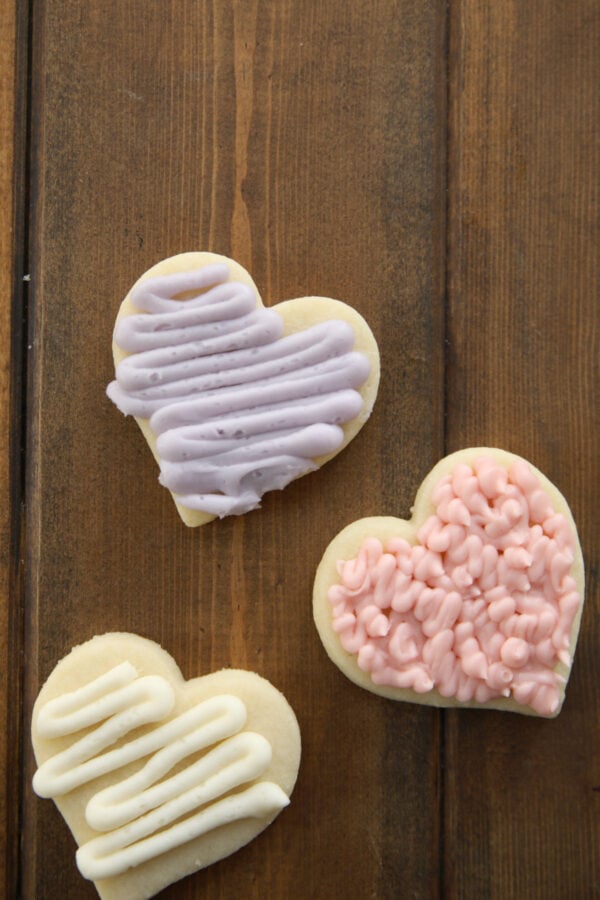
Decorating with kids? Only fill each piping bag about a third of the way, about as much as a little hand can actually wrap around. Twist the top closed tightly and help them keep it twisted. An overfilled bag squirts out the top, but a small, well-twisted bag lets even really young kids squeeze the frosting out the tip. It saves everyone a lot of frustration! If the frosting feels too stiff, have them hold the bag in their warm hands for a minute to soften it.
Paper plates help keep sprinkles contained, but I always plan on vacuuming (or running the Roomba) after the sprinkle explosion. Something always gets spilled, but it cleans up fast.
My Favorite Frosting Tools
- Disposable piping bags: I keep a bunch on hand so I can make half a dozen colors at once.
- Couplers: these let you screw different tips onto one bag of frosting, so one bag of purple can make stars and dots.
- Decorating tips: start with a small set, or pick a few favorites.
- Gel food coloring: U.S. Cake Supply or Chefmaster. Bright colors without thinning the frosting, and one set lasts for years.
- Offset spatula: makes spreading frosting smooth and easy.
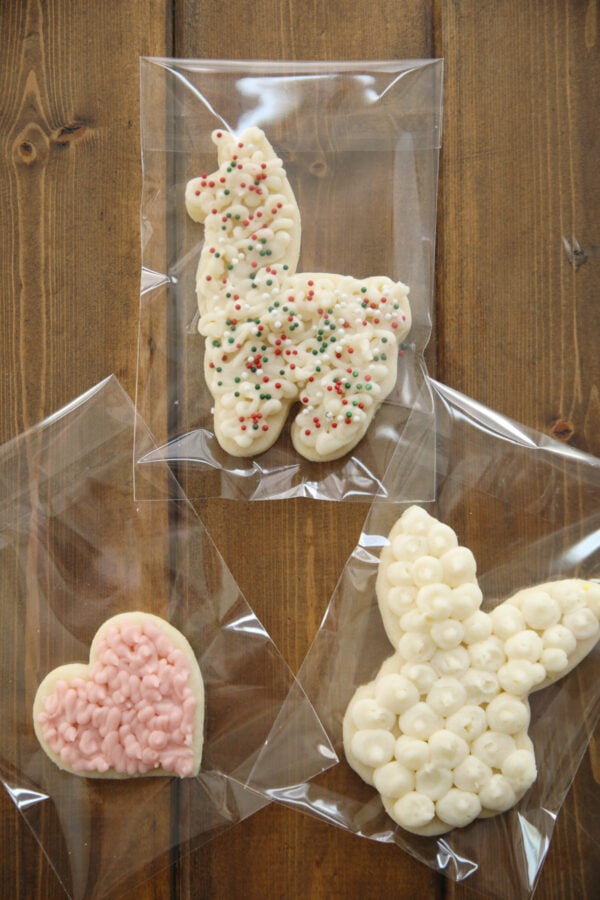
- Self-sealing treat bags: perfect for gifting decorated cookies.
How to Store Buttercream Frosting and Frosted Cookies
- Leftover frosting: Keep it in a tightly sealed container in the fridge for several days, or freeze it for longer. Let it come to room temperature and give it a quick stir before using.
- Frosted cookies: Store them tightly covered at room temperature. They stay fresh and delicious for up to five days.
- Carrying them to a party: Lay the cookies in a single layer on a baking sheet or tray, and cover with plastic wrap. Don’t stack buttercream-frosted cookies.
- Don’t freeze decorated cookies. The frosting gets wet and sticky as it thaws and the designs smear. Freeze the plain cookies instead, then frost them after they thaw.
Sugar Cookie Frosting Questions
Is this frosting or icing?
People use both words! In my kitchen, “icing” usually means a thin glaze or royal icing, and “frosting” means fluffy buttercream like this. If you searched for sugar cookie icing that tastes great, you are in the right place.
Can I use heavy cream instead of whipping cream?
Yes! Either one works. You don’t need to buy heavy cream just for this recipe.
Can I use unsalted butter?
Yes. Taste the frosting at the end and add a little more salt if it needs it. The salt balances the sweetness.
My frosting is too stiff. What do I do?
Make sure it is at room temperature. If it is still too stiff, beat in more cream 1 teaspoon at a time.
My frosting is too soft. What do I do?
Beat in a little more powdered sugar, or pop the bowl in the fridge for 10 to 15 minutes and beat it again. And beware the heat! Buttercream melts, so in summer (or if you decide to decorate outside in the sun) your frosting will be too soft. Keep it somewhere cool.
Can I make it ahead?
Yes, you can make it several days ahead. Keep it in a tightly sealed container, because buttercream can pick up flavors from strong foods in the fridge (like garlic). For longer storage, freeze it.
More Frosting Recipes to Love
- Fresh Strawberry Buttercream Frosting
- Whipped Vanilla Buttercream (on my Best Chocolate Cake)
- Sugar Cookie Bars with Raspberry Buttercream
- Fluffy Peanut Butter Frosting
- Chocolate Cheesecake Frosting
- Easy Whipped Cream Frosting
Buttercream Frosting For Decorating
Ingredients
- 2 cups salted butter softened
- 2 pounds powdered sugar
- 1/2 cup whipping cream or heavy cream
- 1 Tablespoon real vanilla extract
- 1/4 teaspoon salt
Instructions
- In the bowl of a stand mixer with the whisk attached, beat the 2 cups salted butter until creamy.
- Add the 2 pounds powdered sugar and beat on low speed until mixed in. If your mixer has no splash lid, throw a kitchen towel over it.
- Add the 1/2 cup whipping cream, 1 Tablespoon real vanilla extract and 1/4 teaspoon salt. Beat on low until combined, then on medium-high for 2 to 3 minutes until light and fluffy. Taste and add more vanilla or salt if you like.
- Use at room temperature to spread or pipe onto cookies.
- Store leftovers in a tightly sealed container in the fridge for several days, or freeze for longer.
Helpful Recipe Notes
Your Rating Matters
When you leave a comment or star rating, it means more than you might think. It helps me understand what you’re enjoying, builds trust for other readers, and supports real, tested cooking content. If you have a moment, I’d truly appreciate you sharing your experience. - Mirlandra
Nutrition Estimate
A Note on Nutrition
Nutritional info is an imperfect estimate. Please take it with a grain of salt.
Leave a Reply