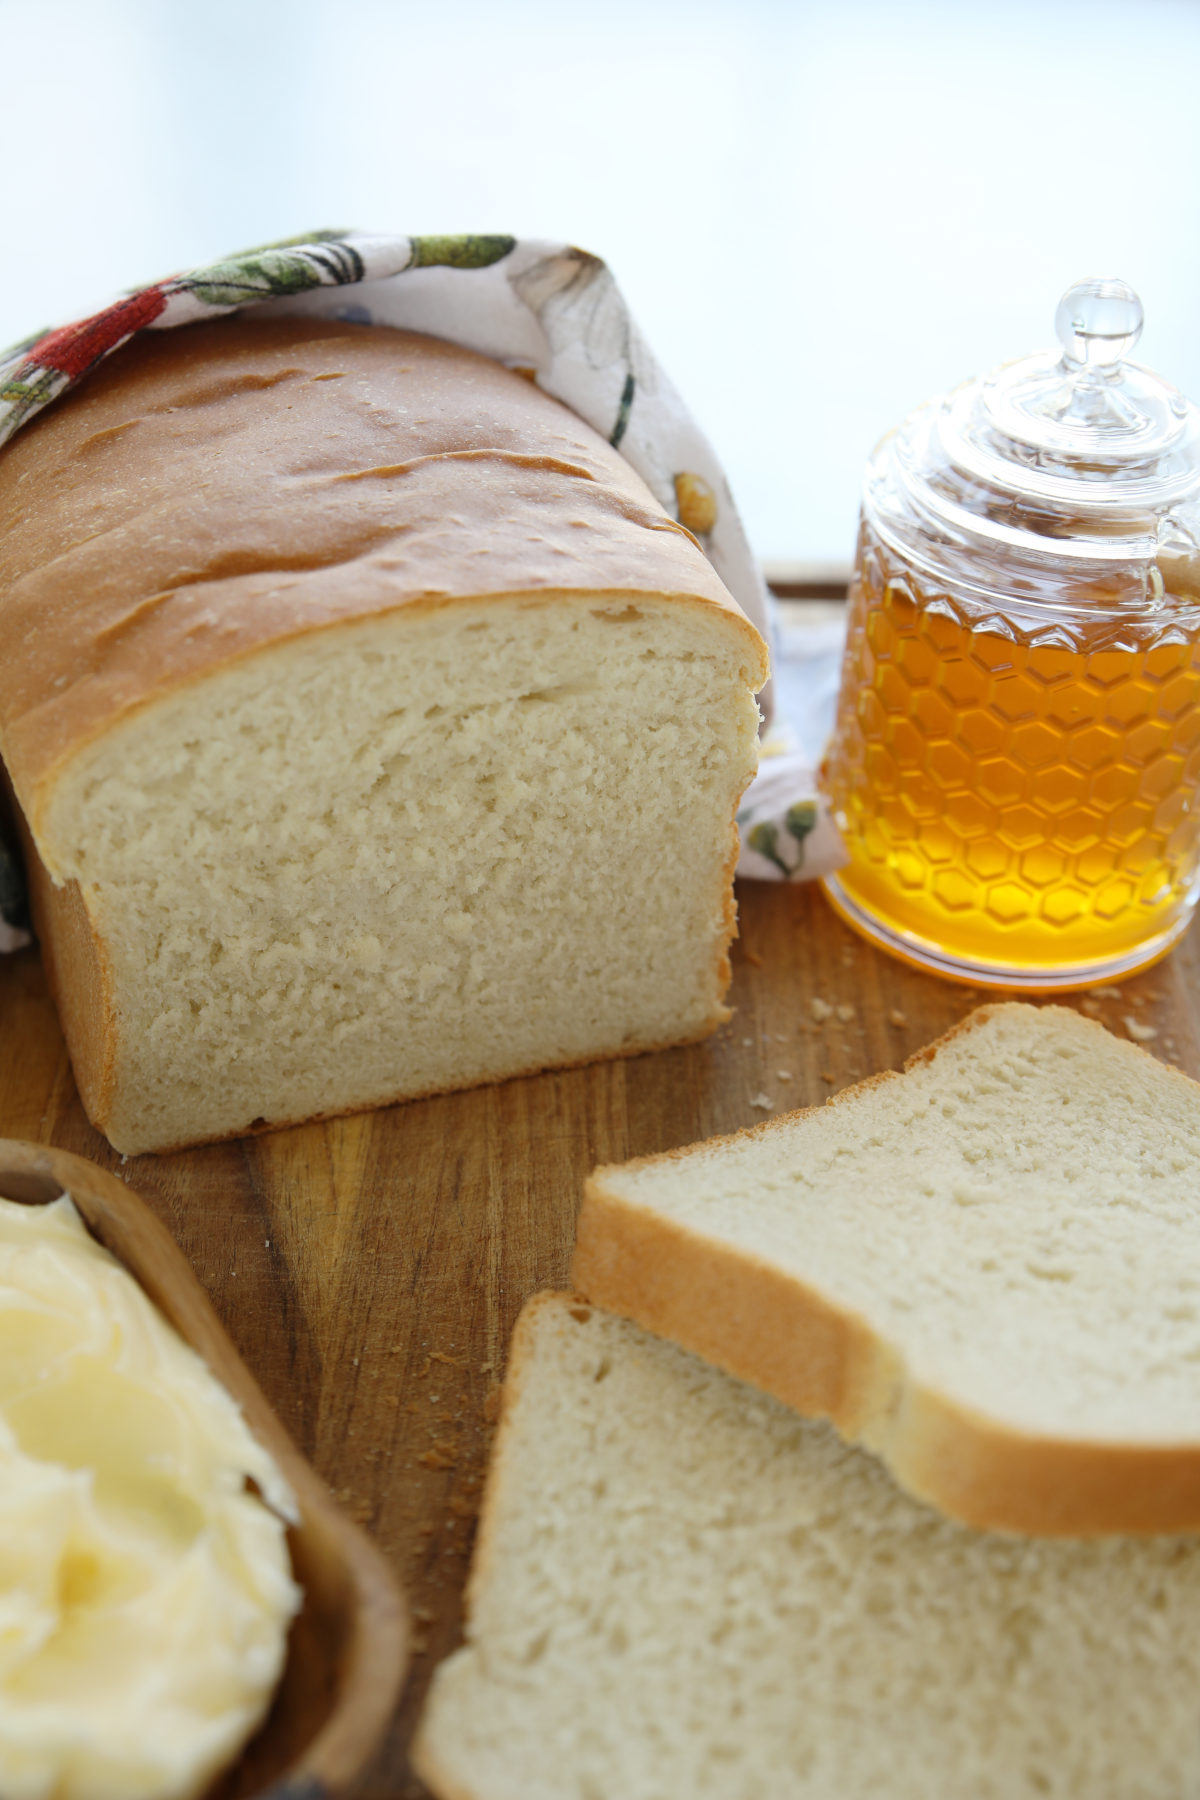
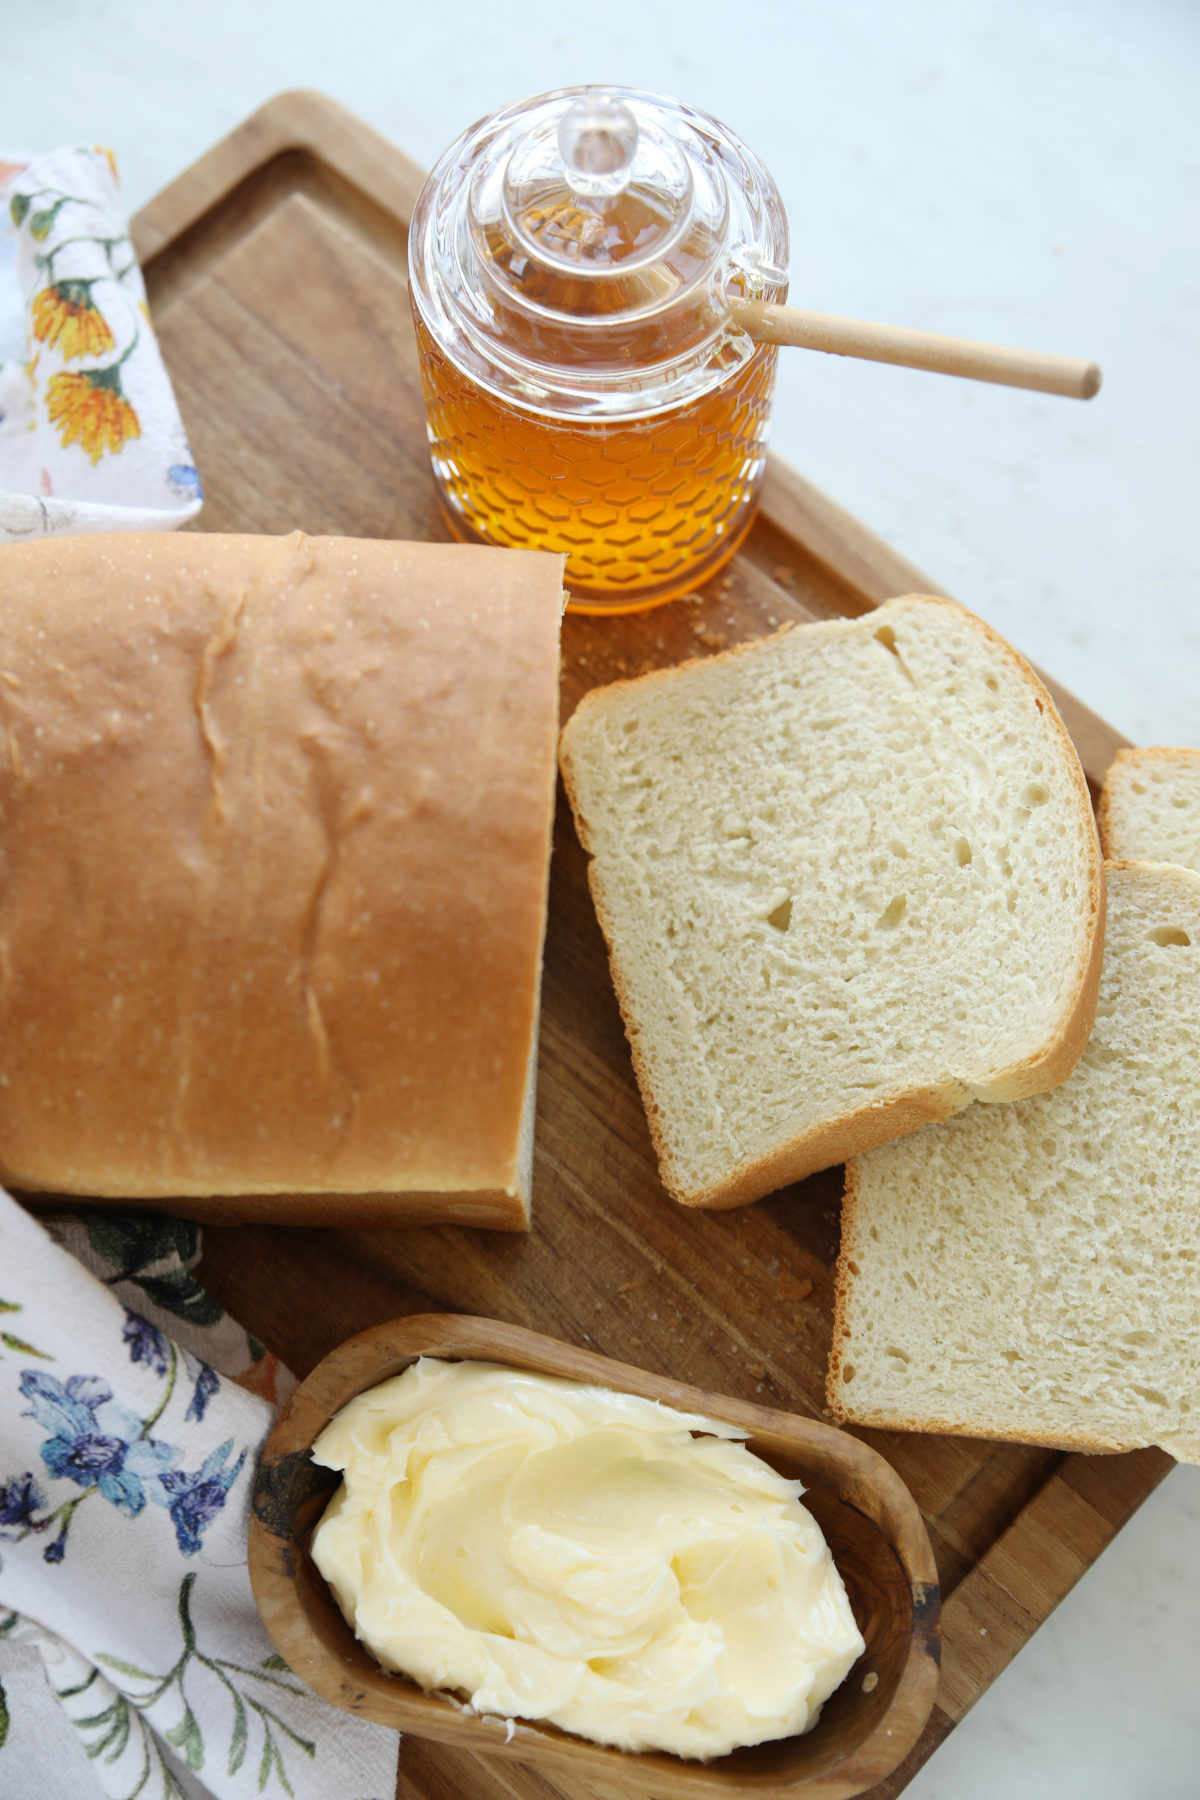
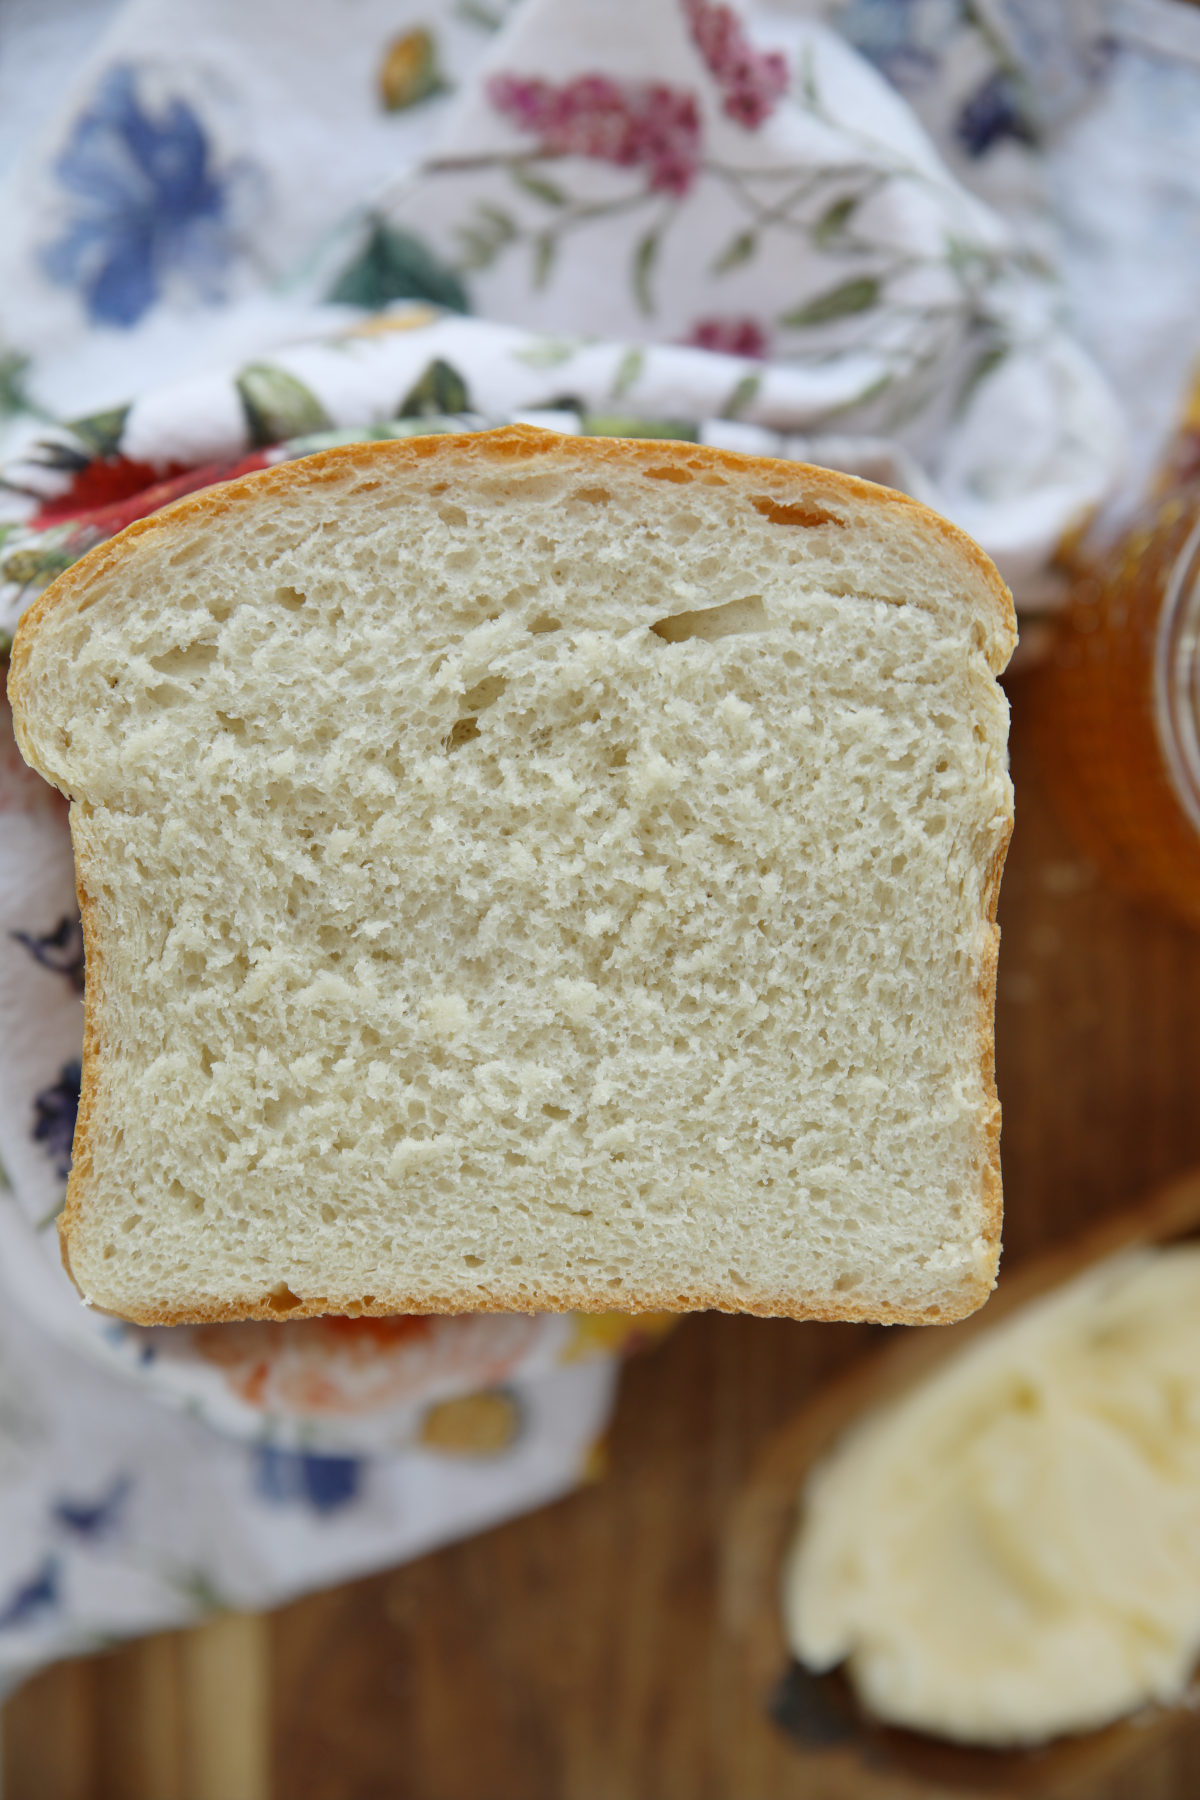
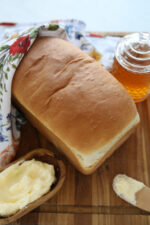
This sourdough discard sandwich bread is a delight. It’s soft, tender, and perfectly sliceable with a golden crust that makes your whole kitchen smell incredible. Instant yeast makes it reliable and approachable, while the sourdough discard adds a depth of flavor that makes it different from regular sandwich bread. I always double this recipe and put one in the freezer!

New to sourdough? Start Here!
How To Feed Sourdough Starter Beginners Guide
Easy Sourdough Bread Recipe for Beginners (Artisan Loaf)
What Makes This Sourdough Discard Sandwich Bread So Good
Store-bought sandwich bread has its place. But once you’ve made your own, it’s hard to go back. This loaf is soft all the way through, slices cleanly without crumbling, and has just enough flavor to be interesting without overwhelming whatever you’re putting on it.
Here’s why this recipe works so well:
- It’s fast for a homemade yeast bread. Most of the time is hands-off rising time. You’re not babying this loaf all day.
- Your discard goes straight from the fridge. No feeding, no waiting for it to activate. Just pull it out and use it.
- The crumb is tender and the crust is golden. Brown sugar and butter do a lot of quiet work in this recipe to give you a loaf that looks and tastes bakery-worthy.
- The flavor is genuinely better. Even a small amount of sourdough discard adds a complexity that instant yeast alone doesn’t have
What Is Sourdough Discard?
Sourdough discard is the portion of your starter you remove before feeding. Instead of throwing it away, you can put it to work in recipes like this one. It won’t leaven your bread on its own (that’s what the instant yeast is for) but it adds real flavor that plays so well with the butter and brown sugar in this loaf.
If you’re new to sourdough or want to understand more about how discard fits into the bigger picture, my sourdough starter guide walks you through everything.
Why These Ingredients
Every ingredient in this recipe is pulling its weight. Here’s a quick look at what each one is doing:
Sourdough discard brings flavor — that subtle tang and depth that makes this loaf taste like something special. It doesn’t need to be fed or active. Cold from the fridge is just fine.
Instant yeast is what actually makes this bread rise, and it does so reliably every single time. No guesswork, no crossed fingers.
Brown sugar adds a gentle sweetness and helps the crust develop that deep golden color you want on a homemade loaf.
Butter makes the crumb tender and rich. This is not a lean bread, and that’s exactly the point.
All-purpose flour gives you a soft, sliceable loaf with enough structure to hold together without being tough or chewy.
Salt makes everything taste like itself, only better. Don’t skip it and don’t reduce it — it’s balanced for the full recipe. (Fun science fact – salt also has impact on bread structure!
Warm water hydrates the dough and gets the yeast moving. You’re aiming for 100–110°F — warm to the touch but not hot.
How to Make Sourdough Discard Sandwich Bread
This bread comes together in a stand mixer and follows a straightforward pattern: mix, knead, rise, shape, rise again, bake. The full recipe card below has all the details, but here’s the general picture so you know what you’re walking into.
You’ll combine everything in the mixer and let the dough hook do the kneading work for you.
Then it goes into a greased bowl for a one-hour rise.
Once it’s doubled, you’ll shape it and do the last rise.
Finally, bake for about 30 minutes until it is golden and beautiful!
The whole process is very forgiving. If you follow the recipe card and trust your eyes and your thermometer, you’re going to end up with a beautiful loaf.
The Right Pan Makes a Difference
A 9×5″ loaf pan is what you need here, and the quality of that pan matters more than you might expect. A flimsy pan conducts heat unevenly, which can mean pale sides, a soft bottom, and uneven browning on top. A heavy-duty pan gives you consistent heat distribution and a loaf that bakes evenly all the way through.
I use and love the USA Pan 9×5″ loaf pan — it’s well-built, releases bread beautifully, and holds up through years of regular baking. If you’re going to invest in homemade bread, the pan is worth doing right.
Tips for Sandwich Bread Success
Measure with a scale. Flour is the ingredient most likely to derail a bread recipe, and the culprit is almost always too much of it from scooping. A kitchen scale removes the variable entirely and gives you consistent results every time.
Give your dough a warm place to rise. The rise times in this recipe assume a warm kitchen. If your house runs cool, your dough will still rise — it’ll just take longer. For the most reliable results, use your oven’s proofing setting if it has one. No proofing setting? Preheat the oven to 350°F for exactly one minute, then turn it off. Tuck your covered dough inside and let it rise in that cozy space. Just remember to take it out before you preheat for baking!
Check your yeast if the dough isn’t rising. Instant yeast is reliable, but it does have a shelf life. If your dough is sitting there doing nothing after an hour, check that your yeast is fresh and that your water wasn’t too hot. Water above 115°F can kill yeast before it ever gets to work.
Use a thermometer to check doneness. Golden brown on top is a good sign, but the most reliable way to know your bread is done is an instant-read thermometer. (Quality matters with thermometers. I’ve been using ThermoWorks for about 10 years and love them!) The center of the loaf should read 190°F. If the top is browning faster than you’d like, tent it loosely with foil for the last 10 minutes.
Decide how you want to enjoy your loaf. We love hot bread – my youngest has been known to try to dig his fingers into a loaf right out of the oven to get that first tender bite! If you cut into this bread while it’s still hot, that first slice is going to be absolutely wonderful — warm, soft, and fragrant. But it does come at a small cost.
Bread finishes setting its crumb as it cools, so a loaf sliced hot won’t give you those clean, even slices for the rest of the week. Neither choice is wrong. Just know what you’re signing up for and plan accordingly! (And thankfully Joseph wasn’t burned in his attempts to get into a fresh loaf of bread!)
Hand Kneading Option
No stand mixer? No problem. Mix all the ingredients together in a large bowl until a shaggy dough forms, then turn it out onto a counter lightly spritzed with nonstick cooking spray. Knead by hand for 10–12 minutes until the dough is smooth, elastic, and springs back when you poke it. Add small dustings of flour if it feels unworkably sticky, but try to resist the urge to add too much — a slightly tacky dough makes a softer loaf. Then pick up with the first rise in the recipe card.
Storing and Freezing
Store your cooled loaf in an airtight bag at room temperature for 3-5 days. For longer storage, slice the cooled loaf and freeze the slices in a zip-top freezer bag for up to 3 months. Frozen slices go straight into the toaster — no thawing required — which honestly makes this bread even more convenient than the store-bought version.
More Sourdough Discard Recipes to Try
If you loved putting that discard to work, here are a few more recipes to keep the momentum going:
- Sourdough Discard Rolls
- Sourdough Discard Cinnamon Rolls
- Sourdough Discard Sticky Buns
- Sourdough Discard Hamburger Buns
- Sourdough Discard Pizza Dough
Sourdough Discard Sandwich Bread
Ingredients
- 100 g sourdough discard about ½ cup
- 250 g warm water 100–110°F (about 1 cup + 2 tablespoons)
- ¼ cup brown sugar
- 50 g melted butter about 4 tablespoons
- 500 g all-purpose flour about 3½ cups
- 8 g instant yeast about 2½ teaspoons
- 10 g salt about 2 teaspoons
Instructions
- Combine ingredients: Add the sourdough discard, warm water, brown sugar, melted butter, flour, yeast, and salt to the bowl of a stand mixer. Mix on low with the dough hook until everything is incorporated.
- Knead the dough: Continue kneading on medium-low for 6–8 minutes, until the dough is smooth, elastic, and pulls away cleanly from the sides of the bowl.
- Check the texture: The dough should form a soft, slightly tacky ball. If it seems overly sticky, add flour a tablespoon at a time. If it feels too firm, add water a tablespoon at a time until it softens.
- First rise: Place the dough in a lightly greased bowl, cover with plastic wrap, and let it rest in a warm spot for about 1 hour, until doubled in size. (See Tips for an easy warm-oven proofing method.)
- Shape the loaf: Grease a 9×5" loaf pan. Spray your counter lightly with nonstick cooking spray and turn the dough out. Fold the sides toward the center and roll the dough up tightly into a loaf shape. Place seam-side down in the prepared pan.
- Second rise: Cover loosely and let rise for 30–45 minutes, until the dough crowns just above the rim of the pan. About 15 minutes before the rise is done, preheat the oven to 350°F. (If you used the oven to proof your dough, remember to remove the pan before turning it on!)
- Bake: Bake for 30–35 minutes, until the top is deep golden brown. An instant-read thermometer inserted into the center should read 190°F. If the top is browning too fast, tent loosely with foil for the last 10 minutes.
- Cool: Let the bread cool in the pan for 10 minutes, then transfer to a wire rack to cool completely before slicing.
Helpful Recipe Notes
Your Rating Matters
When you leave a comment or star rating, it means more than you might think. It helps me understand what you’re enjoying, builds trust for other readers, and supports real, tested cooking content. If you have a moment, I’d truly appreciate you sharing your experience. – Mirlandra
Nutrition Estimate
A Note on Nutrition
Nutritional info is an imperfect estimate. Please take it with a grain of salt.
New to sourdough? Start Here! How To Feed Sourdough Starter Beginners Guide Easy Sourdough Bread Recipe for Beginners (Artisan Loaf)
Leave a Reply