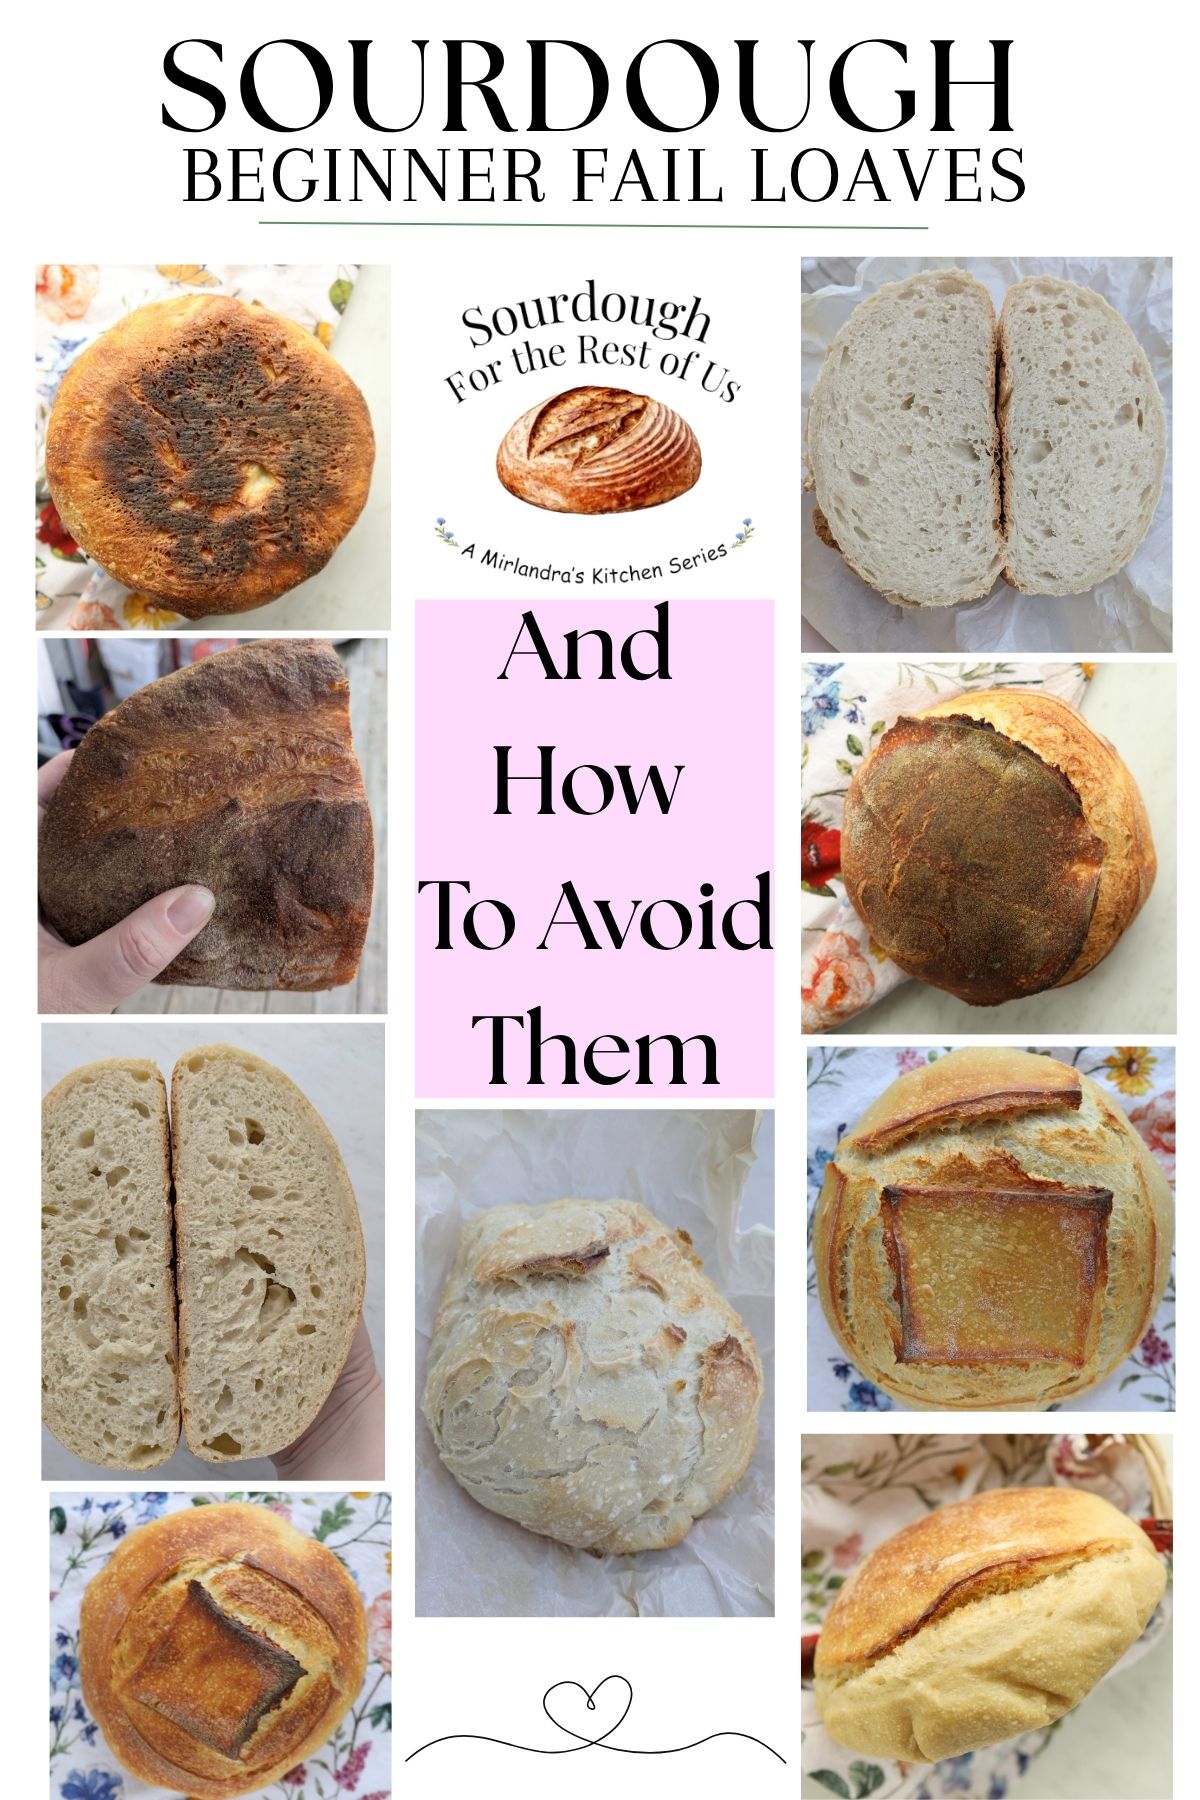
Most beginners are disappointed by their first few attempts at sourdough bread. I certainly was! My early loaves were more like hockey pucks than artisan bread. Sourdough is a big undertaking with a real learning curve, but here is the secret: your first loaf doesn’t have to be a failure.
You don’t need a PhD in fermentation to get great results right away. By focusing on a few essential techniques, you can skip the “beginner flops” and enjoy sourdough success from day one. These are my eight can’t miss strategies to help you bake amazing bread from the very start.

New to sourdough? Start Here! How To Feed Sourdough Starter Beginners Guide Easy Sourdough Bread Recipe for Beginners (Artisan Loaf)
Sourdough Success: How to Bake a Great First Loaf
When I first started baking artisan sourdough bread, my kitchen saw its share of “sourdough flops.” It is always frustrating to pour your time and heart into a project only to be disappointed with the results!
I spent a lot of time talking to fellow bakers and experimenting until I identified the small things that were having a major impact on my finished loaves. I’m sharing these important keys so you can skip that steep learning curve and avoid the mistakes I made. By following this roadmap, you can feel confident and find success from your very first loaf.
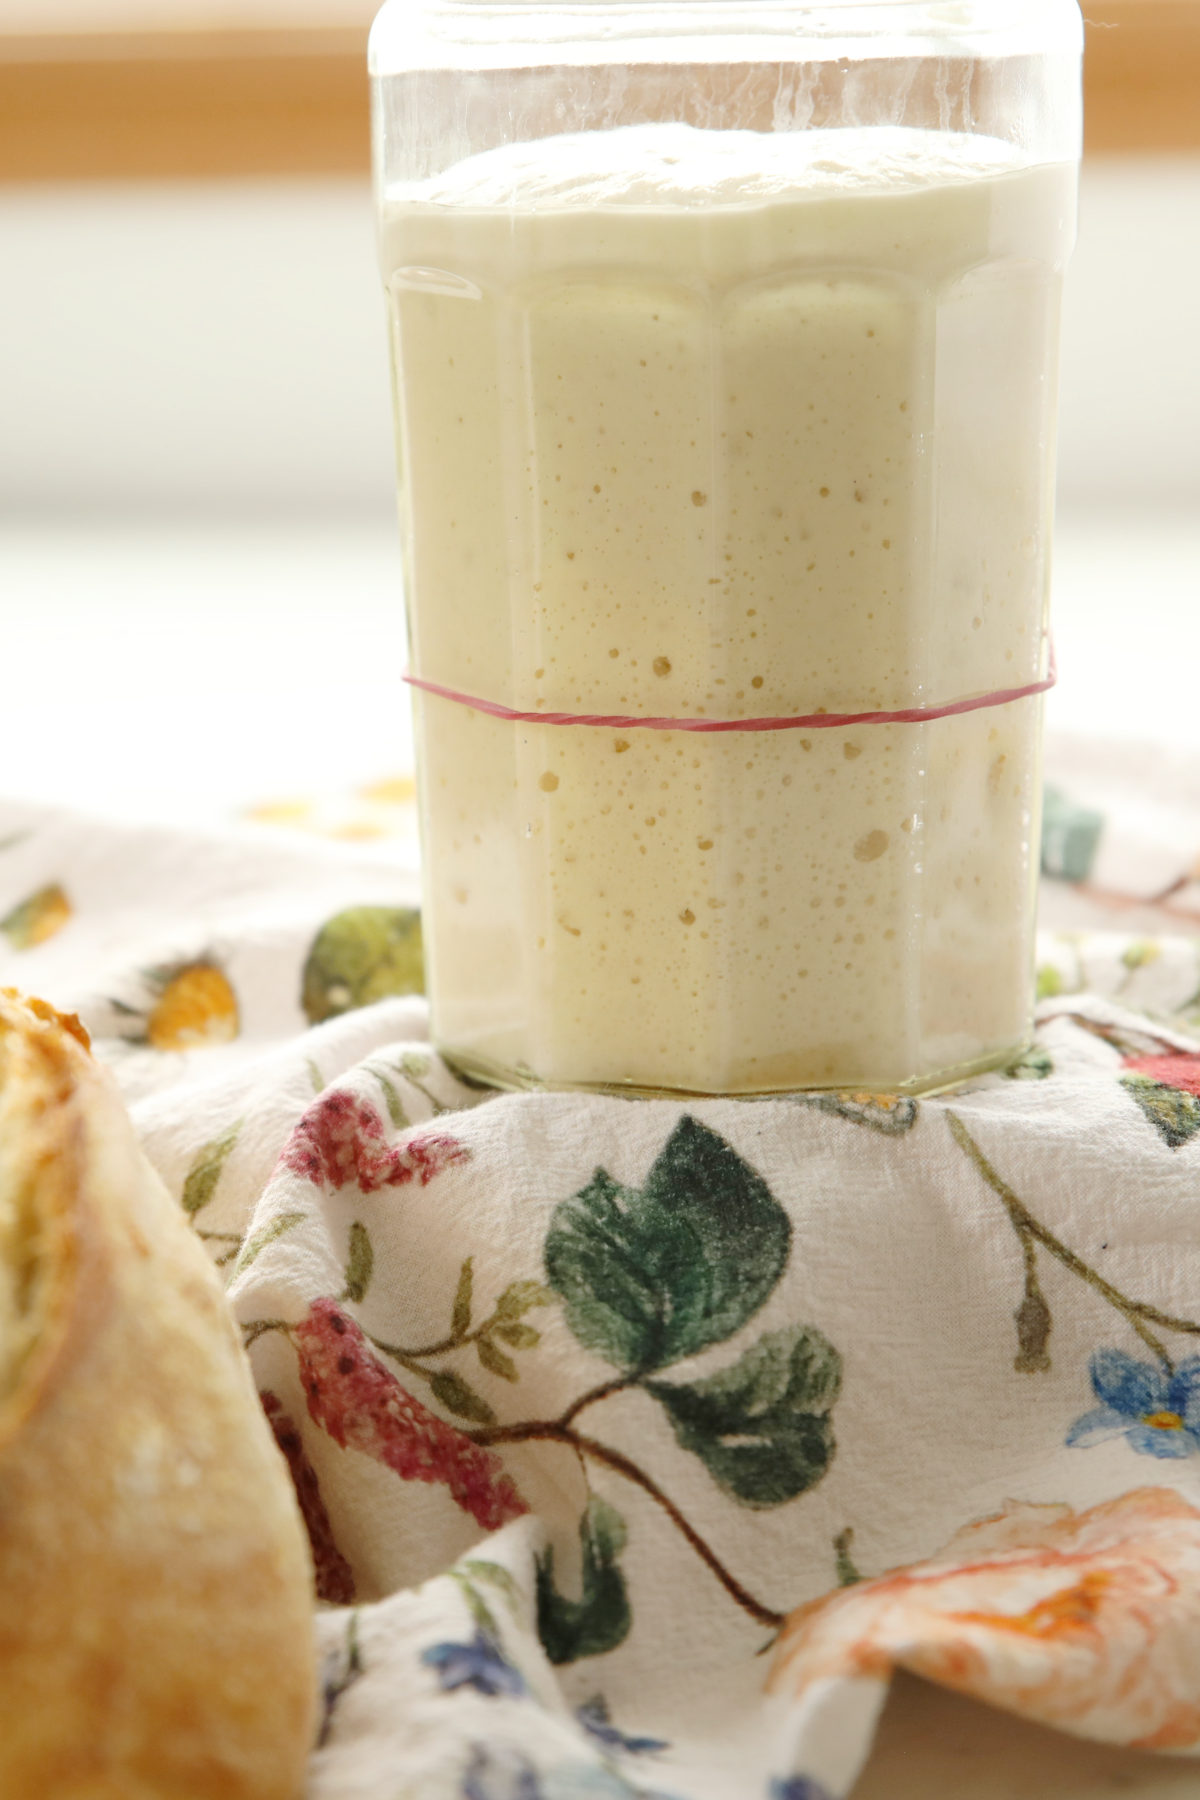
Start with a Happy, Healthy Starter
The foundation of every great loaf is the wild yeast and beneficial bacteria in your culture. (Learn more about what Sourdough Bread IS here.) Most beginners try to bake with a starter that is either too young (under 14 days old) or just not strong enough yet. When you are new to sourdough and trying to troubleshoot a “flop,” it really helps to know if the issue is from the starter or the bread-making process itself.
I strongly recommend beginners get an established starter from a friend or buy one. Starting out with a strong, mature culture removes the biggest variable in sourdough baking. I’ve written everything you need to know about Sourdough Starter here.
Choose a Proven Beginner Recipe
Keep it simple and avoid confusion. It’s tempting to try those high-hydration, “open crumb” artisan recipes you see on Instagram for your first loaf, but those require advanced dough-handling skills.
The Secret: Pick one reliable, lower-hydration recipe (around 65-70%) and stick with it until you succeed. Lower-hydration dough is much easier to shape and less likely to turn into a sticky mess. Don’t “recipe hop” every weekend; instead, master one formula and grow from there.
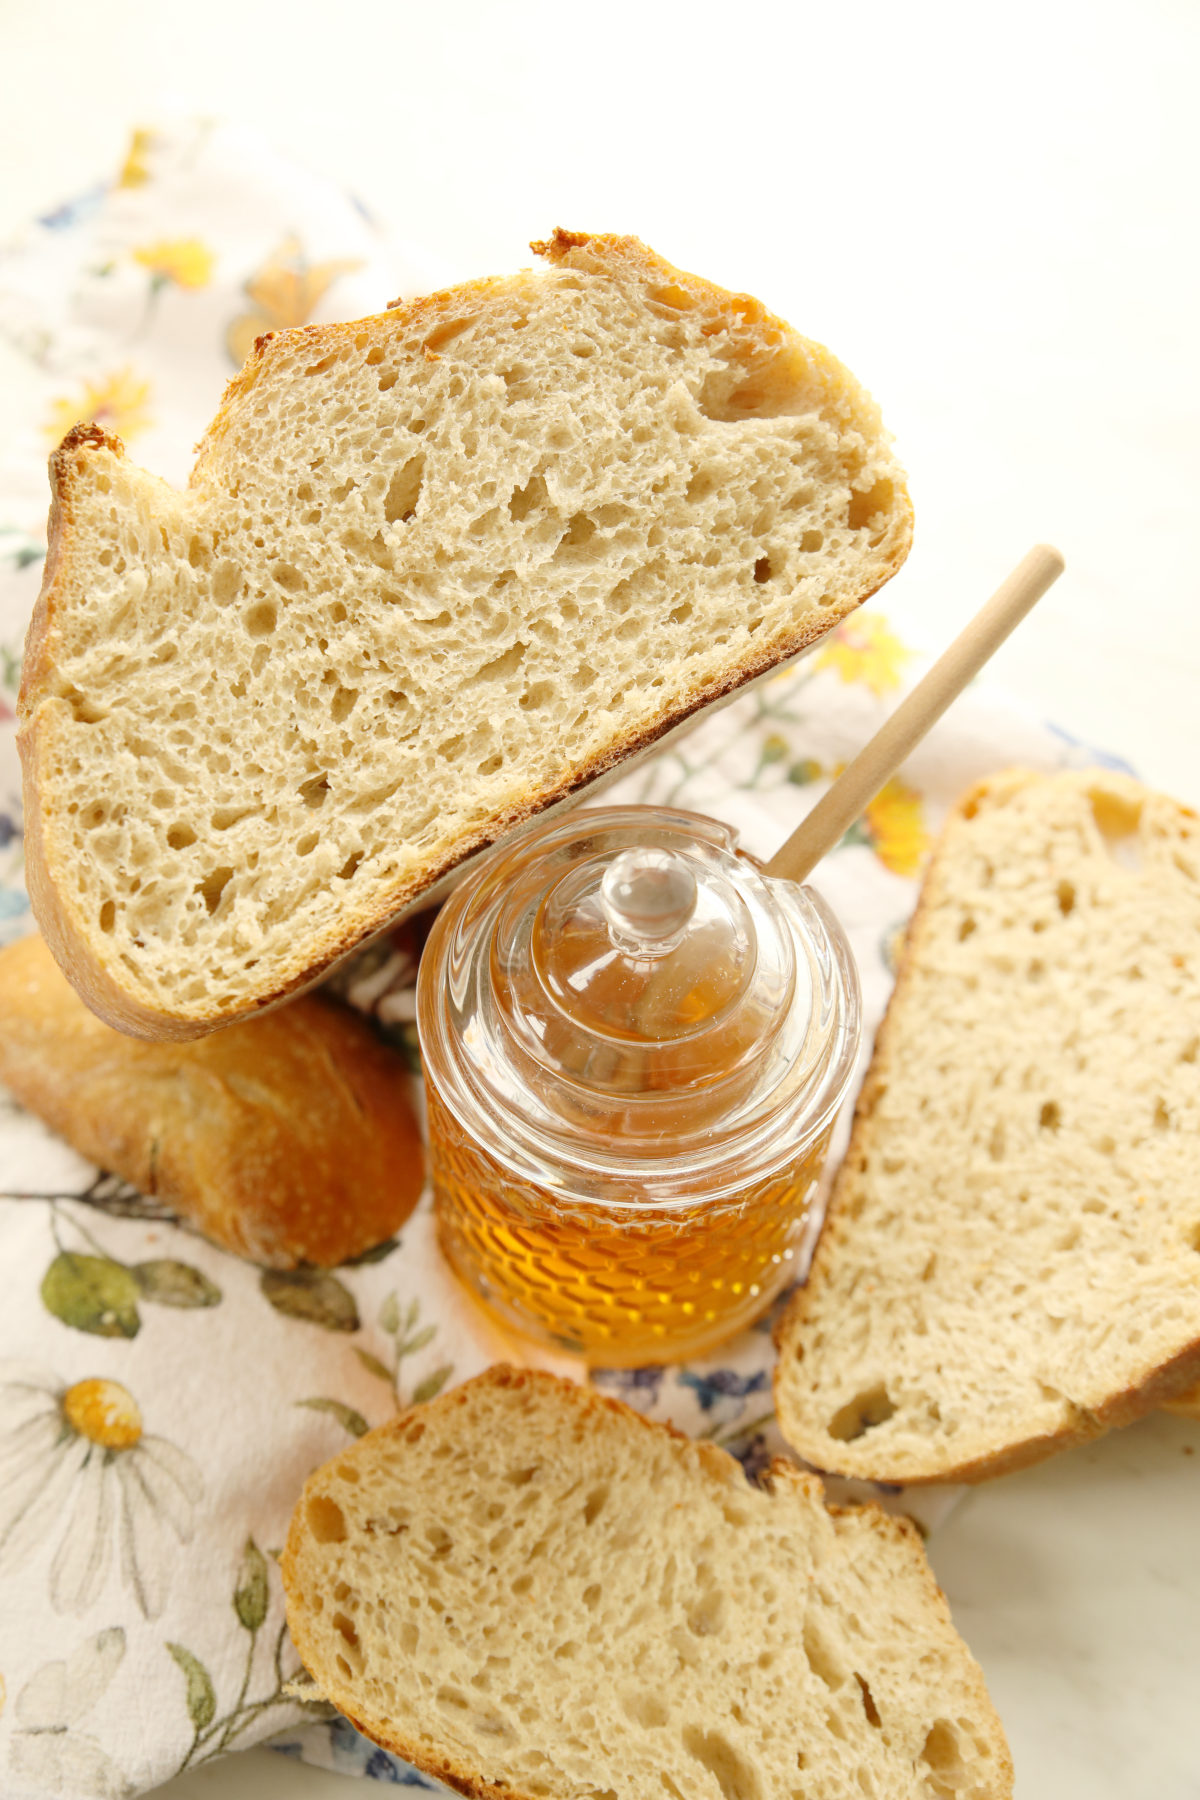
- This Easy Sourdough Bread Recipe For Beginners is written for first time bakers and readers have great first loaves using it!
- If you want to try sourdough without a Dutch Oven my Soft and Sliceable Sourdough Sandwich Bread Recipe is aimed at first time bakers and is very straightforward. And oh it makes some great toast!
- If you want to stick your toe in the water with the most limited effort ever you could start with my Easy Sourdough Focaccia Recipe. It doesn’t even require stretch and folds! And you can start with fed starter in the morning and be eating bread at dinner time. #winning
Pro Tip: Find your feet with plain sourdough bread before jumping into inclusions like chocolate chips or herbs. While inclusions are a personal favorite, it helps to understand the basics before you get fancy. Ask me how I know! 😉
Use a Scale (The Ultimate Cheat Code)
If you want predictable sourdough results, put the measuring cups away. Volume measurements are the enemy of sourdough because flour density varies wildly depending on how it’s packed.
Using a gram scale is the single biggest “cheat code” to consistent bread. It removes the “Is my dough too wet?” guesswork and ensures your ratios are perfect every time. Scales are inexpensive and will save you more money in wasted flour than they cost to buy. (See my recommended scales in the The Ultimate Sourdough Tools Guide: Everything You Need post).
Precision Matters: Follow Directions and Use a Timer
Sourdough isn’t a “wing it” kind of hobby, especially when you are just starting out. To ensure sourdough success, follow the directions exactly, use the specific flour called for (the difference between bread flour and all-purpose is a big deal!), and do things in the correct order.
Early on, I had a total disaster because I didn’t read the recipe fully and got caught off guard by the timing. I ended up with a flat loaf because I simply didn’t have enough time left in the day to let it rise properly! Now, I always review the entire schedule before I start so I know I have the time needed to finish the bake.
The Strategy: Use a timer for every single step. It is incredibly easy to lose track of when you did your last “stretch and fold” or how long the bulk fermentation has been running. I use the timer on my cell phone and label each one (e.g., “Stretch and Fold #2”). This keeps me on track even when my house has erupted into blanket fort insanity!
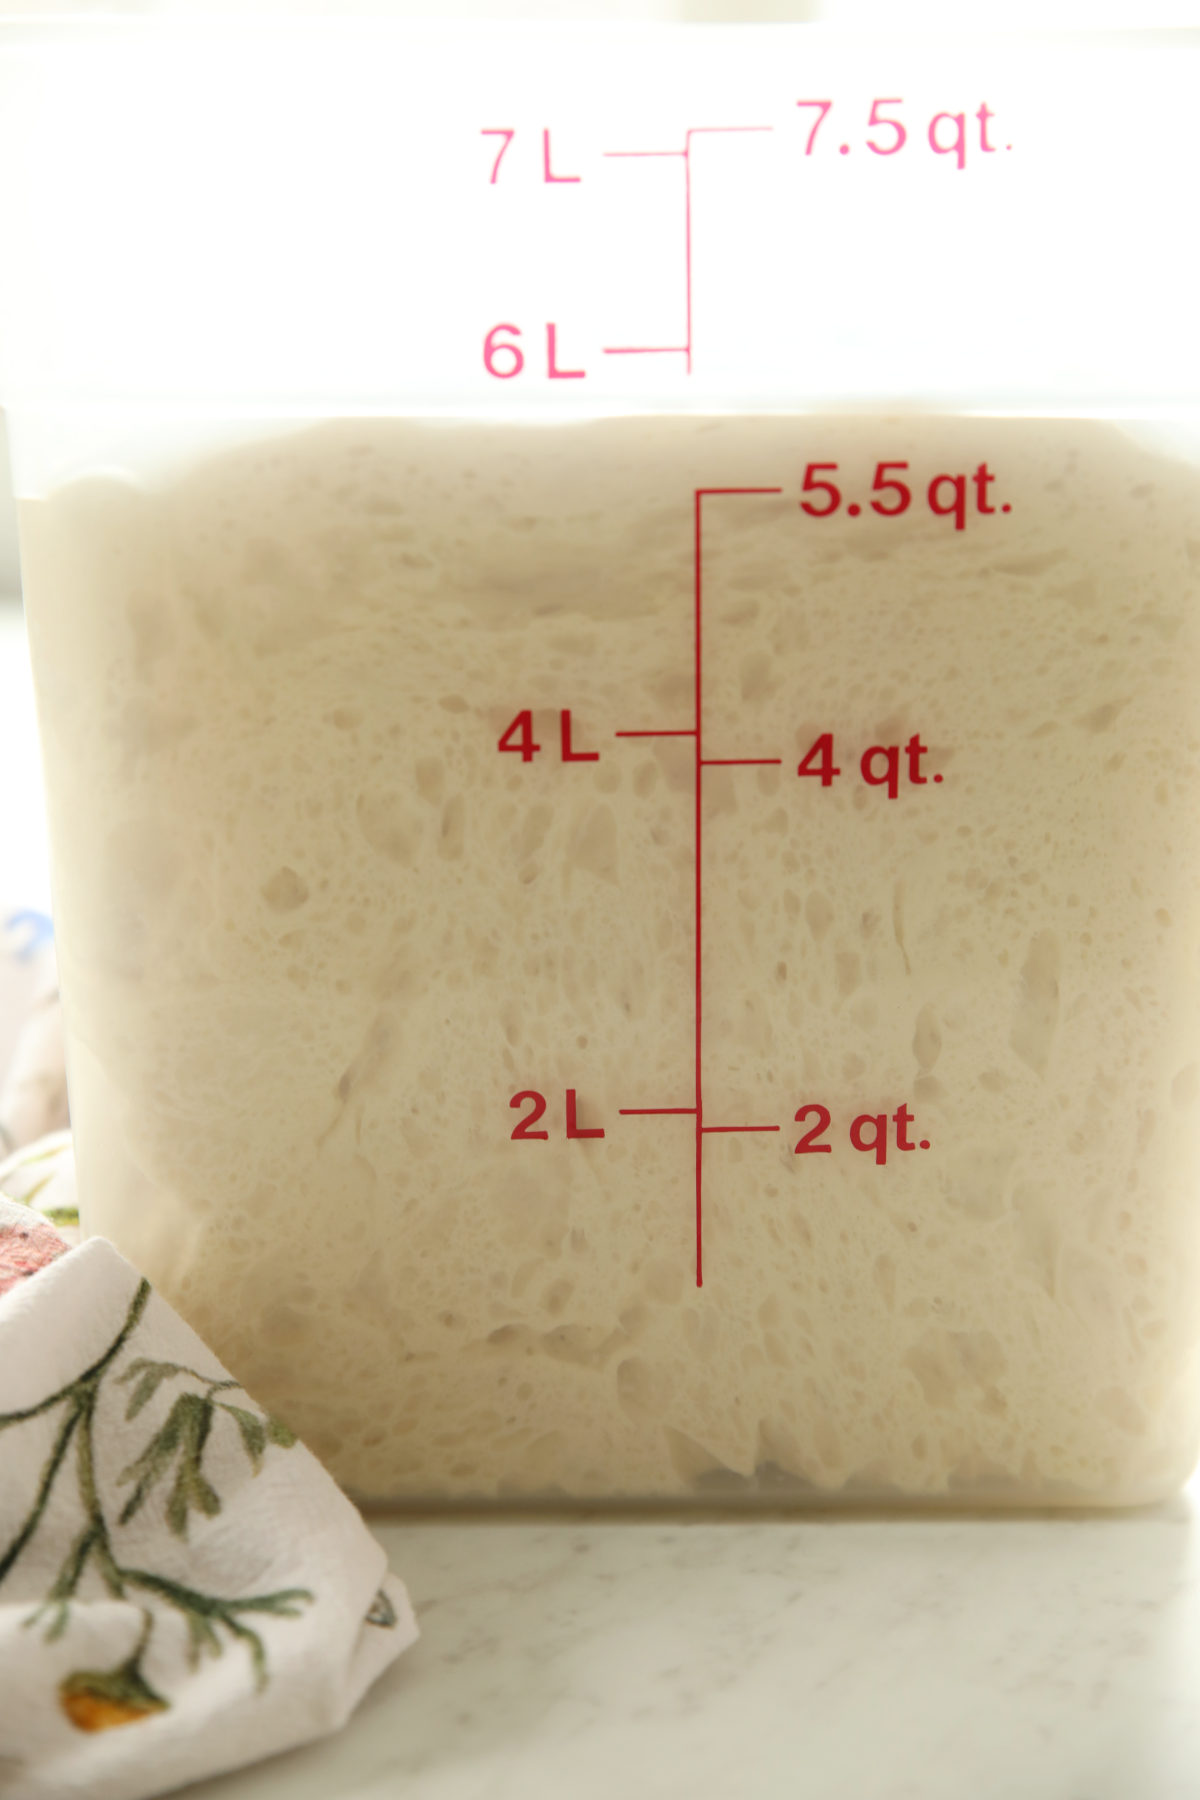
Use a Clear Container for Bulk Fermentation
It is very hard to judge how much your dough has grown when it’s sitting in a ceramic or stainless-steel bowl. Using a clear glass bowl or a straight-sided Cambro container allows you to actually see what is happening.
When you can see the bubbles forming on the bottom and sides, and accurately measure when the dough has increased by 50%, you take the guesswork out of the most critical phase of the bake: bulk fermentation.
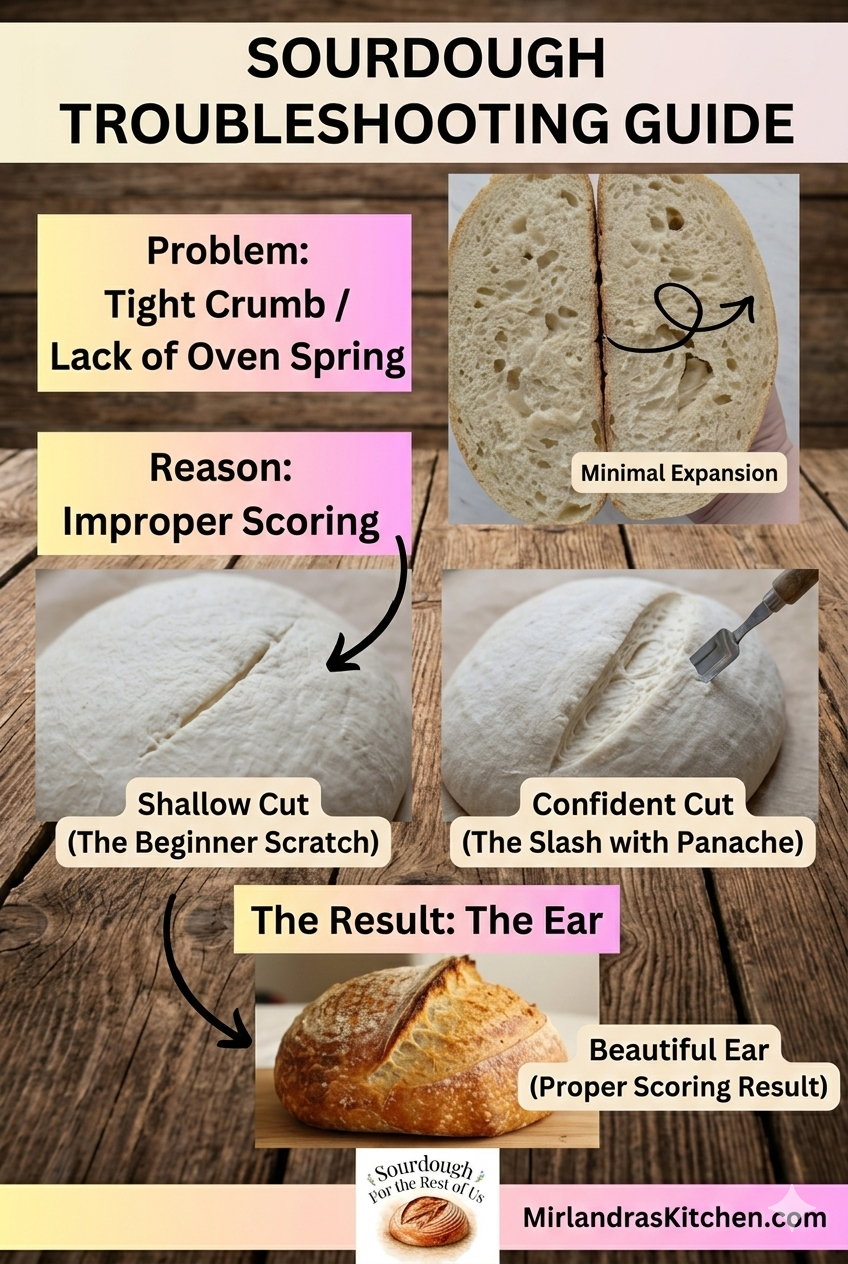
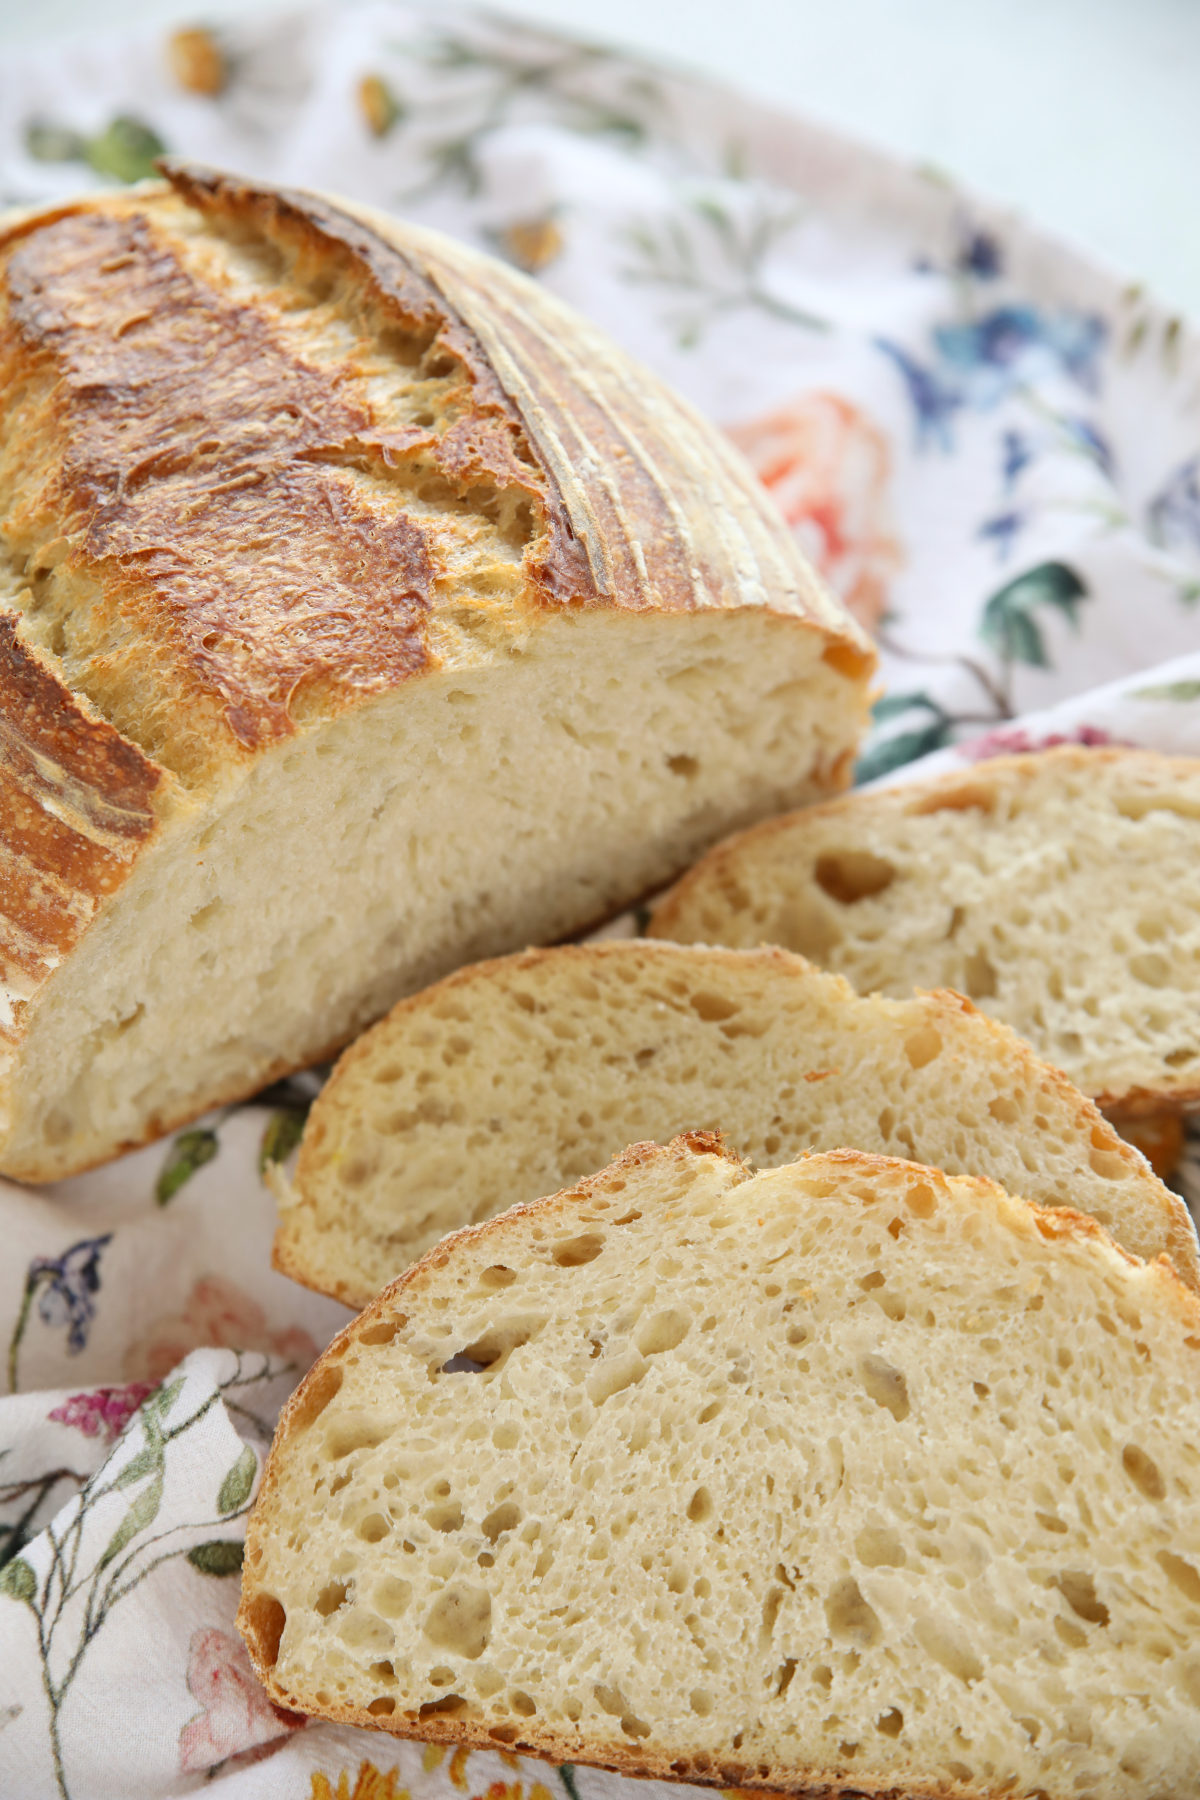
Correct Scoring: Go Deep or Go Home!
Many beginners struggle to score bread loaves deeply enough. This can lead to very tight bands around the top of the bread or the bread exploding in various places or both. If you just “scratch” the surface of the dough with the lame (special dough knife), the bread won’t have a dedicated place to expand, which often leads to messy “blowouts” or a frustratingly flat loaf.
Slash with Panache
Don’t be afraid—go deep! A confident, 1/2-inch deep cut made at a slight angle allows the dough to expand predictably as it hits the heat. This intentional opening is exactly how you get beautiful loaves of bread that are as tasty as they are pretty.
I know it feels kind of crazy but you are not likely to create any problems by going to deep on you first loaf. Choose to go deep instead of being hesitant.
Read more about how to make good expansion scores and do easy decorative scoring with my post 10 Simple Sourdough Scoring Designs: How to Score Sourdough Bread With Confidence. Learning to slash with panache is the quickest way to turn a standard boule into a centerpiece.
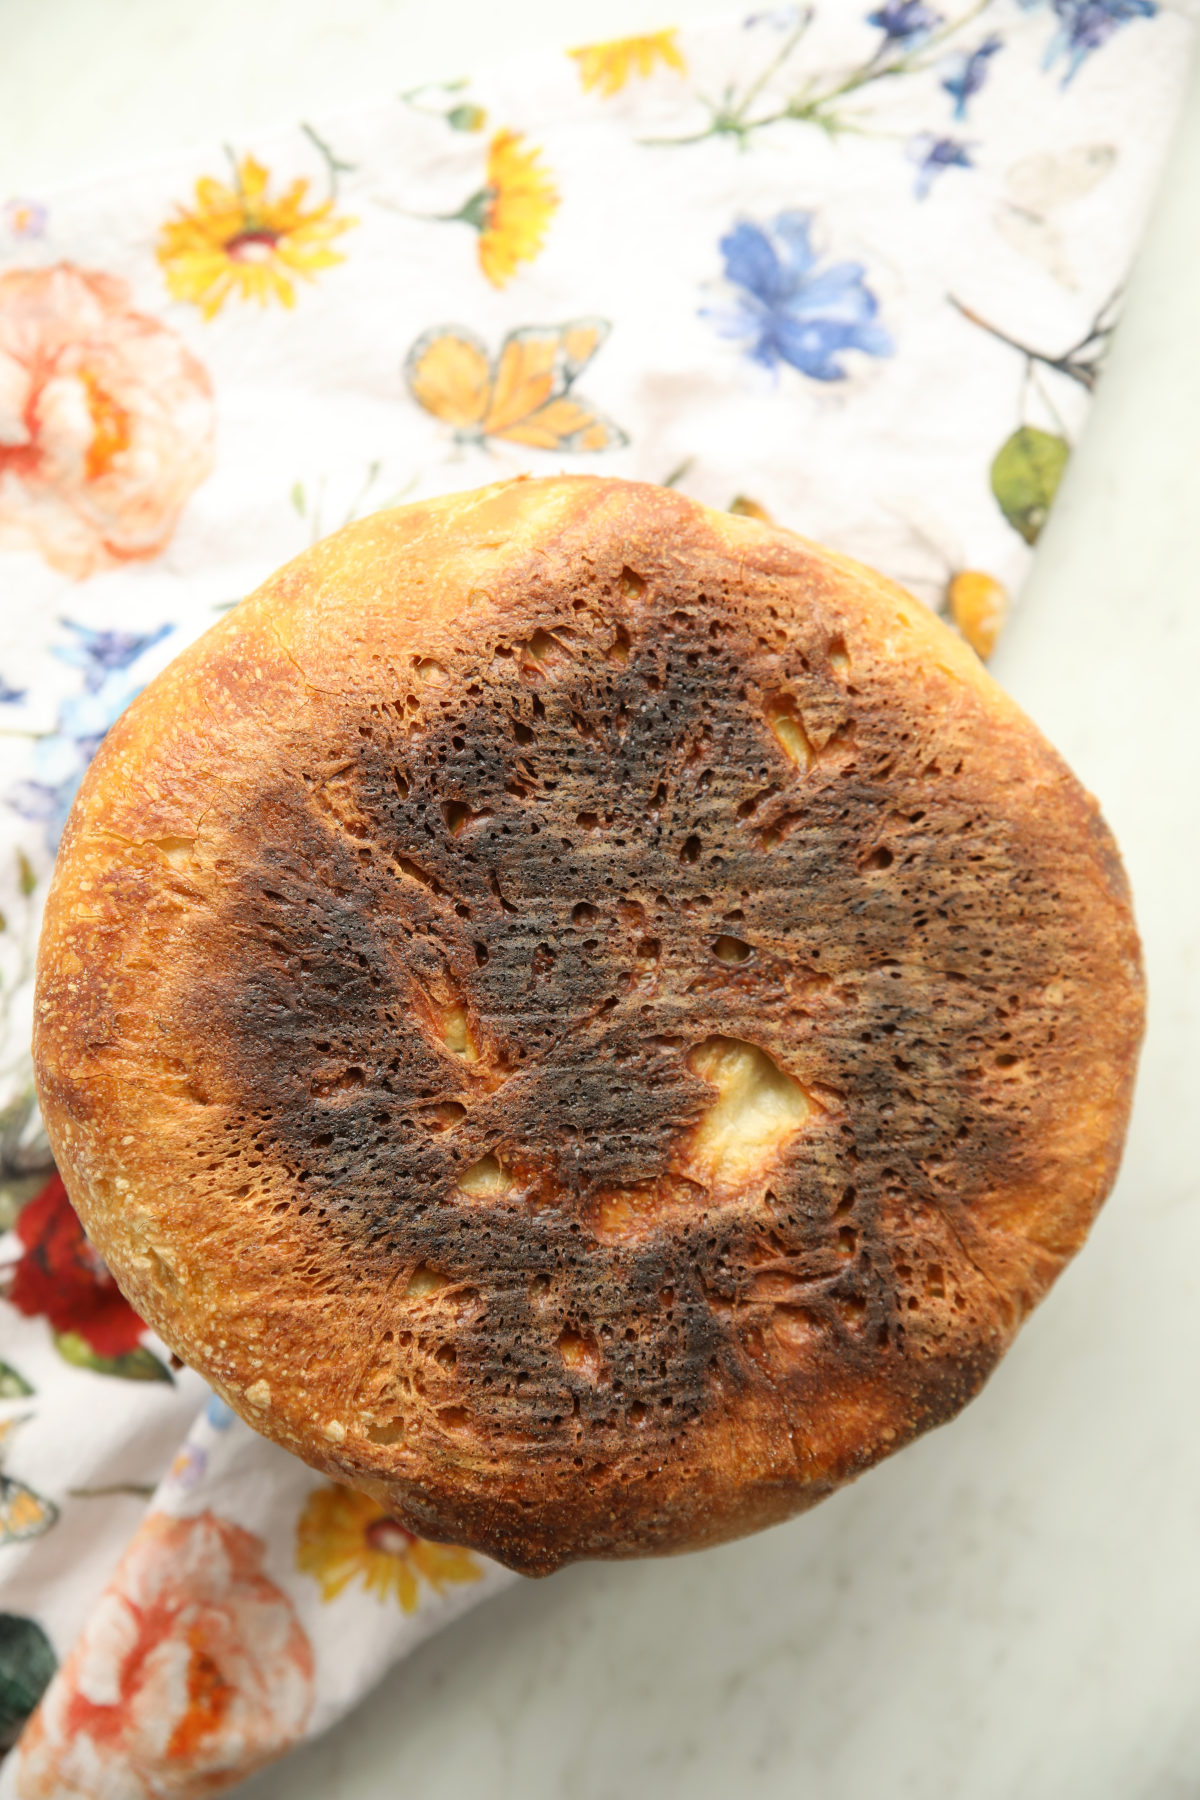
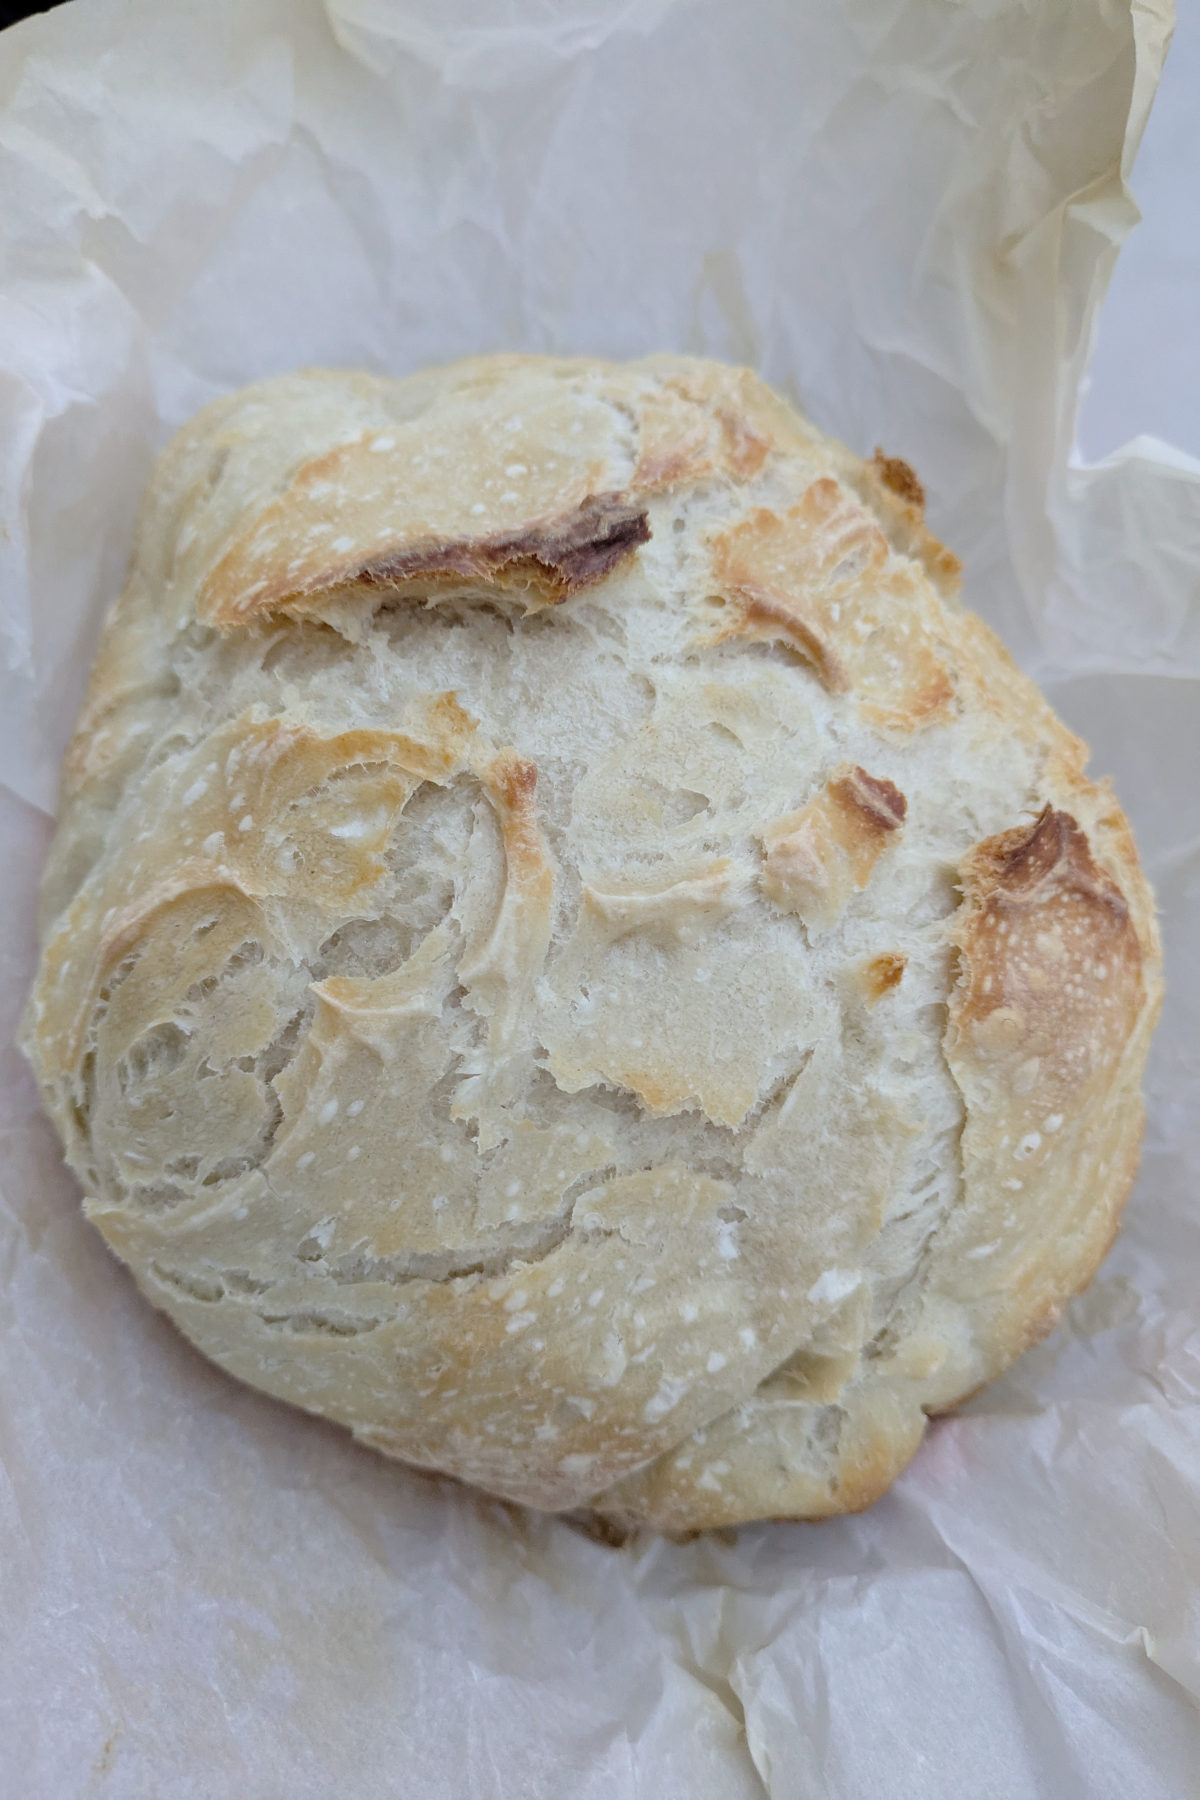
Burned Bottoms are Easy to Prevent
One of the most common “flops” for home bakers is a loaf that looks perfect on top but is charred on the bottom. It’s discouraging to pull your first loaves out and find black bottoms.
Because Dutch ovens retain and conduct heat so efficiently, the base of the loaf often bakes much faster than the rest of the bread but you can absolutely prevent burning!
Protect Your Crust
Thankfully, preventing a burnt base is simple. Before you move your dough from the shaping basket, sprinkle the bottom of the loaf with a little rice flour before placing it onto the parchment paper. Not only does this provide a small heat buffer, but it also ensures the dough won’t stick to the paper.
Create a Heat Shield
To further protect your bread, try “shielding” the Dutch oven from the direct heat of the oven element. You can do this in two ways:
- The Pizza Stone Method: Preheat your oven with a pizza stone on the rack below where you intend to place your Dutch oven. (This is my favorite and I do it for every bake.)
- The Baking Sheet Hack: If you don’t have a stone, simply slide an old cookie sheet onto the rack directly below your Dutch oven once you put the bread in. Don’t use a nice non-stick pan – it won’t be the same after hanging out in the high temps required for bread baking!
Either of these options helps deflect the most intense heat, ensuring your bottom crust comes out golden and crisp rather than scorched.
Respect the Crumb: Give Your Loaf Time to Set
I read the directions and I knew the recipe said to let it cool, but I love warm bread and I was in a hurry. And after two days of working on this project I was just too curious to know how it turned out! So, I cut my first loaf while it was still warm… and I learned the hard way that sourdough is a different beast than bread made with commercial yeast.
Let the Structure Set
Sourdough bread is actually still “cooking” and setting its internal structure as it cools. If you slice it too soon, that trapped steam escapes instantly, often leaving the inside gummy and the crust tough. By leaving it alone, the moisture redistributes perfectly throughout the crumb.
Patience is a Virtue (Not one I have mastered sadly!)
Wait at least two hours—or until the loaf is completely cool to the touch before reaching for your bread knife. I usually set a timer for about three hours now to let those loaves really cool. It is the hardest part of the entire process for me, but your patience will be rewarded with the perfect, airy texture you worked so hard to create.
Ready for Your First Bake?
By following these simple steps, you are setting yourself up for a successful first loaf. Don’t worry if everything isn’t perfect the first time—sourdough is a journey, and every “flop” is just a delicious lesson in disguise. If you run into any unfamiliar terms while you work, be sure to bookmark my Sourdough Glossary for quick reference!
Join the Conversation
I would love to hear how your baking journey is going! What was the biggest challenge you faced with your very first loaf? I’m also always happy to help troubleshoot bake issues!
New to sourdough? Start Here! How To Feed Sourdough Starter Beginners Guide Easy Sourdough Bread Recipe for Beginners (Artisan Loaf)
Leave a Reply