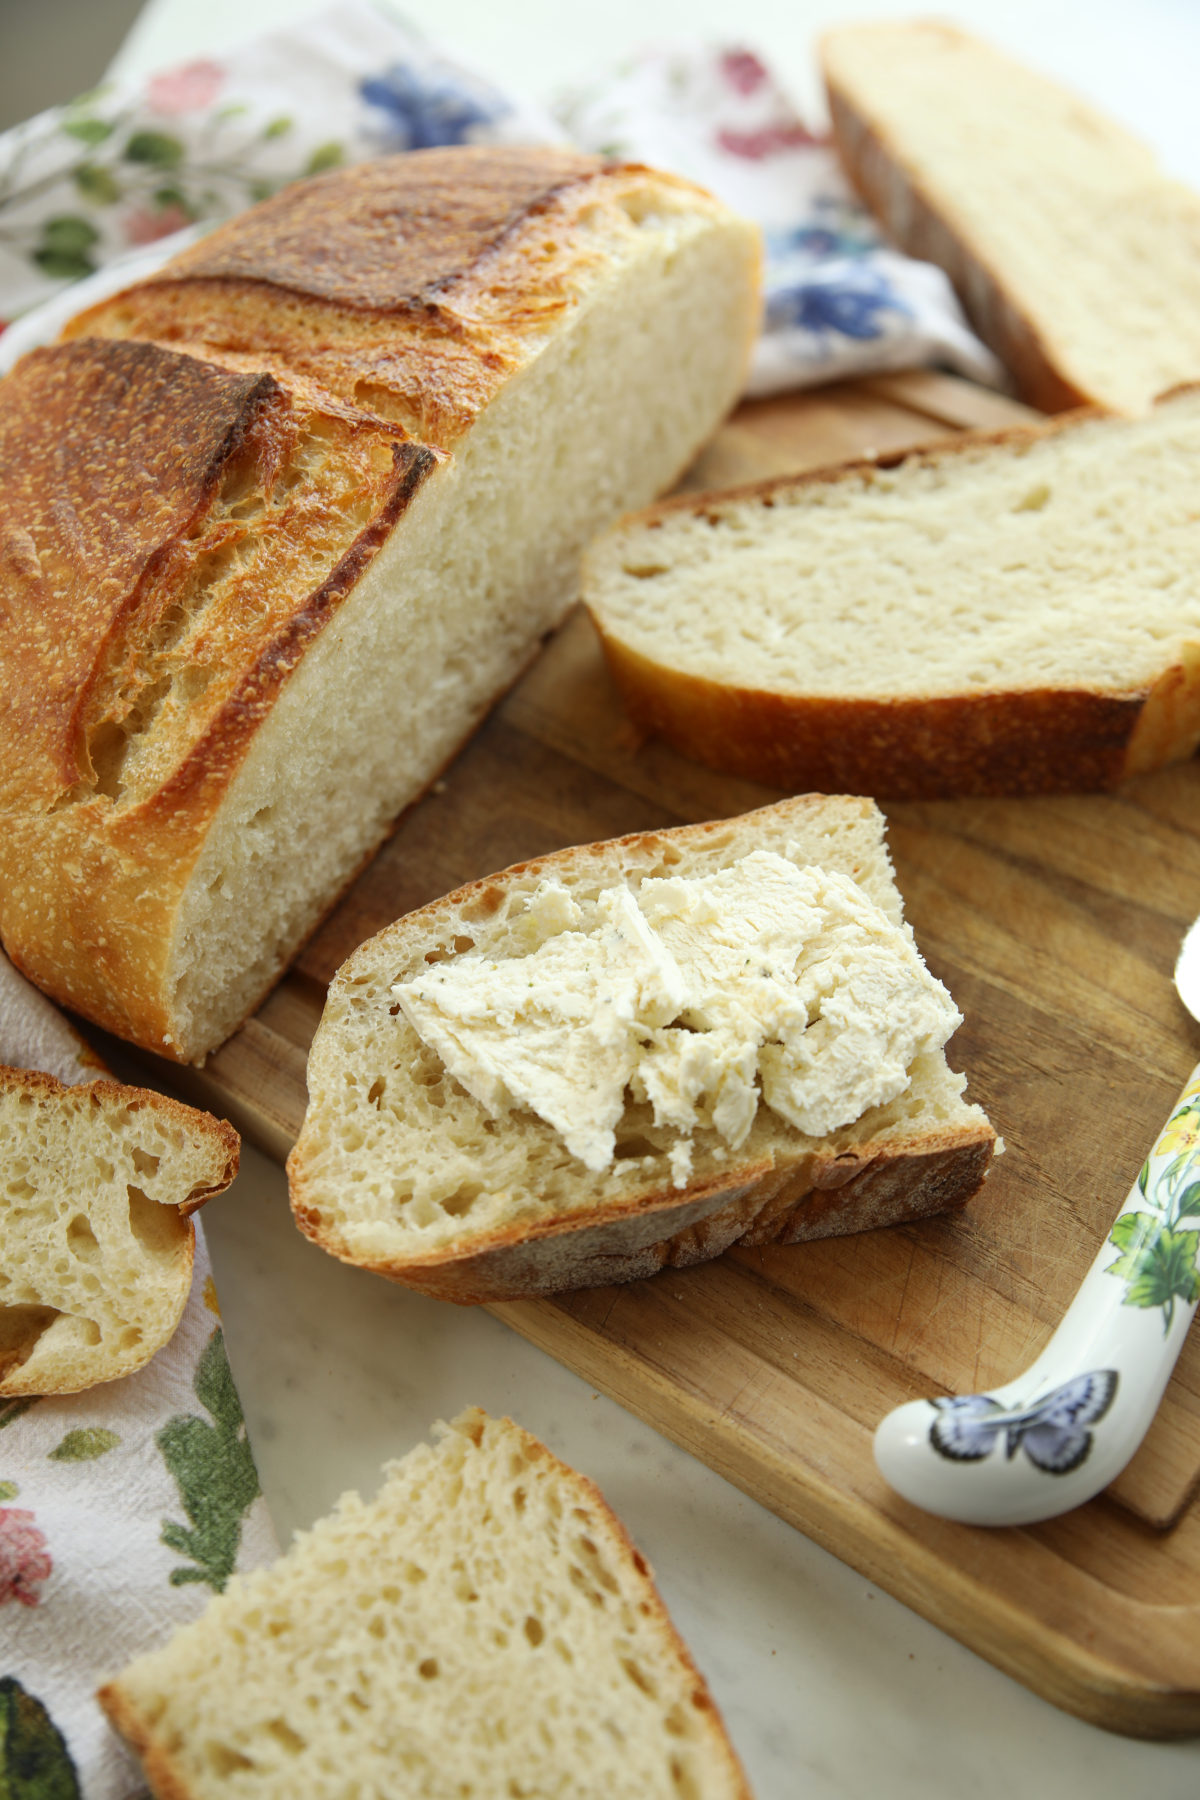
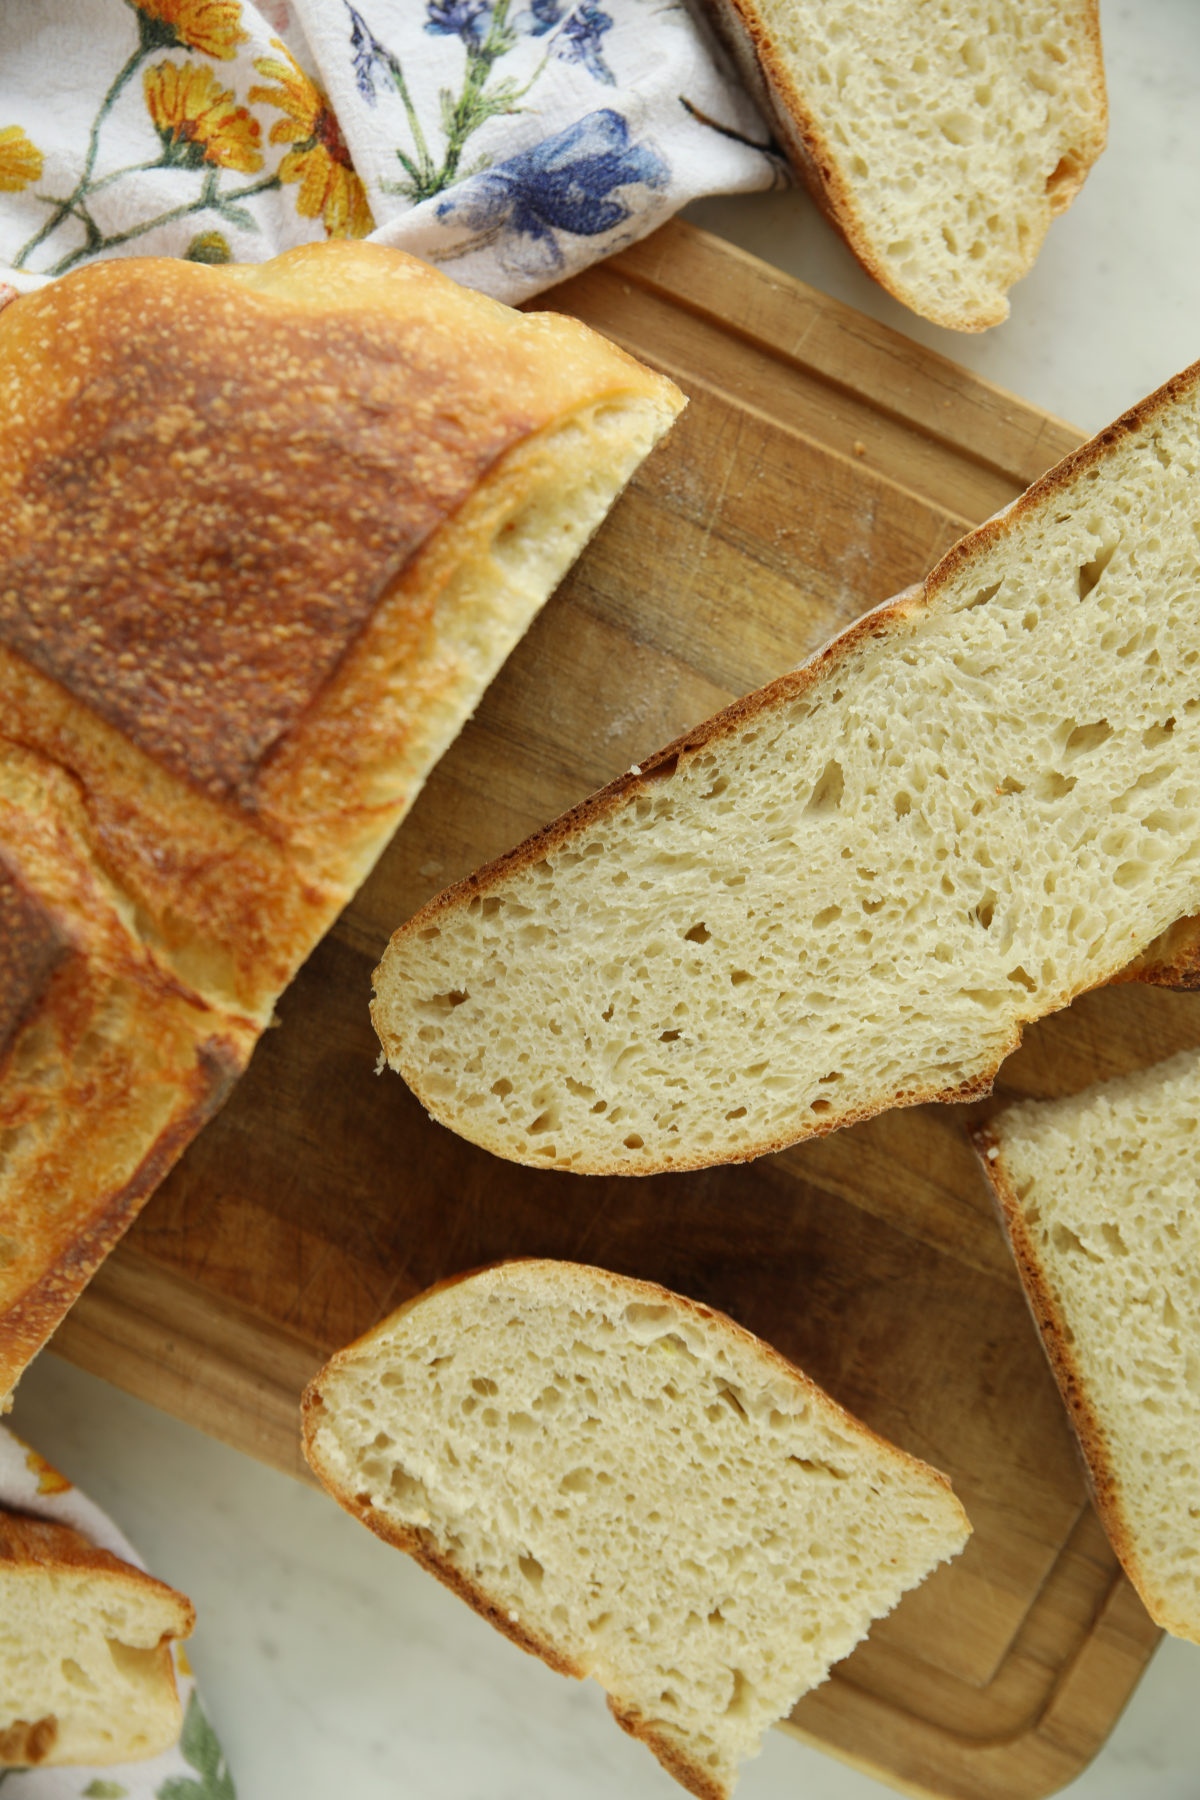
This High Protein Sourdough Bread packs about 33% more protein into every slice using nothing but milk, cottage cheese, and Greek yogurt, no protein powder required. It still bakes up into a proper artisan loaf: soft tender crumb, blistered chewy crust, and a deeper golden color from all that dairy.

New to sourdough? Start Here! How To Feed Sourdough Starter Beginners Guide Easy Sourdough Bread Recipe for Beginners (Artisan Loaf)
I love a good kitchen challenge, and this one turned into a real project. I wanted to see how much protein I could pack into a classic sourdough boule without losing what makes sourdough worth making in the first place.
So I pushed. I blended in more dairy than any reasonable recipe should call for, just to see what would happen. The first couple of attempts were genuinely sad bricks that made me question my life choices. But with a few adjustments I started to hit paydirt!
The final loaf is only a touch denser than my standard artisan boule, which is a small trade for nearly 33% more protein a slice. This is that recipe.
Why You’ll Love This Protein Sourdough Bread
- More Protein, Same Great Crumb: 33% more protein per slice than my standard artisan loaf, without giving up the open crumb and crackly crust sourdough is known for.
- No Protein Powder Required: Every extra gram comes from real dairy, milk, cottage cheese, and Greek yogurt, blended right into the dough.
- Still the Same Forgiving Process: The familiar sourdough rhythm you already know: mix, fold, bulk ferment, shape, cold proof, bake.
- A New Way to Eat Sourdough: Protein-boosted bread that still tastes and feels like a proper artisan loaf, not a health-food compromise.
Does Standard Sourdough Bread Have Protein?
Yes, sourdough bread does have protein, just not a lot. A standard slice made with all-purpose flour lands somewhere around 3 to 4 grams. Part of that gap comes down to something worth knowing regardless of this recipe: bread flour has meaningfully more protein than all-purpose, so if you’re not already baking your sourdough with bread flour, you’re leaving a little protein on the table before we even get to the dairy trick. And if you have been here five minutes you know I’m a “bake your bread with bread flour” kinda girl for all the smart bread reasons.
Still, flour alone was never going to get me where I wanted to go. To really move the needle, I needed another protein source or two or three, and that’s where the dairy comes in.
Why Cottage Cheese Works So Well in Sourdough Bread
The protein boost in this loaf comes from three dairy staples blended together: skim milk, low-fat cottage cheese, and non-fat Greek yogurt. Cottage cheese is doing most of the heavy lifting. It’s one of the most protein-dense things you can put in a mixing bowl, and once you blend it smooth with the milk and yogurt, it disappears completely into the dough. No curds, no wet spots, no strange texture.
You’ll notice I specifically reached for the lower-fat versions here, which isn’t my usual instinct. Normally I lean toward higher-fat dairy for better nutrition and flavor. But bread is different.
Fat coats the gluten strands and slows your starter down, and in my early test loaves the higher-fat versions gave me a noticeably denser crumb every time. Staying skim and low-fat gets you the protein boost without dragging down the rise.
The payoff: my regular sourdough runs about 6 grams of protein a slice. This loaf comes in at about 8 grams a slice, all from real dairy. No protein powder, no additives, nothing you can’t pronounce.
How to Make This Bread
This loaf starts a little differently than my other sourdough recipes. Instead of mixing water straight into the dough, you blend the milk, cottage cheese, and Greek yogurt together first until completely smooth, then use that as your liquid. From there it’s a familiar process: mix in the starter, flour, and salt, then work through a standard set of stretch and folds during bulk fermentation.
Watch the dough more than the clock on this one. The sugars in the milk and the active cultures in the yogurt can speed fermentation up, but the dairy can also slow it down. You’re looking for a domed top and a jiggly middle when you give the bowl a gentle shake, not a specific number of hours.
Once bulk fermentation is done, shape the dough into a tight boule, drop it into a banneton, and give it a long cold proof in the fridge, 12 to 18 hours. That cold time isn’t optional here. It gives the enzymes time to keep working on the dairy proteins, which means better flavor and a more digestible loaf by the time it hits the oven.
FAQs High Protein Bread
How Much Protein Is In Sourdough Bread?
Regular sourdough made with all-purpose flour typically has around 3 to 4 grams of protein per slice, mostly from the flour itself. This recipe roughly doubles that, working out to about 8 grams a slice, all from the dairy blended into the dough.
(Please note I’m a food blogger – not a nutritionist. I’m just a woman in my 40s trying to nourish myself in this crazy world. This calculation is done with a computer tool and is based on the protein in the brands I personally used in this recipe. For example Fage Greek Yogurt has way more protein than many other brands so I used that one. King Arthur Bread Flour is higher protein than many other bread flour options.)
Can I Substitute Any of the Dairy?
I don’t recommend it. This recipe is a sensitive monkey, and the protein, fat, and moisture are balanced pretty precisely to keep the crumb from collapsing. Swap something out and you’re a lot more likely to end up with a dense brick than a happy accident. Stick to the recipe as written and you’ll get the loaf I’m promising you. (Or if you want to experiment play around – just know that I make no promises about the success of your science project 🙂
Why Does This Loaf Need a Cold Proof?
The 12 to 18 hour cold proof isn’t just for convenience. That slow, cold fermentation gives the enzymes time to keep breaking down the dairy proteins in the dough, which means better flavor and an easier-to-digest loaf by morning.
Can I Freeze This Bread?
This one freezes well. Freeze it whole and refresh it later, or slice it first and pull pieces from the freezer as you need them.
More Sourdough Loaves to Try
- Jalapeño Cheddar Sourdough Bread
- Chili Crisp Green Onion Sourdough Bread
- Vintage Caraway Sourdough Bread
- Same Day Sourdough Bread Recipe
- How to Bake Sourdough Without a Dutch Oven
High Protein Sourdough Bread
Ingredients
- 200 g skim milk
- 100 g low-fat cottage cheese 2% milkfat
- 50 g non-fat Greek yogurt I used Fage because it is the highest protein per oz Greek yogurt available here.
- 100 g water
- 150 g active sourdough starter fed and bubbly
- 500 g high-protein bread flour
- 8 g fine grain sea salt
Instructions
Prepare the Protein Base
- In a small blender or with an immersion blender, combine the skim milk, cottage cheese, Greek yogurt, and water. Blend until completely smooth with no visible curds. This step matters more than it looks: getting the dairy fully smooth now means even protein distribution and no odd wet spots in your baked crumb later.
Mix the Dough
- Pour your smooth protein base into a large mixing bowl. Add the starter, flour, and salt. Mix with a dough whisk, wooden spoon, or your hands until no dry flour remains and you have a shaggy, rough dough. That rough, uneven look is exactly right at this stage.
- Cover the bowl and let the dough rest for about 1 hour. This rest lets the flour hydrate and gluten start forming before you build more structure.
Stretch and Folds
- Wet your hands to keep them from sticking. Grab one side of the dough in the bowl, pull it gently until you feel resistance, then fold it back over itself. Rotate the bowl a quarter turn and repeat until you’ve done four folds. That’s one set.
- Cover the dough and let it rest 30 minutes.
- Repeat this process three more times, for a total of four sets of stretch and folds over about two hours.
Bulk Fermentation (Warm Rise)
- Cover the dough and let it sit at room temperature to rise. Watch it rather than the clock. Dairy can speed fermentation up or slow it down compared to a plain dough.
- You’re looking for the dough to increase in volume by about 50%, with a domed, pillowy top. Give the bowl a gentle shake: the dough should jiggle a little, like a marshmallow.
- If you’re not seeing these signs yet, give it more time. Every kitchen and every starter is a little different.
Shape the Dough
- Once bulk fermentation is done, turn the dough out onto a lightly misted counter (skip the flour here, a spray bottle of water works better and won’t dry out your crust later).
- Gently shape the dough into a round boule, pulling the edges into the center to build a tight skin on the outside. You don’t need to be perfect, just aim for a fairly tight ball.
- Place the dough into a rice-floured banneton or a bowl lined with a well-floured towel, seam side up.
Cold Proof
- Loosely cover the dough and place it in the refrigerator for 12 to 18 hours.
- This slow, cold proof isn’t optional. It gives the enzymes time to keep working on the dairy proteins in the dough, which means better flavor and a more digestible loaf once it’s baked.
Preheat Your Oven
- About an hour before you plan to bake, place your Dutch oven, with its lid, on the top rack of your oven and preheat to 450°F. Give it a full hour to preheat. This really matters for a good rise and crust.
- Leave your dough in the refrigerator until the last possible minute for the best oven spring.
Score and Bake
- Turn your dough out of its banneton onto a piece of parchment paper. Score the top with at least one confident slash about ¼ inch deep, so the bread has room to expand in the oven.
- Carefully place the dough, on its parchment, into the hot Dutch oven. Mist it well with water, cover with the lid, and return it to the oven.
- Bake covered for 30 minutes at 450°F. Remove the lid, mist the dough again, and lower the oven to 410°F. Bake another 10 to 15 minutes, until deep golden. This loaf will darken a little faster than a standard boule thanks to the milk sugars, so watch color rather than going strictly by time.
- Bread is done at an internal temperature of 205-210°F.
- Cool Before Slicing
- Remove the loaf from the Dutch oven and set it on a cooling rack. Let it cool completely, at least a few hours, before slicing. Cutting too early releases steam and leaves you with a gummy crumb, so as tempting as it is, let it rest.
Your Rating Matters
When you leave a comment or star rating, it means more than you might think. It helps me understand what you’re enjoying, builds trust for other readers, and supports real, tested cooking content. If you have a moment, I’d truly appreciate you sharing your experience. – Mirlandra
Nutrition Estimate
A Note on Nutrition
Nutritional info is an imperfect estimate. Please take it with a grain of salt.
New to sourdough? Start Here! How To Feed Sourdough Starter Beginners Guide Easy Sourdough Bread Recipe for Beginners (Artisan Loaf)
Leave a Reply