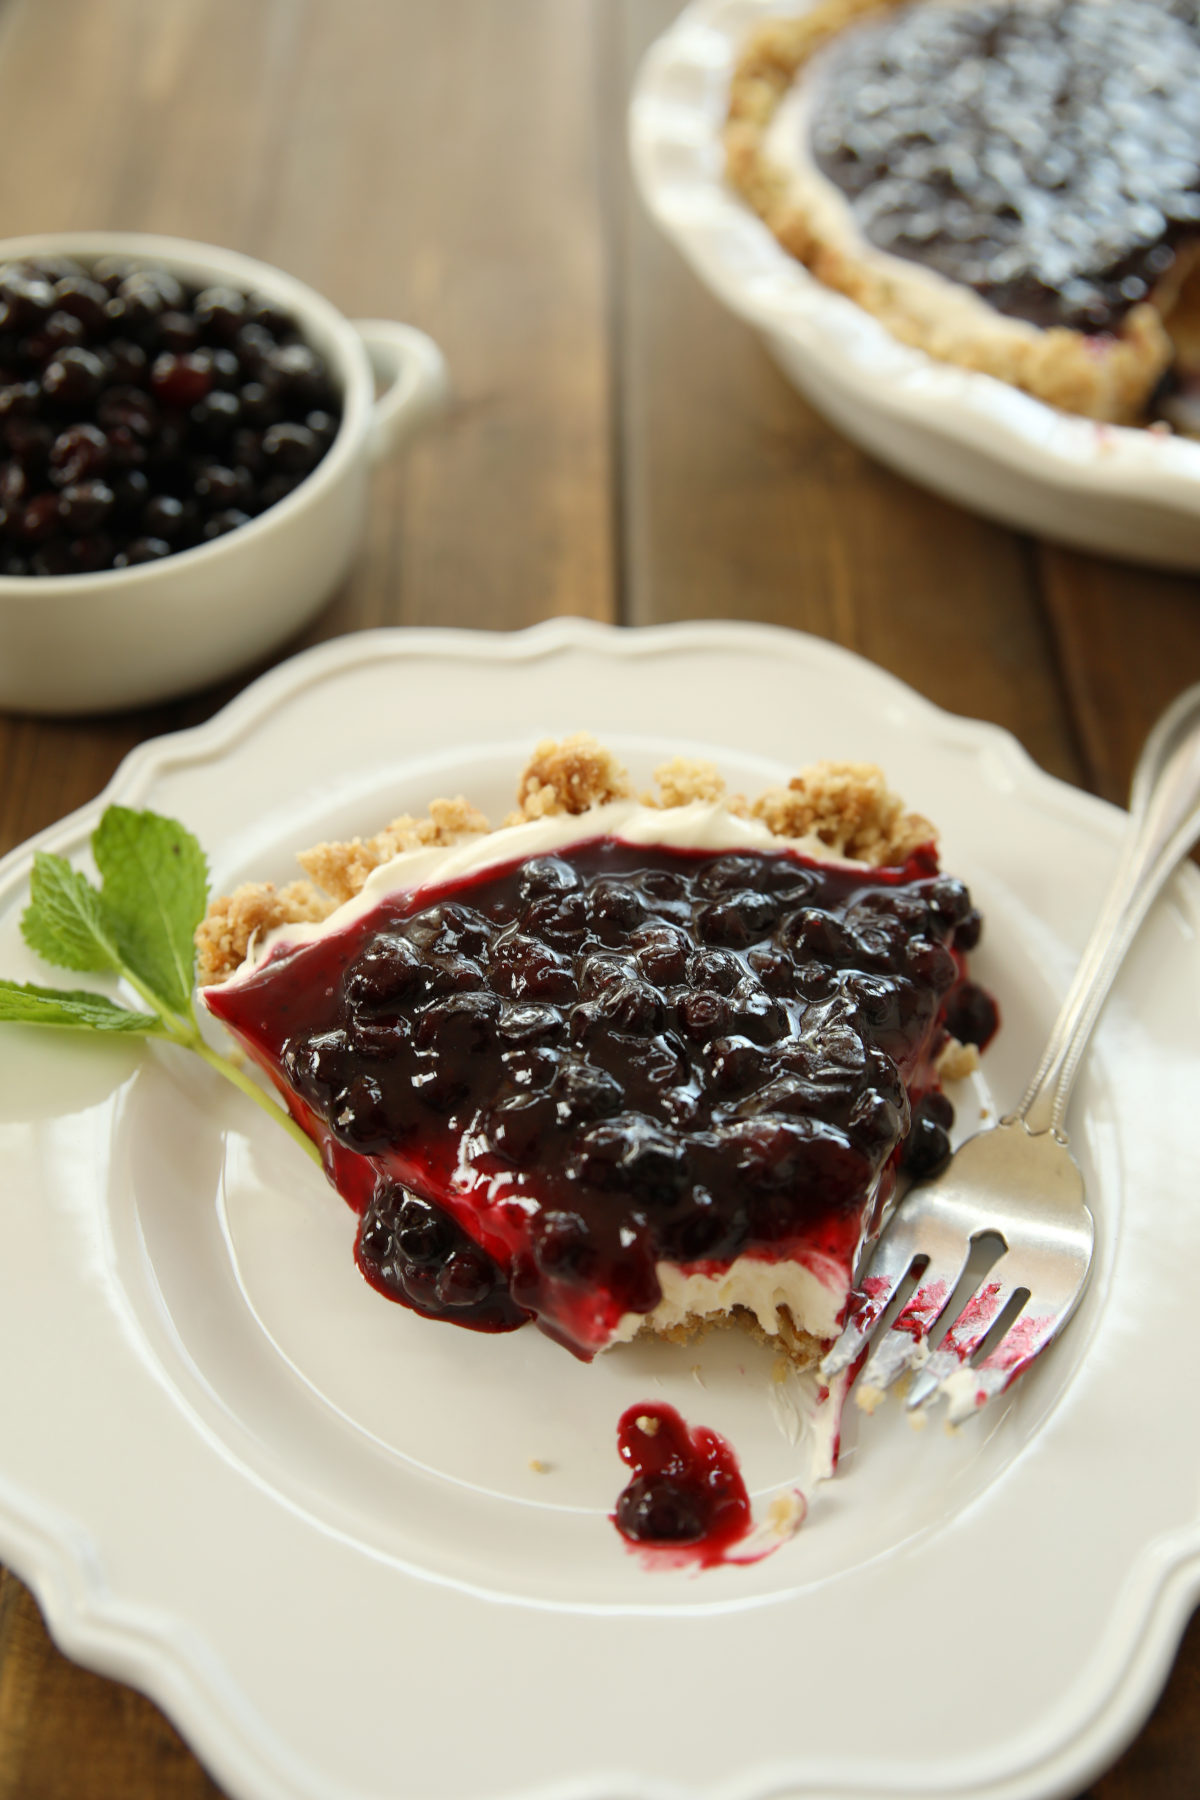
This easy no bake huckleberry cheesecake is a perfect dessert. The crust is rich, buttery, and delightfully crisp. The no bake cheesecake filling is a light, fluffy, creamy cheesecake filling that comes together in minutes without any baking.
Finish it with a generous layer of sweet huckleberries, or use frozen wild blueberries for an easy, budget-friendly swap year-round. Just try not to love it!
I originally shared this recipe back in 2019, and today I’m updating it with new information and extra tips!
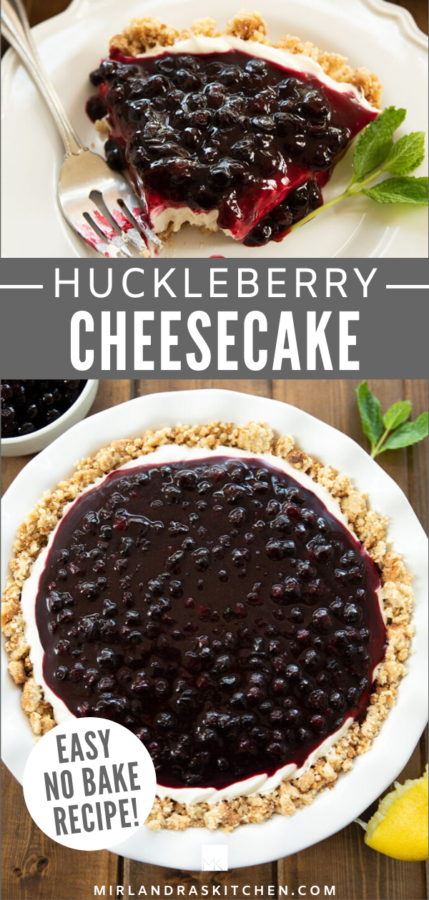
Easy No Bake Cheesecake with Huckleberries (or Wild Blueberries)
This easy cheesecake recipe keeps things simple without sacrificing flavor. The no bake cheesecake filling is light, fluffy, and not too sweet. The crust is baked (you can sub a store bought one if you want) but my recipe includes a crust made from buttery crumbs and nuts – it is delicious and simple.
A no bake cheesecake is much faster and less fussy than a traditional baked cheesecake, but it still feels like a special-occasion dessert. And the best part? You don’t have to wait around for huckleberry season. Frozen wild blueberries are an easy, inexpensive swap that work beautifully year-round.
Pro Tip: If you’re usually team huckleberry pie, this might just change your mind. It has all that intense wild berry flavor with a fraction of the effort!
What Are Huckleberries? (And What to Use If You Don’t Have Any)
Here in Idaho everybody gets excited when Huckleberry season hits! People graze the berries on hikes or go camping just to pick them in favorite spots. If you’ve never had huckleberries before, think of them as a smaller, more intense cousin to blueberries. They grow wild in the Northwest and have a deeper, slightly tangy flavor that makes them a favorite for everything from syrups to pancakes.
But unless you’re picking them yourself or live near a good source, they can be tricky (and pricey) to find. The good news? Frozen wild blueberries are an excellent substitute. They’re smaller than regular blueberries, packed with flavor, and easy to find in most grocery stores year-round.
In fact, my Costco has frozen wild blueberries cheaper than the frozen organic blueberries! I’ve been using them for everything because they are so excellent. Regular blueberries will work in a pinch, but they’re larger and a bit milder, so the overall flavor won’t be quite as bold.
Ingredients You’ll Need
This no bake cheesecake recipe comes together with simple, easy-to-find ingredients—nothing fancy required.
For the Butter Crunch Crust:
-
All-purpose flour, brown sugar, and softened salted butter: The base of our toasted crumb.
-
Finely chopped walnuts or pecans: These add that signature “crunch” and nutty flavor.
For the No Bake Cheesecake Filling:
-
Cream cheese (softened): The heart of the filling. (And we can all rejoice that it takes WAY less cream cheese than traditional cheesecake.)
-
Powdered sugar & vanilla: For perfect sweetness and aroma.
-
Fresh squeezed lemon juice: Adds a brightness that cuts through the richness and sweetness. Acid like lemon juice is a balancer in cooking!
-
Heavy whipping cream: This provides the airy, fluffy texture.
For the Huckleberry Topping:
-
Huckleberries (or frozen wild blueberries): Fresh or frozen both work.
-
Sugar, cornstarch, and a touch of butter: To create a glossy, lightly set sauce.
What Readers Are Saying About This No Bake Cheesecake Recipe
How to Make This Easy Cheesecake Recipe
This process is straightforward and forgiving—no water baths and no worrying about cracks in the oven.
-
Prepare the Topping: Whisk sugar, cornstarch, salt, and water in a saucepan. Add the berries and butter, bring to a boil, then simmer for 2 minutes. Let this cool fully in the fridge before using.
-
Make the Butter Crunch Crust: Mix the flour, brown sugar, nuts, and butter. Spread it out on a baking sheet and bake at 400°F for about 10 minutes (stirring halfway). While it’s still hot, press the crumbs into your 9-inch pie plate to form the shell. (And yes, if you need a store bought crust here I won’t judge you!)
-
Whip the Filling: Use a hand mixer to beat the very soft cream cheese, sugar, vanilla, and lemon juice until smooth. Slowly pour in the heavy cream and beat for 1–2 minutes until fluffy. (You can read all my controversial opinions on stand mixers vs. hand mixers here.)
-
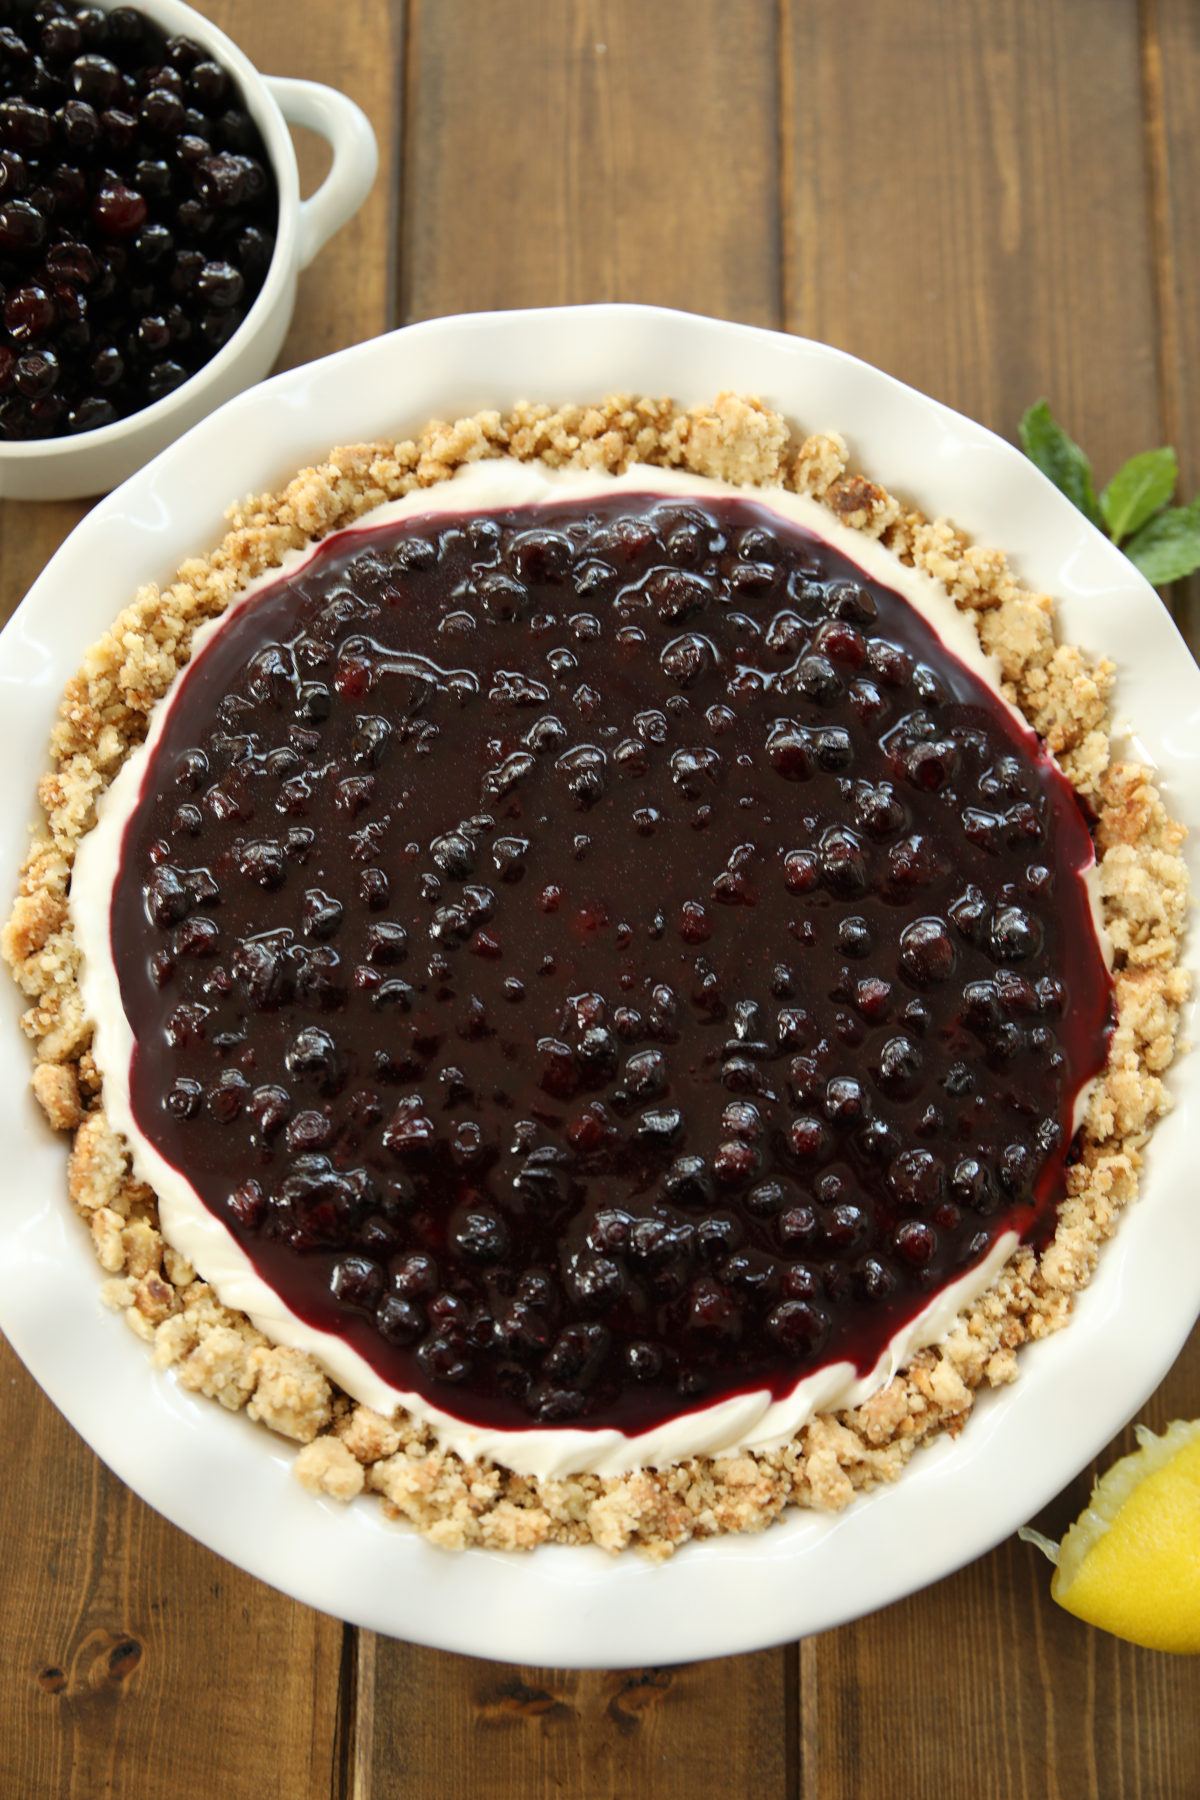
Assemble and Chill: Spoon the filling into your cooled crust. Once the berry topping is cool, spread it over the top.
-
The Wait: Chill in the refrigerator for at least 3 hours. This is where the magic happens and the cheesecake sets up for perfect slicing.
Tips for the Best No Bake Cheesecake
-
Start with VERY soft cream cheese: To avoid lumps, make sure your cream cheese is completely room temperature. If it’s still cold, microwave the block for 20 seconds before whipping.
-
Use cold heavy cream: Unlike the cream cheese, your heavy cream should be ice cold to help it whip up light and stable. Heavy cream is a different ingredient from “whipping cream” or “cream.” Make sure you are using true heavy cream. It has a 36% – 40% fat content in general and will whip up and hold way better than any other type of cream on the market.
-
Don’t overmix: Once the cream is incorporated and fluffy, stop mixing to keep that airy texture.
-
Give it enough chill time: Rushing the 3-hour chill time is the fastest way to a soft, messy slice.
Storage and Make-Ahead Tips
This is a great dessert to make ahead, which makes it perfect for gatherings or busy weekends. (Cue relaxed summer BBQs!)
-
To store: Keep covered in the refrigerator for up to 3–4 days.
- Make-ahead tip: Prepare the cheesecake a day in advance and add the berry topping just before serving for the best texture and color.
Frequently Asked Questions
Can I use frozen berries? Yes! Frozen huckleberries or wild blueberries both work well. No need to thaw them first.
Why didn’t my cheesecake set? It likely needed more chill time or the cream wasn’t whipped enough. Make sure you beat the mixture until it’s fluffy and let it sit in the fridge for the full 3 hours.
Is this the same as baked cheesecake? Not quite. This version is lighter, fluffier, and much quicker since there is no oven time for the filling. It also takes way less cream cheese!
More Easy Dessert Recipes
If you love simple, no-fuss desserts like this one, here are a few more to try next:
-
Easy Key Lime Pie – Minimal Ingredients and Delicious Homemade Graham Cracker Crust
-
Amazing Peanut Butter Cookie Cake – From Scratch But Minimal Ingredients and Naturally GF!

No Bake Huckleberry Cheesecake Recipe
Ingredients
Huckleberry Topping
- 1/2 cup granulated sugar
- 1 Tablespoon cornstarch
- 1/8 teaspoon salt
- 1/2 cup cold water
- 2 cups huckleberries fresh or frozen (can substitute wild blueberries)
- 1 Tablespoon salted butter
Butter Crunch Crust
- 1 cup all-purpose flour
- 1/4 cup packed brown sugar
- 1/2 cup walnuts or pecans finely chopped (can sub cashews or almonds)
- 1/2 cup salted butter softened
Cheesecake Filling
- 8 oz full fat brick style cream cheese softened
- 3/4 cup powdered sugar
- 1 teaspoon vanilla extract
- 1-2 teaspoons fresh squeezed lemon juice depends on personal taste
- 1 cup heavy whipping cream, 36% – 40% fat must use heavy whipping cream
Instructions
To prepare the huckleberry topping:
- Whisk together the sugar, cornstarch and salt in a medium saucepan. Whisk in cold water until smooth; add berries and butter. Bring to a boil over medium heat.
- Turn the berries down to a simmer and cook, stirring for 2 minutes while the mixture thickens slightly. (It will thicken more after it has cooled.) Put the mixture in the refrigerator to cool fully before topping the pie.
To prepare the crust: (Can sub with graham cracker crust)
- Preheat oven to 400 F.
- In a medium bowl, combine the flour, brown sugar and nuts. Use a fork or your fingers to mash in very soft butter until the mixture is combined.
- Spread the crumb mixture out about ½” thick on the middle of a baking sheet. Bake for 5 minutes, stir with a spatula, and bake an additional 5 minutes. Crumbs will be soft and becoming toasted a golden brown.
- Remove from oven. While mixture is still hot, use a fork to press into a 9-in. pie plate forming a pie shell. Start by pressing the crumb mixture to the sides. When the sides are done press the remaining mixture to the bottom of the pie plate. Cool in the refrigerator.
To prepare the cheesecake filling:
- In a large mixing bowl, use a hand mixer to beat very soft cream cheese, sugar, vanilla and 1 teaspoon of lemon juice until smooth. With the mixer on low speed, pour in the heavy cream.
- Once the cream is incorporated beat on medium speed for 1-2 minutes until the mixture is somewhat fluffy. Taste and add the additional tsp. of lemon juice if desired.
- Spoon the filling into the cooled crust and refrigerate until the topping is cool enough to use. Spoon the topping over the pie.
- Garnish with whipped cream and sprigs of mint if desired.
Your Rating Matters
When you leave a comment or star rating, it means more than you might think. It helps me understand what you’re enjoying, builds trust for other readers, and supports real, tested cooking content. If you have a moment, I’d truly appreciate you sharing your experience. – Mirlandra
Nutrition Estimate
A Note on Nutrition
Nutritional info is an imperfect estimate. Please take it with a grain of salt.
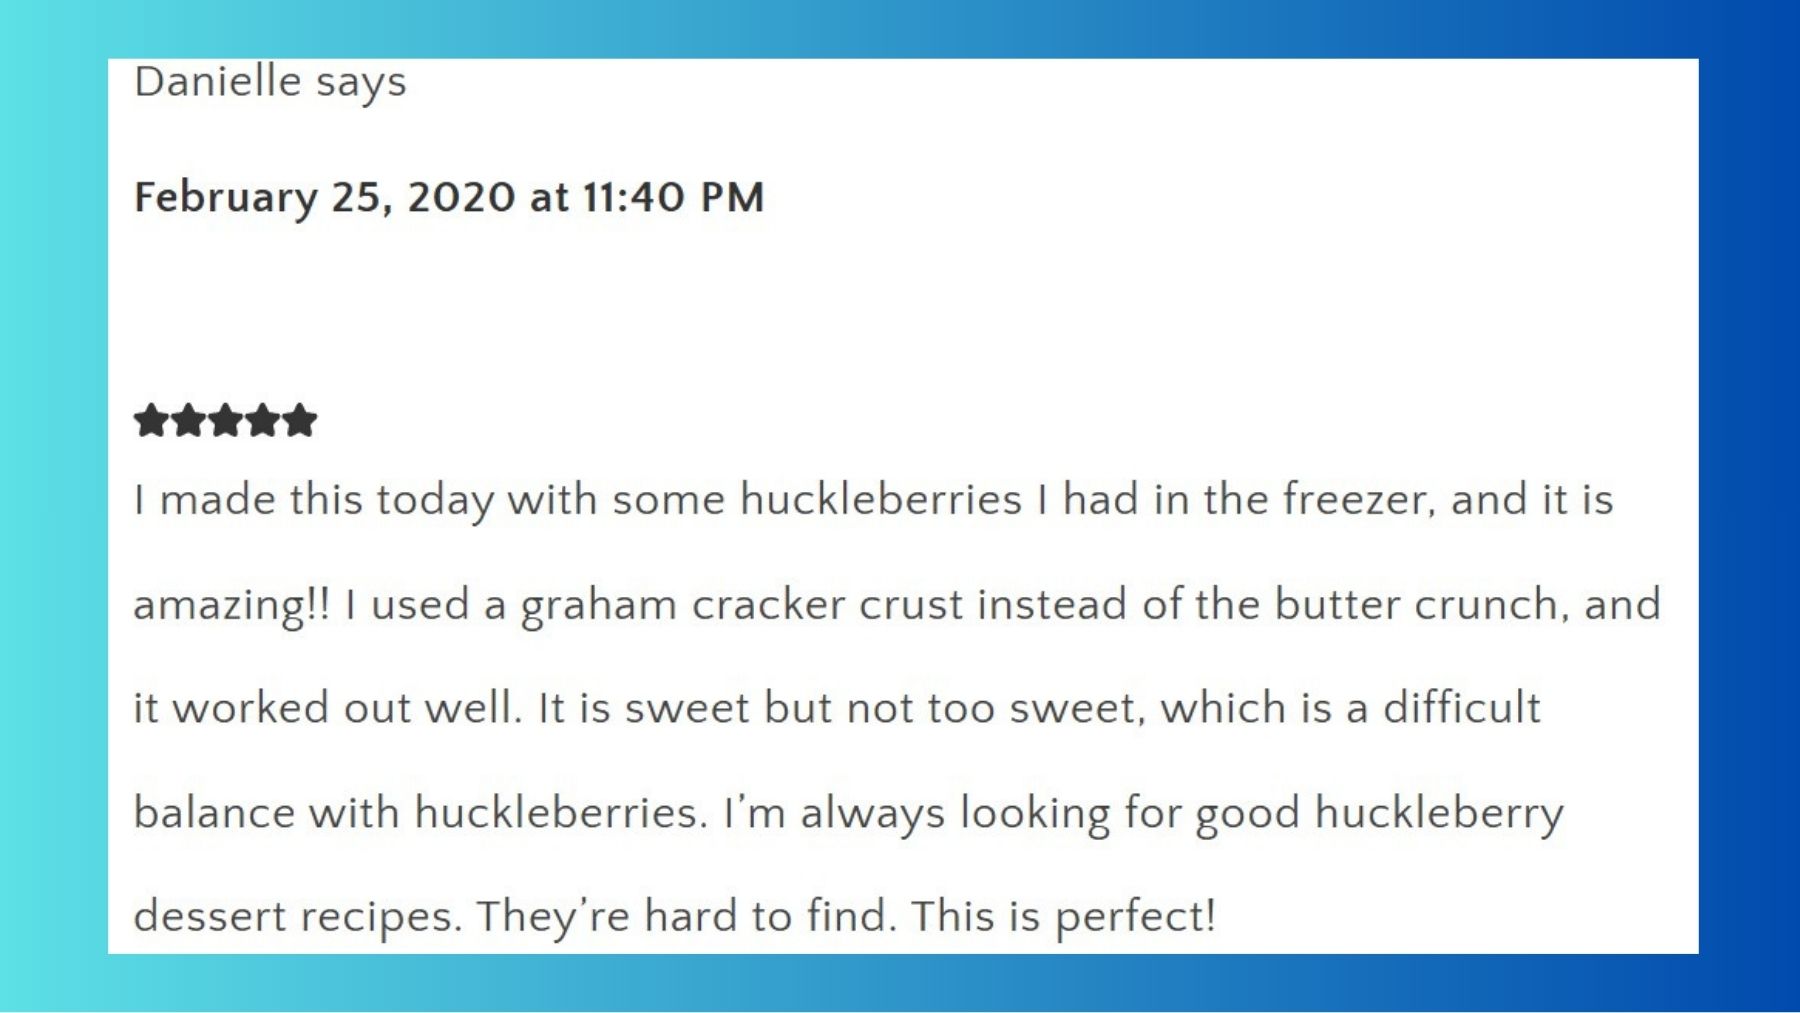
Danielle says
I made this today with some huckleberries I had in the freezer, and it is amazing!! I used a graham cracker crust instead of the butter crunch, and it worked out well. It is sweet but not too sweet, which is a difficult balance with huckleberries. I’m always looking for good huckleberry dessert recipes. They’re hard to find. This is perfect!
Mirlandra says
Thanks, Danielle! You are very lucky to have huckleberries in your freezer! I’m fresh out and relying on blueberries until next season 🙁 A graham cracker crust is great here too! Thanks so much for sharing and letting me know you loved this!
JESSICA Frye says
Found this recipe just in time for our youngest brothers graduation. He requested a cheesecake so I’m surprising him with this since we are blessed to still have a small stash of Hucklebrries left from 2019 season. Thank you! We look forward to pairing this with Lilac Mint Lemonade. Definitely making this a memorable day in so many ways.
Mirlandra says
Oh Jessica! This makes my heart so happy. What a special way to celebrate! (And lucky you to still have a stash!!! I’m looking forward to huckleberry season this year to try to build up a stash in my freezer!) And Lilac Mint Lemonade sounds quite the treat! Your brother is very lucky – I wish him well as he begins the next leg in his journey!
Jess L. says
This recipe is a new family favorite here! Ever since I first made it my husband always requests I make it again! lol. I’m not a huge sweets fan but we love cheesecake and huckleberries are the best! Not to mention how easy this is to make, it’s a win win. I like to add a dash of gelatin to the mix just to make sure it stays extra firm in case it gets devoured before it can fully cool in the fridge 😉
Mirlandra says
I’m so happy to hear that! And great trick with the gelatin – sounds amazing!
Linda Miller says
I made this easy huckleberry pie last year when our son came for visit as he was wanting a huckleberry pie we absolutely loved this pie I love the crust version with the pecans can’t wait to make it again for memorial weekend with family again . Thank you for sharing this great recipe.
Mirlandra says
Linda, this makes me SO happy! I’m so glad you were able to make something so lovely to share with your family!!!
Paula says
What size of pie dish?
Mirlandra says
Please see step #4. 9″ pie dish is perfect.
Alayna says
This was so so good. I savored every single bite. I’m so glad I did this one instead of the recipe calling for 4 blocks of cream cheese 😂.
Mirlandra says
A good homemade cheesecake with four blocks of cream cheese is fun but a lot more work and a TON of food! I’m so glad you enjoyed this version. My mother in law is in town for the summer and she has been busy picking huckleberries already! We made pancakes with them this weekend and I wondered if I might have just enough left in the freezer for this cheesecake recipe.
Alli says
I love this recipe. However I’m having trouble with the huckleberries being runny and now setting up. Not sure what I am doing wrong. Also sometimes the cream cheese is lumpy and sometimes not. Have any tricks to fix this? I’m not a great baker.
Mirlandra says
Hi Alli – These are great questions! In my experience cooking and baking are very different skill sets. My husband is an amazing cook – the best smoked meats and Asian stir fries and decadent steak and delicious sea food. However, hand the man even a cake mix and you are asking for trouble!
In my experience talking to people about their cooking lives most people that say they are not good bakers are people who don’t like to follow directions precisely. Baking is sometimes unforgiving.
Here is my checklist of suggestions for cream cheese lumps:
1. Make sure you follow the measurements exactly. Use a glass measuring cup intended for liquid measurements to measure liquids. Use metal measuring cups intended for solids for dry ingredients like flour and sugar.
2. Make sure your cream cheese is very much room temperature! If my cream cheese is fresh out of the fridge I microwave it for 20-30 seconds and then make sure my finger pressure can easily go through that block of cream cheese. If not I nuke it again! I just go 20 seconds at a time until it is nice and soft.
3. Lumpy cream cheese is probably caused by the cream cheese not being soft enough before you go to whip it. Once you believe it is very soft try whipping just the cream cheese until it is fluffy and lump free – then add your other ingredients as directed. This should give you a good chance to soften a little more if you need too!
In terms of the topping make sure you are checking those measurements and following directions. But this topping is intended to be lightly set. Look at the picture and see how one berry has dripped off in front? If the topping is so thick it is a gel / paste it isn’t yummy. This is intended to be JUST set enough to stay on the pie for serving.
I hope these ideas help you. And I want to really encourage you that just because you haven’t always been a great baker doesn’t mean you can’t become one! I taught myself to cook with very little help as a teenager! I had my share of cooking and baking disasters but with practice and good recipes I became really good! You seem to appreciate and enjoy good food and I suspect you can become as good of a baker as you would like to be!!!