Looking for sourdough inclusion ideas that actually work? Skip the guesswork. This beginner’s guide walks you through exactly what to add and when to add it, so you can fold in your favorites with confidence.

New to sourdough? Start Here! How To Feed Sourdough Starter Beginners Guide Easy Sourdough Bread Recipe for Beginners (Artisan Loaf)
All About Sourdough Inclusions: A Beginner’s Guide
Once you feel comfortable making basic sourdough loaves it is time to play with inclusions!
You’ve seen the pictures and ideas in the sourdough groups – there is a LOT of fun to be had! Many things can be added to sourdough from simple and easy to wild experiments.
This post will take you through everything you need to know about which inclusions which inclusions you can add without a second thought and how to add them like a pro.
I’m also going to walk you through the handful of pitfalls that catch people off guard, because nothing kills the inclusion excitement faster than a dense, gummy loaf you can’t explain.
What Are Sourdough Inclusions
“Inclusions” is just a fancy baking word for anything you fold into your dough beyond the basics — flour, water, salt, and starter. Cheese, herbs, dried fruit, chocolate chips, nuts, roasted garlic, fresh jalapeños — if it’s going into the dough it’s an inclusion. That’s it. It’s not a separate skill set or a whole new technique. It’s your same plain loaf, with something delicious riding along.
This post is part of my Sourdough for the Rest of Us series, so if you want a solid plain loaf to practice on first, my Easy Sourdough Bread Recipe for Beginners is the perfect starting point.
When to Add Inclusions (and Why Stretch and Folds Are Your Friend)
The easiest on-ramp into inclusions is during your stretch and folds, not during shaping. Here’s why: you’re already handling the dough at that stage, so you can see and feel how evenly everything is distributing as you go.
Shaping-stage lamination is a more advanced move that takes practice to do without tearing your dough or clumping your add-ins in one corner of the loaf.
So if this is your first time working inclusions into a loaf, do it during your normal stretch and fold routine. If you need a refresher on the technique itself, my Stretch and Fold Sourdough guide walks through it step by step.
Sprinkle your inclusions over the dough, fold, repeat. Low stakes, good visibility, and you already know how to do it.
How to Fold Inclusions Into Your Dough
Once you know you want to work with stretch and folds, here’s exactly how it goes:
- Start adding inclusions on your very first set of stretch and folds. As a beginner it is easiest to add the inclusions from the very first set since you’re working with looser dough that’s more forgiving to fold things into. (Note – other people teach this differently and as you grow as a baker I encourage you to try other methods! This is my favorite way to start inclusions as a newer sourdough baker.)
- Do four individual folds, and add roughly a quarter of your total inclusions before each one. Instead of dumping everything in at once, sprinkle in about 25% of your inclusions, fold, sprinkle in another 25%, fold again, and so on until you’ve worked through all four folds and all of your inclusions.
- Why a quarter at a time works so well: spreading the inclusions across four separate folds means they get distributed gradually through the dough, instead of clumping in one spot or sliding to the bottom of the bowl. Each fold catches another layer, so by the end you’ve got even distribution without any extra effort or fuss.
- Continue your normal stretch and fold schedule from there. Once all the inclusions are incorporated on that first set, the rest of bulk fermentation goes exactly like a plain loaf.
And one more thing — your first inclusion loaf probably won’t be your best one, and that’s completely normal. Getting an even distribution and a good feel for how much dough handling is too much takes a few practice loaves. Don’t judge the technique by your first attempt. By loaf three or four, you’ll have a feel for it that makes the whole process feel almost automatic.
The Pitfalls Nobody Warns You About
Most inclusions are genuinely plug and play within reason. But a few have hidden science behind them that can wreck a loaf if you don’t know it’s there so let’s get that out in the open.
Cinnamon can slow your fermentation.
Cinnamon has natural antimicrobial properties, and in large enough quantities it can suppress the wild yeast and bacteria in your dough. A light dusting for a swirl is fine. Mixing cinnamon into the dough rather than just swirled in, can leave you with a sluggish rise that never quite catches up.
Fresh pineapple will turn your dough to mush.
Pineapple contains an enzyme called bromelain that actively breaks down gluten structure. This is the same reason pineapple stops Jell-O from setting. Fold fresh pineapple into sourdough and you’ll watch your nice elastic dough turn slack and gummy in front of you. If you want pineapple flavor, you’ll need dried pineapple instead.
Fresh jalapeños (and other juicy add-ins) mess with your hydration
Fresh peppers, fresh fruit, anything with high water content is going to release moisture into your dough as it sits. That extra liquid throws off the hydration balance you carefully built into your recipe, and you can end up with a slack, hard-to-shape dough that wasn’t actually your fault — it was the jalapeños.
None of this means avoid these ingredients. It means know what you’re working with before you commit a whole loaf to it. I made a very nice loaf once with frozen blueberries. The bread was cooked but it ended up with a gummy layer around the blueberries.
Fun Sourdough Inclusion Ideas
Once you’ve got the basics down, here’s where the fun starts. A few combinations to get you thinking:
Savory:
- jalapeño and sharp cheddar — the classic inclusion loaf everyone wants to try first
- roasted garlic and herb— deeply savory and makes your whole kitchen smell incredible
- chili crisp and green scallion— bold, a little spicy, and totally addictive
- caraway and thyme— earthy and rustic, incredible with soup or cheese
- sun-dried tomato and parmesan— rich, Italian-inspired, and great for sandwiches
- Everything bagel seasoning — easy, foolproof, wildly popular
- Kalamata olives and rosemary — great Mediterranean flavor combo
- Bacon and gruyère — speaks for itself
- Pesto swirl — fold in like a cinnamon swirl but savory
- Caramelized onion and thyme — deep, rich flavor
Sweet:
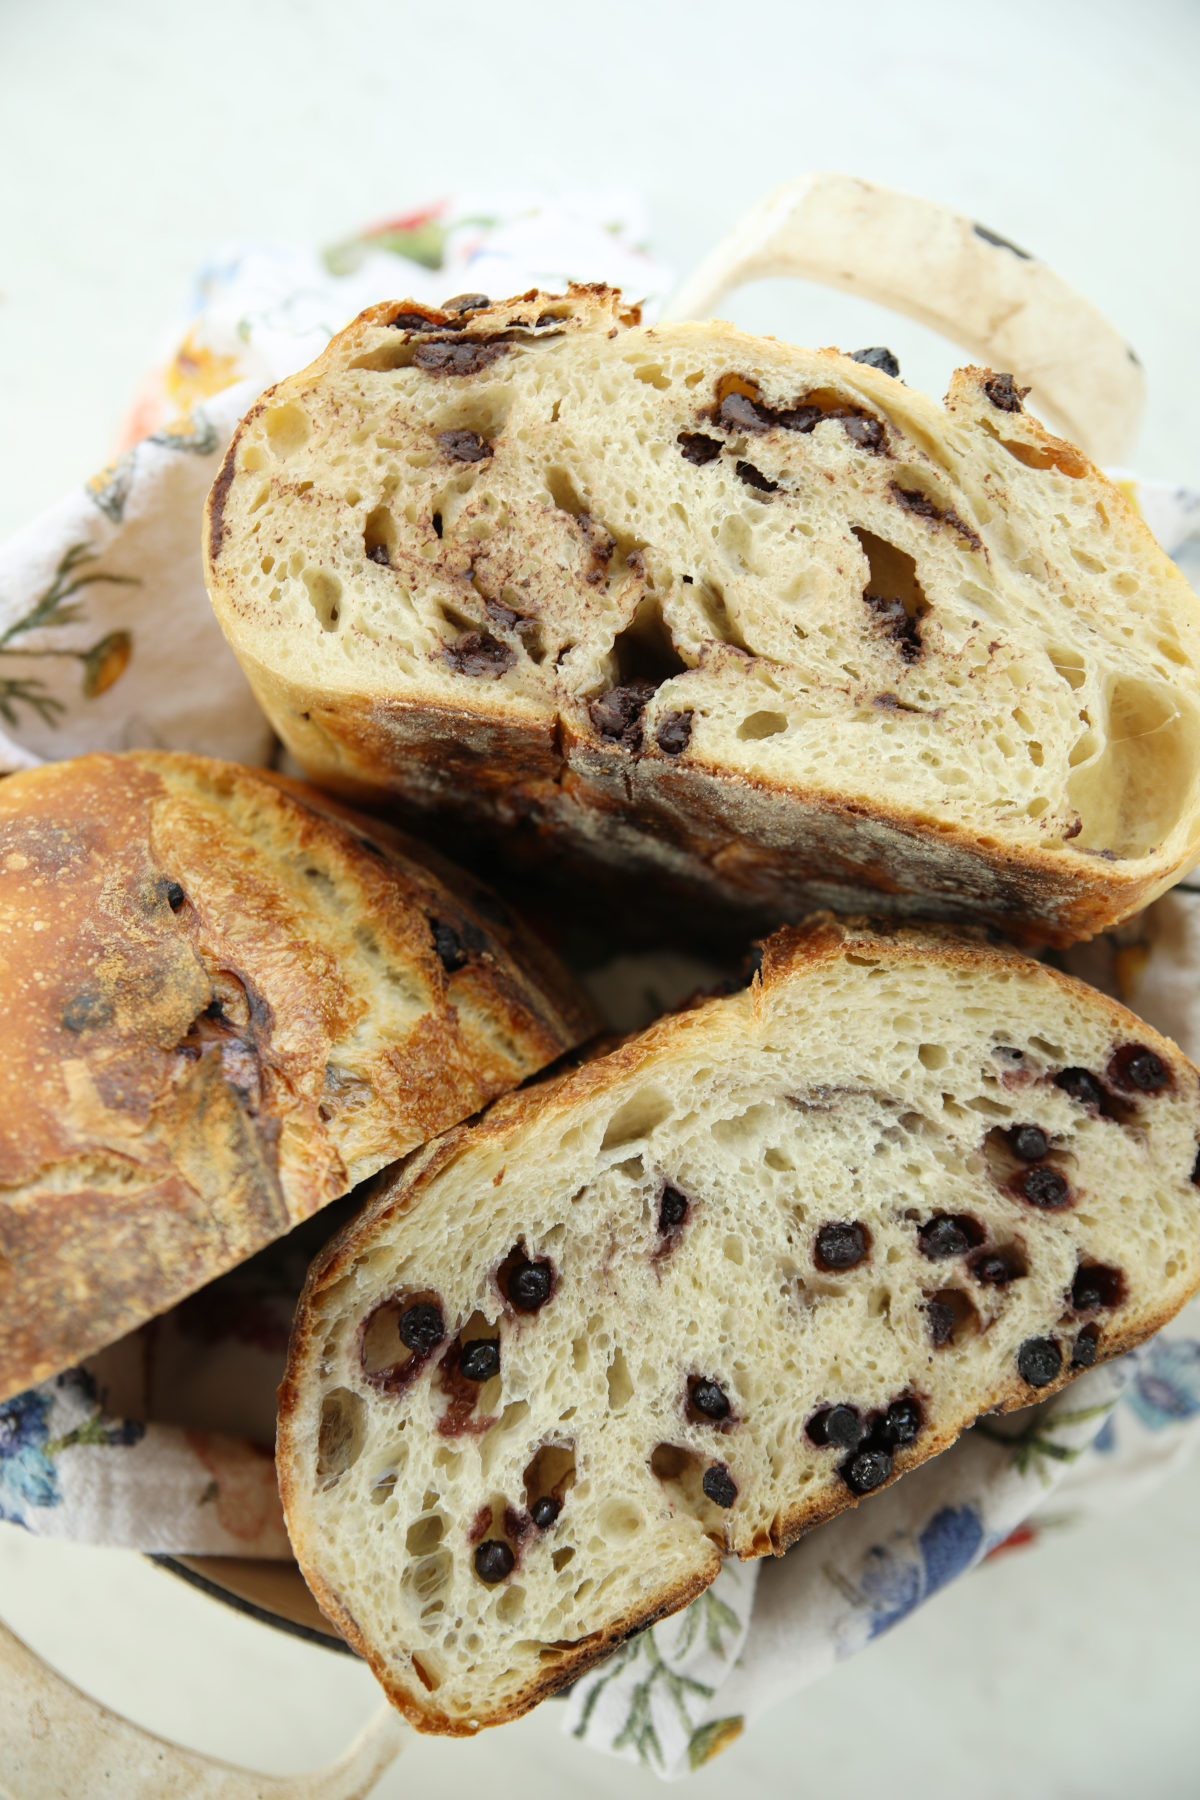
- chocolate chip — a crowd favorite and one of the easiest sweet inclusions to start with (my guilty pleasure!)
- dried blueberry — sweet, chewy, and beautiful in every slice (try it with cream cheese!)
- marzipan-stuffed — a showstopper loaf that tastes like an almond pastry
- red hot cinnamon candy — fun, unexpected, and gorgeous — just line your banneton first!
- dried cranberry and orange zest — bright and seasonal, perfect for the holidays
- cinnamon raisin — a classic for a reason, just go easy on the cinnamon (see pitfalls section!)
- dried apricot and cardamom — slightly unexpected but absolutely beautiful
- brown sugar and walnut swirl — tastes like a coffee cake loaf in the best possible way
- dark chocolate and sea salt — simple, elevated, and impossible to stop eating
The Inclusion Formula
If you’re not sure how much is too much, here’s your rule of thumb: most inclusions work well at 10 to 20 percent of your flour weight. So if your recipe calls for 500 grams of flour, you’re looking at roughly 50 to 100 grams of add-ins. Stick to the lower end for your first attempt, especially with anything dense like nuts or chocolate chips, since too much will weigh down your dough and limit your oven spring.
| Inclusion Weight | % of Flour Weight | Result |
|---|---|---|
| Light hand | 10% | Subtle flavor, minimal impact on rise |
| Standard | 15% | Well-balanced, noticeable in every slice |
| Generous | 20% | Bold flavor, dough needs extra care handling |
As I develop recipes I start in the 10% – 20% range and then push the envelope more if the dough is sustaining it. But I’m also willing to accept that some loaves are total flops. For me the discovery and possibility of developing something extra special makes it all worth it!
A Few Tips for Inclusion Success
Dry-sauté watery fresh ingredients first. If you’re using fresh jalapeños, peppers, or anything else with high moisture content, give them a quick dry sauté in a pan before folding them into your dough. No oil needed — just enough heat to drive off excess water. This helps limit the the excess water getting into your dough.
Consider lining your banneton. Inclusions like cinnamon red hots or blueberries can stain your proofing basket, and I mean permanently. I dyed one of mine bright red with red hot candies and another deep purple with blueberries, and no amount of washing has ever gotten either color out.
Now the real problem is that now they keep transferring that color onto every loaf I proof in them. A plastic banneton liner solves this completely, or you can go the more old-fashioned route with a well-floured towel inside a bowl. Either way, a little prevention now saves you from a permanently tinted basket.
Watch for inclusions burning on top. Sugary or dense inclusions sitting right on the surface — chocolate chips, cinnamon candy — can scorch before the rest of the bread finishes baking. Baking just 10 minutes after uncovering the loaf (instead of the full remaining time) helps keep things from going from toasty to burnt. It also helps to fold inclusions in so they stay tucked inside the dough rather than sitting exposed on top, and for chocolate chip loaves especially, pick off any chips sitting right on the surface before baking — those have nothing protecting them and are the first to go.
Expect the bottom to be a little darker. Even with rice flour and a heat shield underneath, an inclusion loaf’s bottom crust will likely come out darker than a plain loaf. That’s just normal with inclusions, not a sign you did something wrong.
Scoring takes a little extra patience. If your blade hits an inclusion and skips instead of slicing clean through, just go over the cut a second time. Don’t fight it — a quick second pass does the job. Sometimes I hit a chocolate chip (can you tell I bake this one all the time?) and have to pluck it out of the score. If you are running into a lot of inclusions during the scoring process you will need to change your lame blade more frequently.
Expect a slightly different rise, and that’s okay. Inclusion loaves often rise a little differently than plain ones, depending on what you’ve added. A slightly denser crumb or shorter rise doesn’t mean you did something wrong — it means you added something. The loaf will still taste incredible. This is where knowing how to watch your dough is so helpful – If the dough behaves differently with inclusions you will notice if bulk is going faster or slower and you can adjust accordingly.
Inclusions are one of the most fun ways to make sourdough your own once the basics feel comfortable. Start with your stretch and folds, respect the few ingredients that need a little extra care, and don’t be afraid to experiment. Try one of the combinations above, or come up with your own — I’d love to hear what you bake.
New to sourdough? Start Here! How To Feed Sourdough Starter Beginners Guide Easy Sourdough Bread Recipe for Beginners (Artisan Loaf)
Leave a Reply