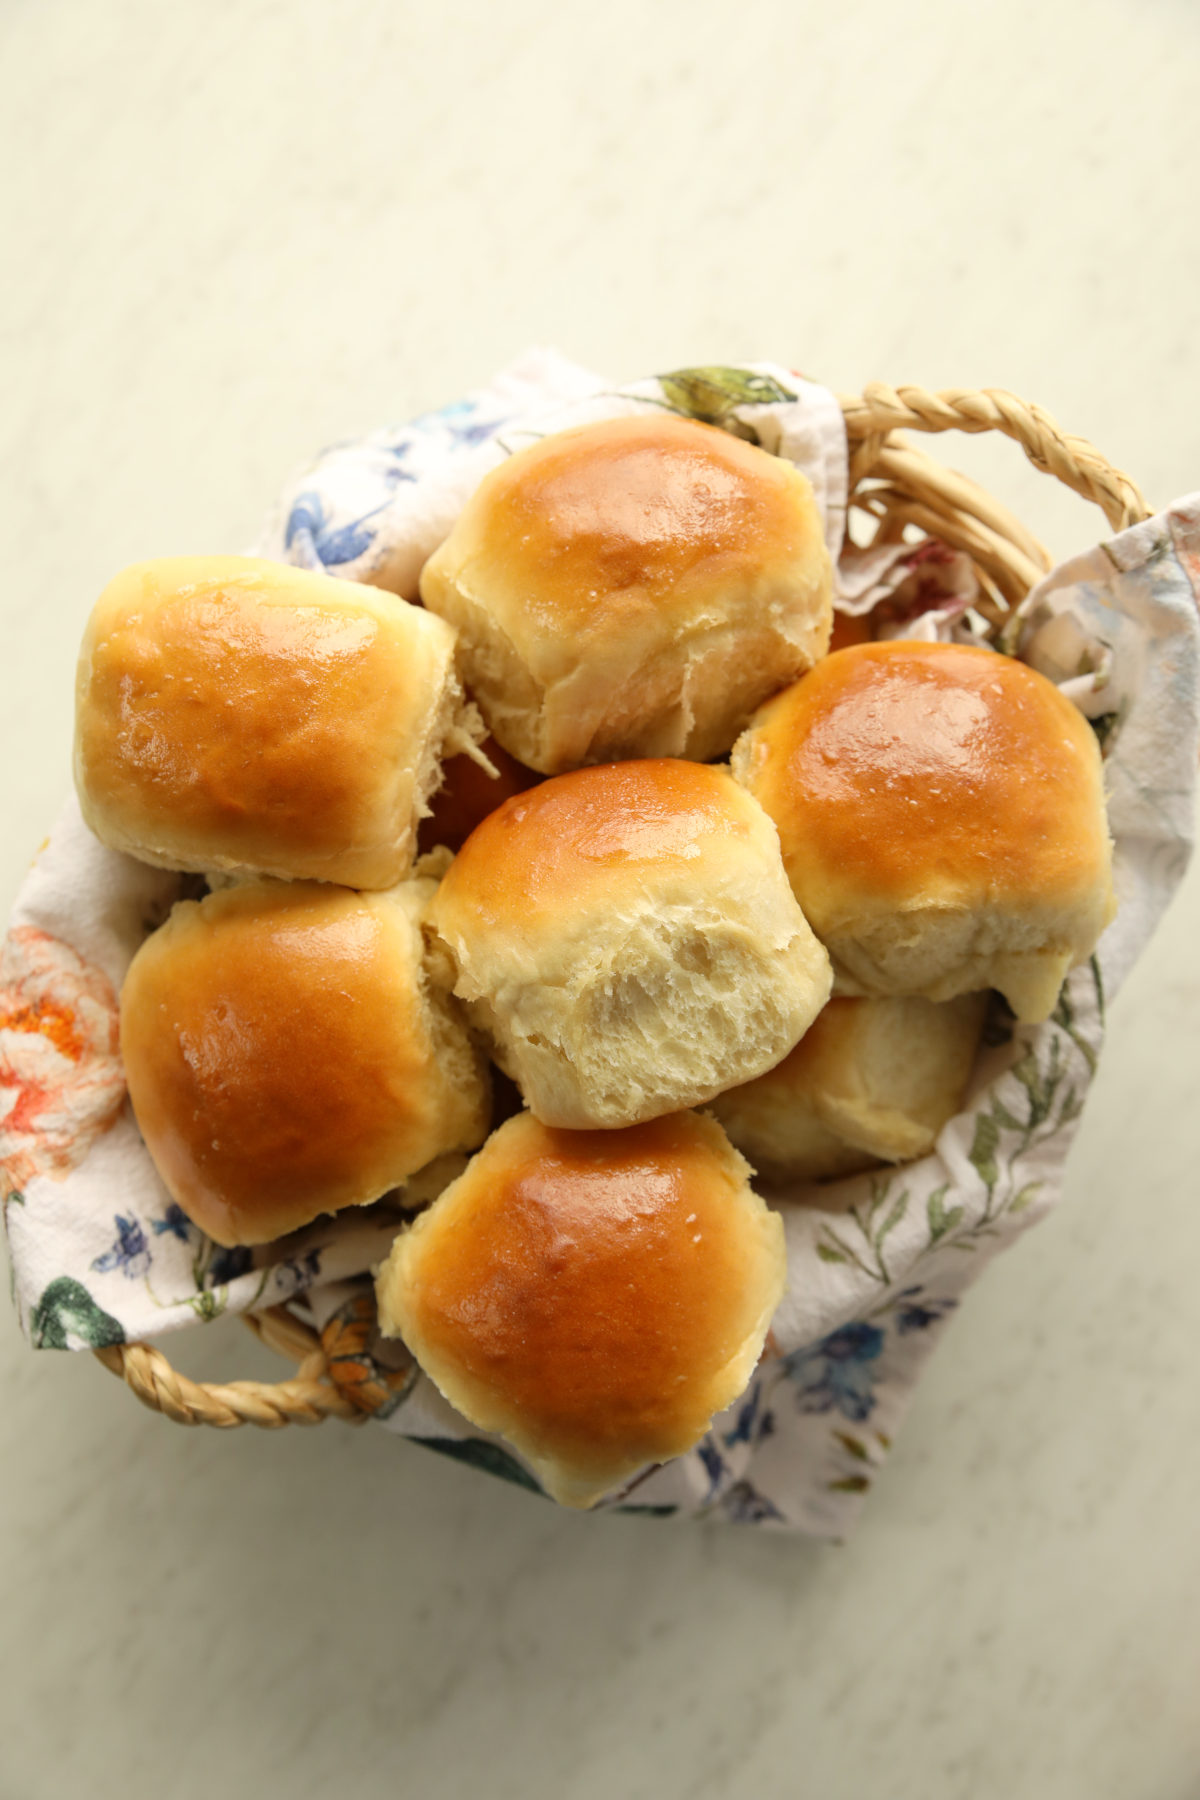
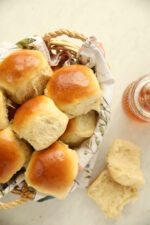
These sourdough discard rolls come together start to finish in 90 minutes — and they taste like you spent all day in the kitchen. Soft, pillowy, slightly sweet, and golden on top. This is the dinner roll recipe you’re going to make on repeat for weeknight dinners and all the holidays!
Using both sourdough discard and instant yeast means you get the flavor of sourdough with none of the waiting. Whether your discard is cold from the fridge or freshly fed, it works.


New to sourdough? Start Here! How To Feed Sourdough Starter Beginners Guide Easy Sourdough Bread Recipe for Beginners (Artisan Loaf)
The Best Sourdough Discard Rolls
These sourdough discard rolls work so well because of the combination of instant yeast and discard. You’re not relying on your starter to make the dough rise. The instant yeast handles that reliably every time. The discard is purely for flavor, which means it doesn’t matter whether yours is fed and active or has been sitting in the fridge all week.
Brown sugar gives these rolls a touch of sweetness and helps them brown beautifully. Bread flour gives you structure and that satisfying chew. And a generous rub of butter on top right out of the oven? Non-negotiable. (I mean your choice but please choose butter!)
These are the kind of rolls that make people ask if you bought them from a bakery. You didn’t. You made them in 90 minutes on a Tuesday. (Learn more about maintaining a sourdough starter and baking with discard here).
Why These Ingredients
Here’s a quick look at the key players in this recipe:
Bread flour — Bread flour has more protein than all-purpose, which gives these rolls better structure and a chewier, more satisfying texture. You can use all-purpose in a pinch, but bread flour is worth it here.
Sourdough discard — You need a scant 2/3 cup (150 grams). Fed and active starter works just as well as straight discard. If your discard is cold from the fridge, the warm water in the recipe will help bring the dough up to a good temperature. Letting it come to room temp on the counter is also great!
Brown sugar — Adds a gentle sweetness and helps the rolls develop a gorgeous golden color.
Butter — Melted butter goes into the dough, and then you’ll want more to rub on top of the hot rolls when they come out of the oven. Rolls and butter are married. Don’t try to keep them apart!
Salt — 14 grams (about 2 teaspoons) might look like a lot, but it’s right for this size batch. Properly salted dough tastes dramatically better.
How to Make Sourdough Discard Rolls
Add the warm water (98-100°F) and sourdough discard to the bowl of a stand mixer and mix briefly to combine. Add the brown sugar and instant yeast, mix again, then add the egg, melted butter, and salt. Mix until blended.
With the dough hook running on low, add the bread flour. The dough should be tacky but not overly sticky. Knead for 5-6 minutes until the dough is smooth, elastic, and forms a cohesive ball. If it’s sticking too much, add more flour a little at a time — but don’t exceed an additional 20 grams.
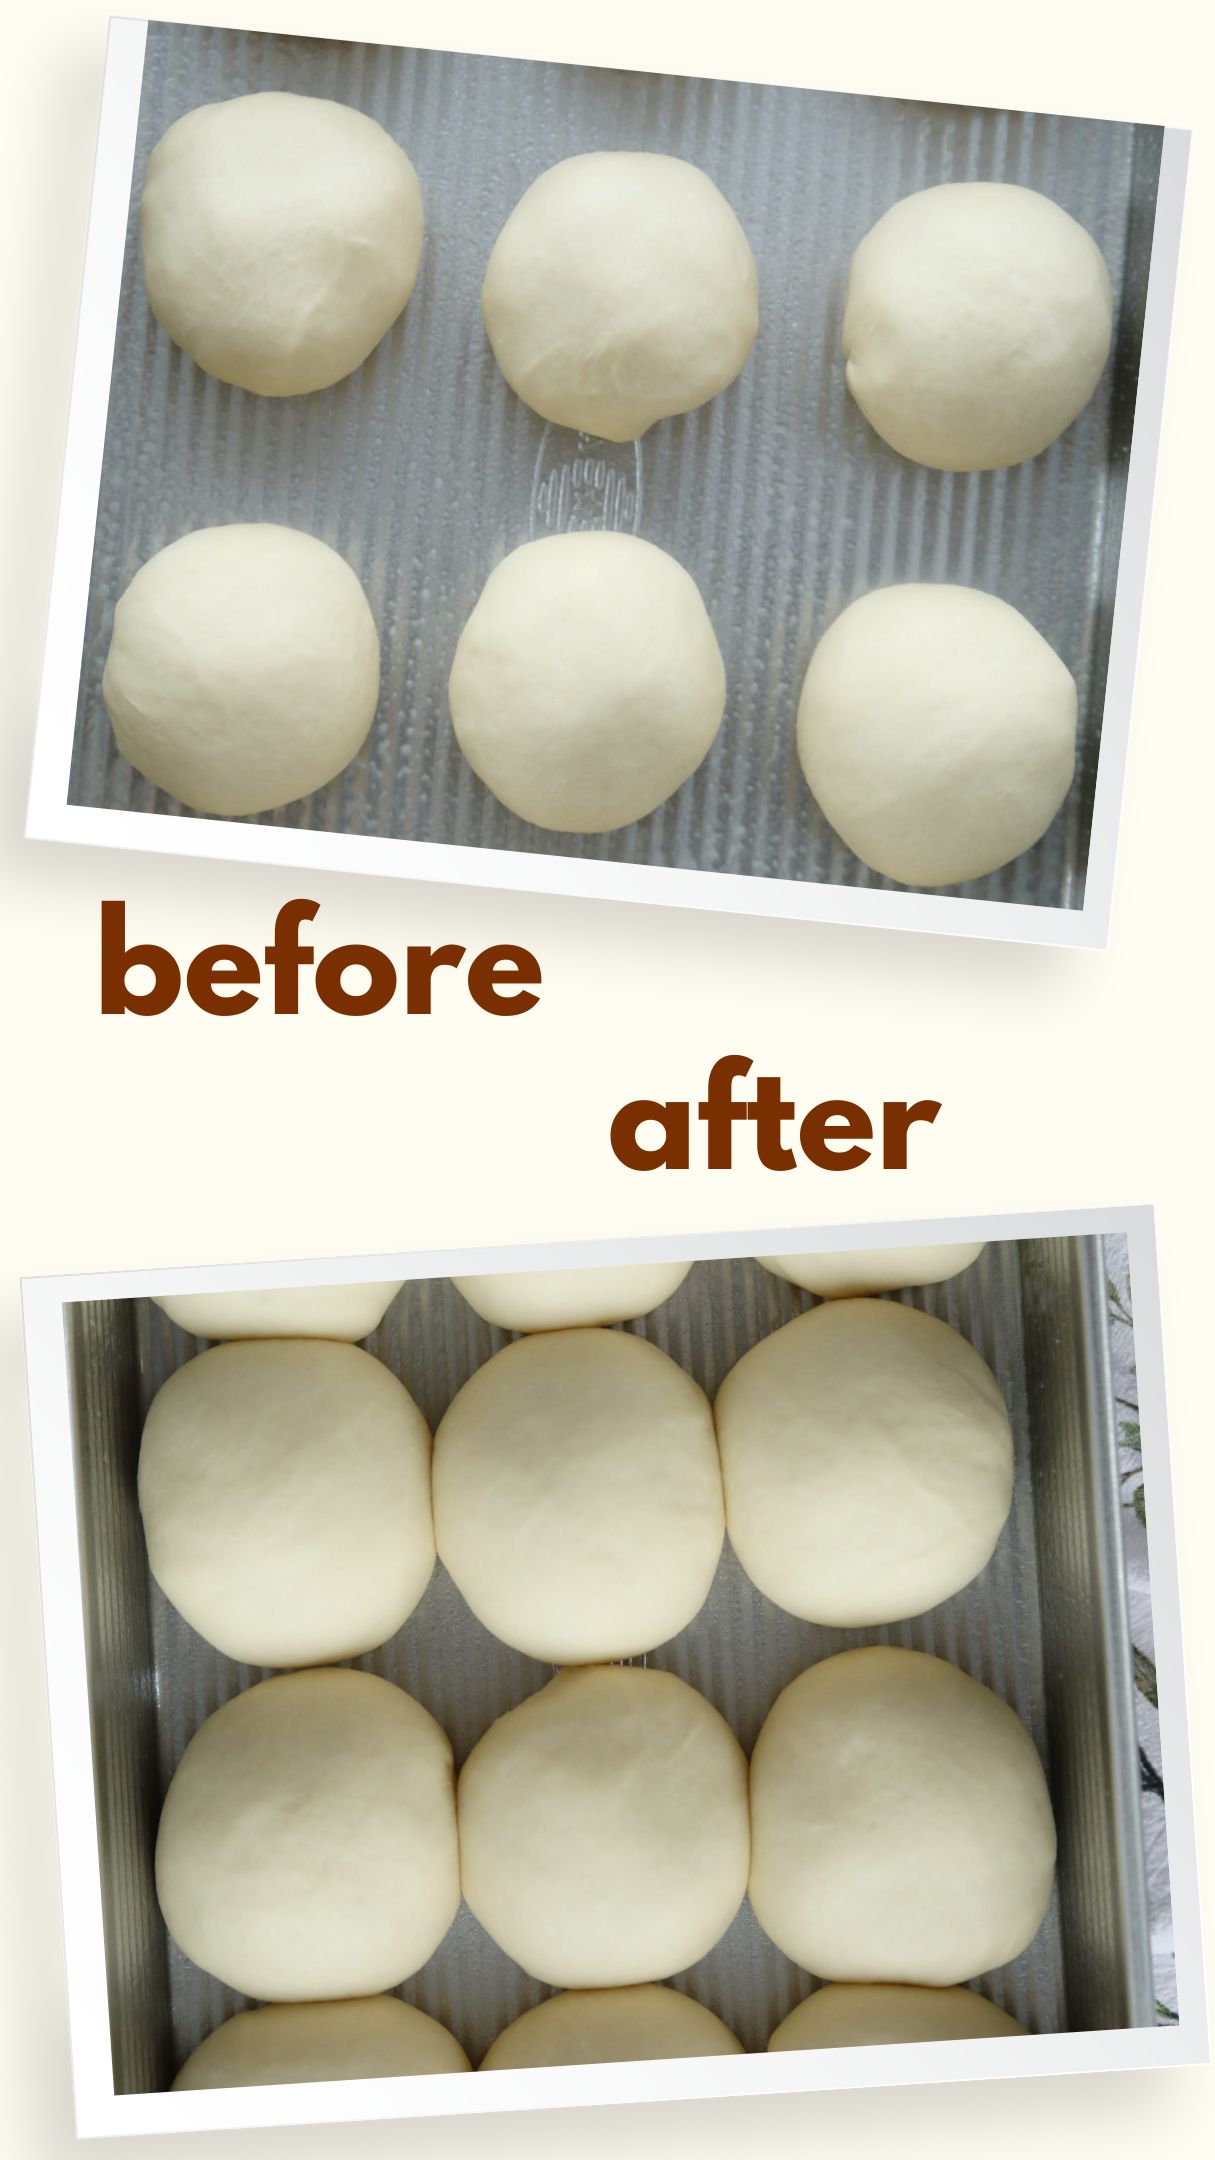
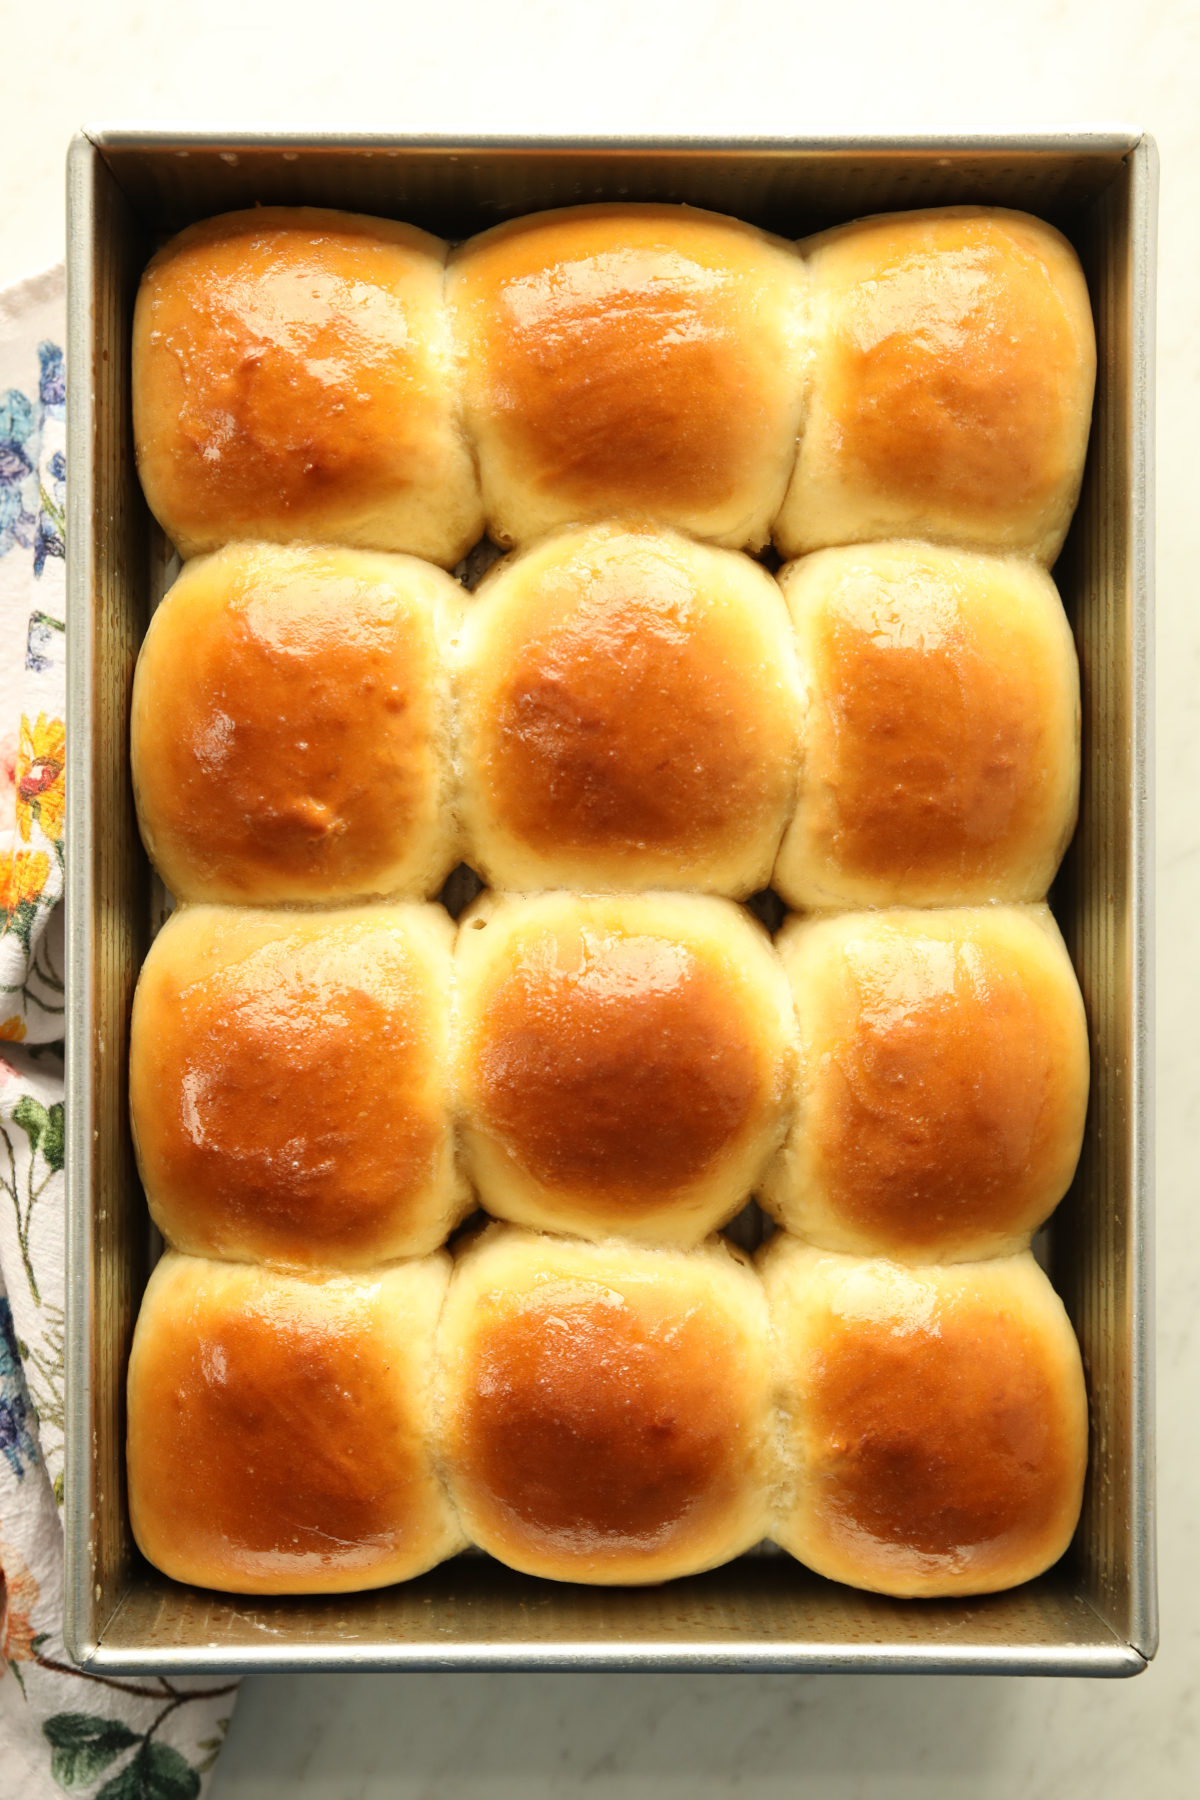
Divide the dough into 12 equal pieces (about 85-90 grams each), shape, and arrange in a greased 9×13 metal pan. Cover and let rise in a warm spot for 15-25 minutes until doubled. Bake at 375°F for 15-20 minutes until golden brown.
How to Shape Dinner Rolls
Shaping rolls is a skill worth learning because it’s what gives you that tight, smooth exterior that holds together in the pan. Creating surface tension in the dough sounds geeky but it actually impacts how the rolls rise and your final texture!
Start by weighing your dough and doing the math to divide it evenly — 12 equal pieces at about 85-90 grams each. A scale makes this simple and takes the guesswork out of it.
To shape each piece, hold the dough in one hand and use the other to pull the sides up and pinch them all together at the bottom, working your way around the entire piece. You’re creating surface tension across the top of the roll — this is what gives you that smooth, round shape instead of a lumpy blob.
Once you’ve pinched the bottom together, set the roll seam-side down on a clean counter. Cup your hand loosely over the dough and use a gentle circular motion to roll it against the counter, which tightens the surface tension even further and rounds it out beautifully.
Place the rolls seam-side down in the greased pan. Repeat with the remaining dough.
Tips for the Life Changing Rolls
Use a metal pan. Metal conducts heat better than glass and gives you a more evenly baked roll with a better bottom. Glass works, but metal is the move. I’m a die hard fan of the quality pans from USA Bakeware. Cost effective and durable!
Keep the dough warm for a fast rise. The 15-25 minute rise time assumes a warm kitchen. If your house is cool, the rise will take longer. I use the proofing setting on my oven for consistent rise times! If you don’t have this option you can preheat the oven to 350 for ONE MINUTE. Then TURN IT OFF. Put your dough in to rise in the cozy warm spot! Just remember to take them out before preheating.
Check for doneness the right way. Golden color is a good sign, but for certainty use an instant-read thermometer. The rolls are fully baked when the center reads 190°F. If you don’t have a thermometer consider investing in a high quality one from ThermoWorks. A thermometer is only as good as it is made and when you are testing food for doneness you want one that works well and lasts for years!
Butter the tops while hot. Rub a stick of butter generously over the rolls the moment they come out of the oven. It soaks in, adds flavor, and gives you that glossy, irresistible top.
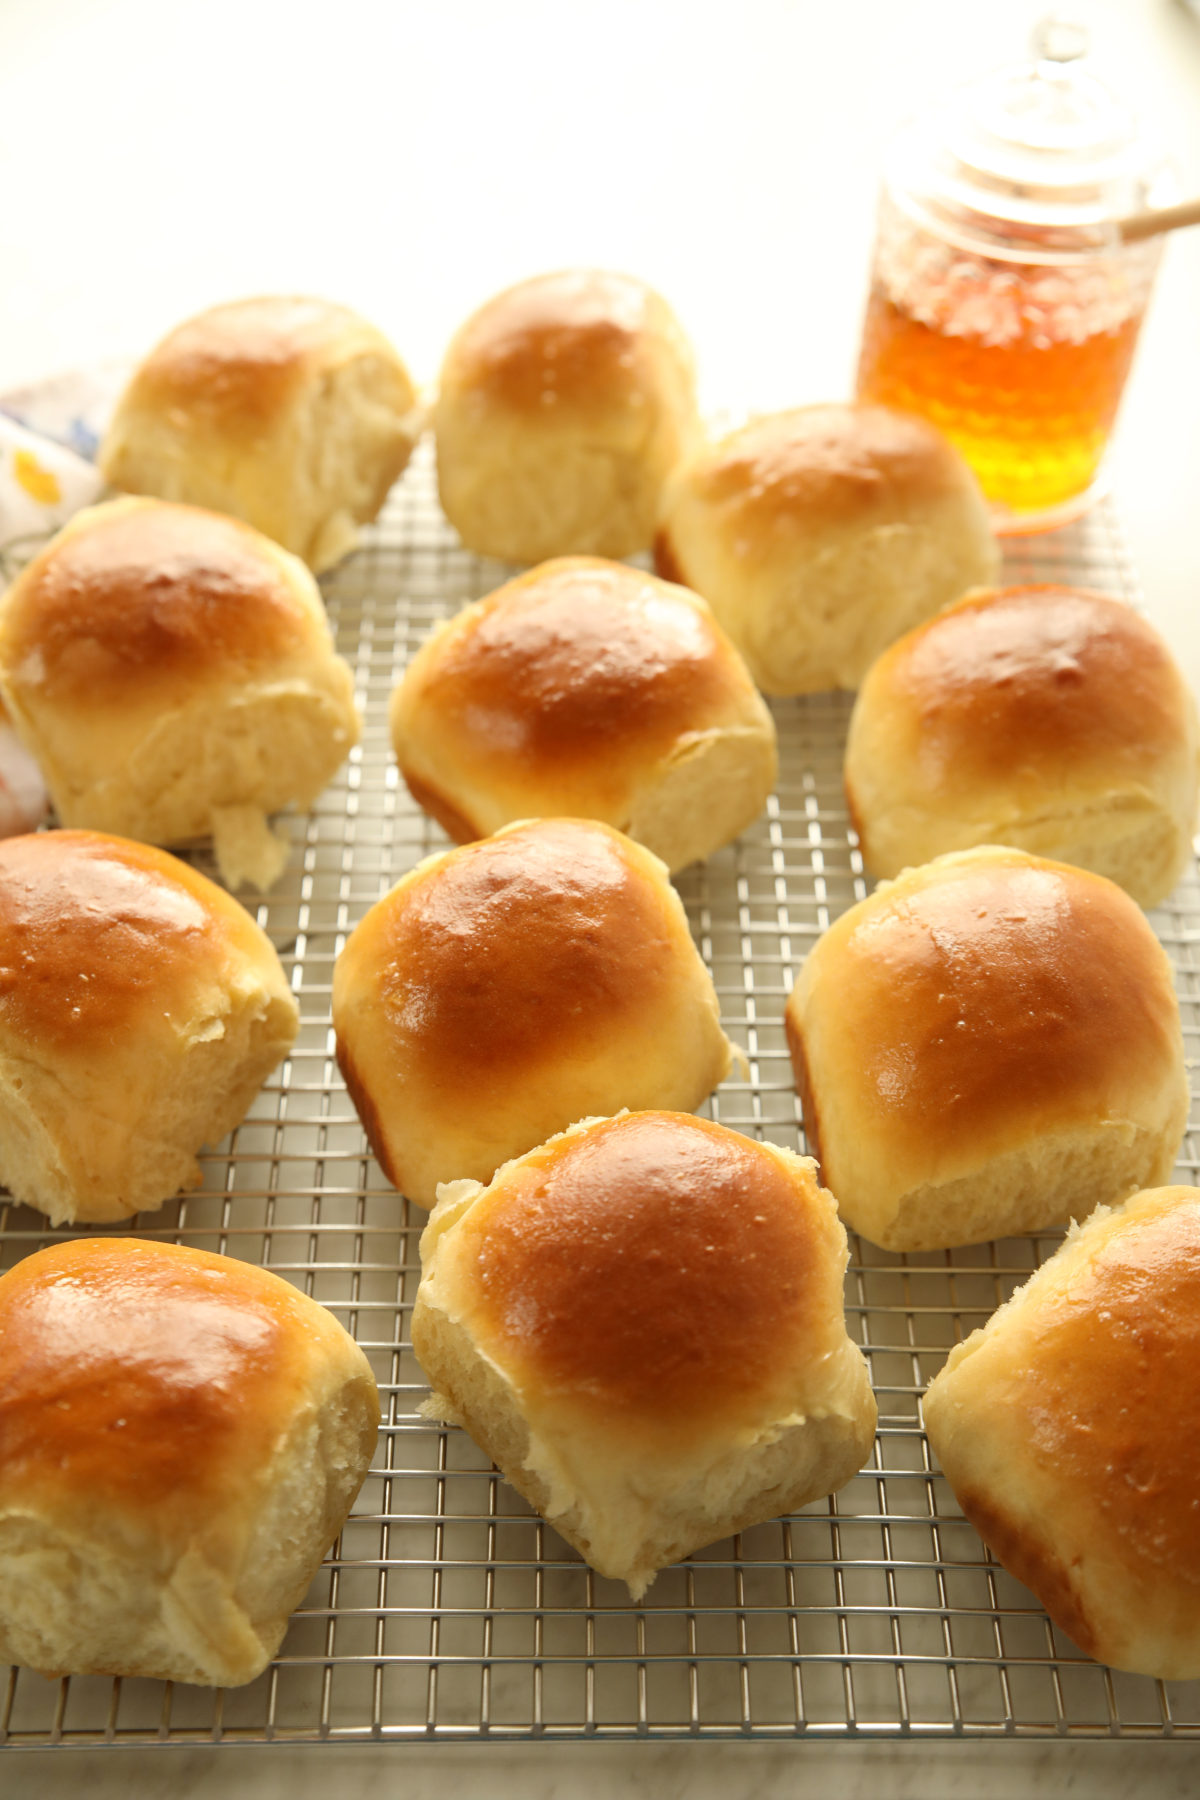
Don’t cool them in the pan. Let them rest 10 minutes, then move them to a rack. Rolls that sit in the pan too long will sweat and end up with soggy bottoms. (Nobody wants a soggy bottom!)
Making Rolls Without a Stand Mixer
No stand mixer? No problem. Here’s how to make it work:
- Mix the water, discard, sugar, and yeast together in a large bowl, then add the egg, butter, and salt.
- Add the flour and stir until a shaggy dough forms.
- Turn the dough out onto a lightly floured surface and knead by hand for 8-10 minutes until smooth and elastic.
- If your discard is cold, make sure your water is on the warmer end of the range to compensate.
After you fall in love with baking bread read up on why you should NEVER buy a KitchenAid Stand Mixer here (I did all the testing and KitchenAid does not come out on top!)
Storing and Reheating Rolls
Store leftover rolls in an airtight container at room temperature for up to 2-3 days. To reheat, microwave individual rolls for 15-20 seconds. They also freeze beautifully — place cooled rolls in a zip-top freezer bag and freeze for up to 3 months. Thaw at room temperature or warm in the microwave straight from frozen.
More Sourdough Discard Recipes to Try
If you loved these rolls, here are a few more places to put that discard to work:
- Sourdough Discard Cinnamon Rolls with Buttercream Glaze
- Sourdough Discard Sticky Buns with Pecans
- Sourdough Discard Chocolate Chip Cookies
Soft and Fluffy Sourdough Discard Rolls in Just 90 Minutes
Ingredients
- 240 grams warm water 98-100°F, about 1 cup
- 150 grams sourdough discard scant 2/3 cup (fed and active or straight from the fridge both work)
- 70 grams brown sugar about 1/3 cup
- 15 grams instant yeast about 1 1/2 Tablespoons
- 1 large egg
- 45 grams salted butter melted, about 3 Tablespoons
- 14 grams salt about 2 teaspoons
- 520 grams bread flour about 4 cups
- Additional salted butter for rubbing on top of hot rolls optional but highly recommended
Instructions
- Grease a 9×13 metal baking pan and set aside.
- Add the warm water and sourdough discard to the bowl of a stand mixer. Mix briefly to combine, then add the brown sugar and instant yeast. Mix again, then add the egg, melted butter, and salt. Mix with the whisk attachment or dough hook until everything is fully blended.
- With the dough hook running on low, add the bread flour. The dough should be tacky but not overly sticky. Knead for 5-6 minutes until the dough is smooth, elastic, and forms a cohesive ball. If the dough is sticking too much, add more flour a little at a time — but don’t exceed an additional 20 grams.
- Turn the dough out and divide it into 12 equal pieces, about 85-90 grams each. A kitchen scale makes this easy — weigh the full dough, divide by 12, and cut accordingly.
- To shape each roll, pull the sides of the dough up and pinch them together at the bottom, working your way all the way around to create surface tension across the top. Then place the roll seam-side down on a clean counter, cup your hand loosely over it, and use a gentle circular motion to roll it against the counter until it’s smooth and round. Place seam-side down in the prepared pan. Repeat with the remaining dough.
- Cover the pan with plastic wrap or a damp tea towel and set in a warm place to rise for 15-25 minutes, until the rolls have doubled in size and are touching each other in the pan.
- Preheat the oven to 375°F. (If you used the oven to proof your rolls, remember to remove them before turning the oven on.)
- Bake for 15-20 minutes until the rolls are golden brown. For a precise doneness check, an instant-read thermometer inserted into the center of a roll should read 190°F.
- Immediately rub the tops of the hot rolls generously with a stick of butter. Let the rolls rest in the pan for 10 minutes, then transfer to a wire rack. Don’t let them cool completely in the pan or the bottoms will become soggy.
Helpful Recipe Notes
Your Rating Matters
When you leave a comment or star rating, it means more than you might think. It helps me understand what you’re enjoying, builds trust for other readers, and supports real, tested cooking content. If you have a moment, I’d truly appreciate you sharing your experience. – Mirlandra
Nutrition Estimate
A Note on Nutrition
Nutritional info is an imperfect estimate. Please take it with a grain of salt.
New to sourdough? Start Here! How To Feed Sourdough Starter Beginners Guide Easy Sourdough Bread Recipe for Beginners (Artisan Loaf)
Leave a Reply