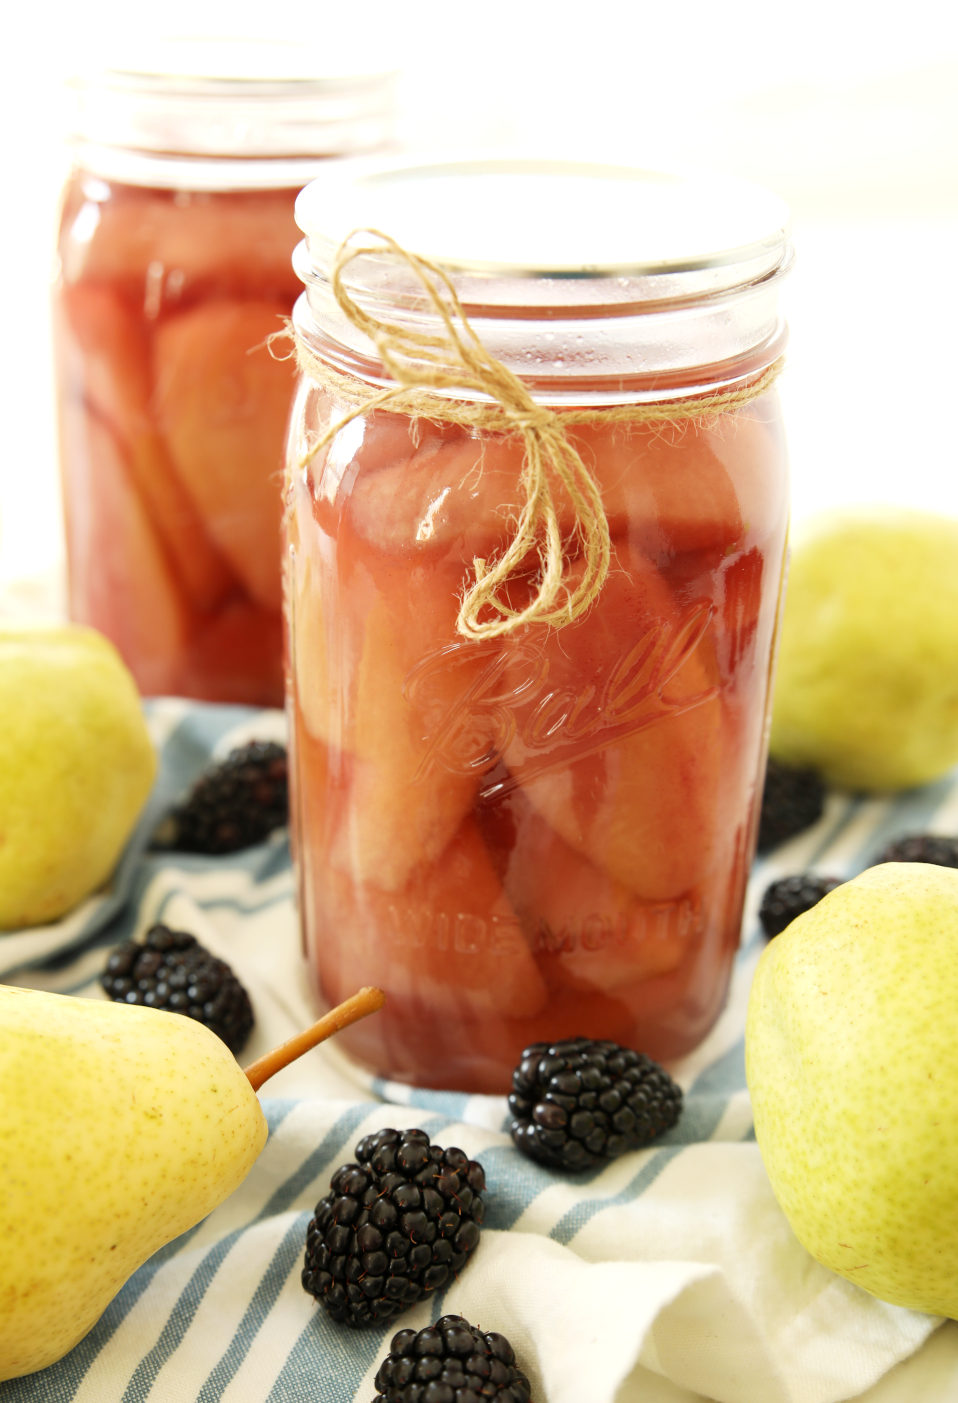
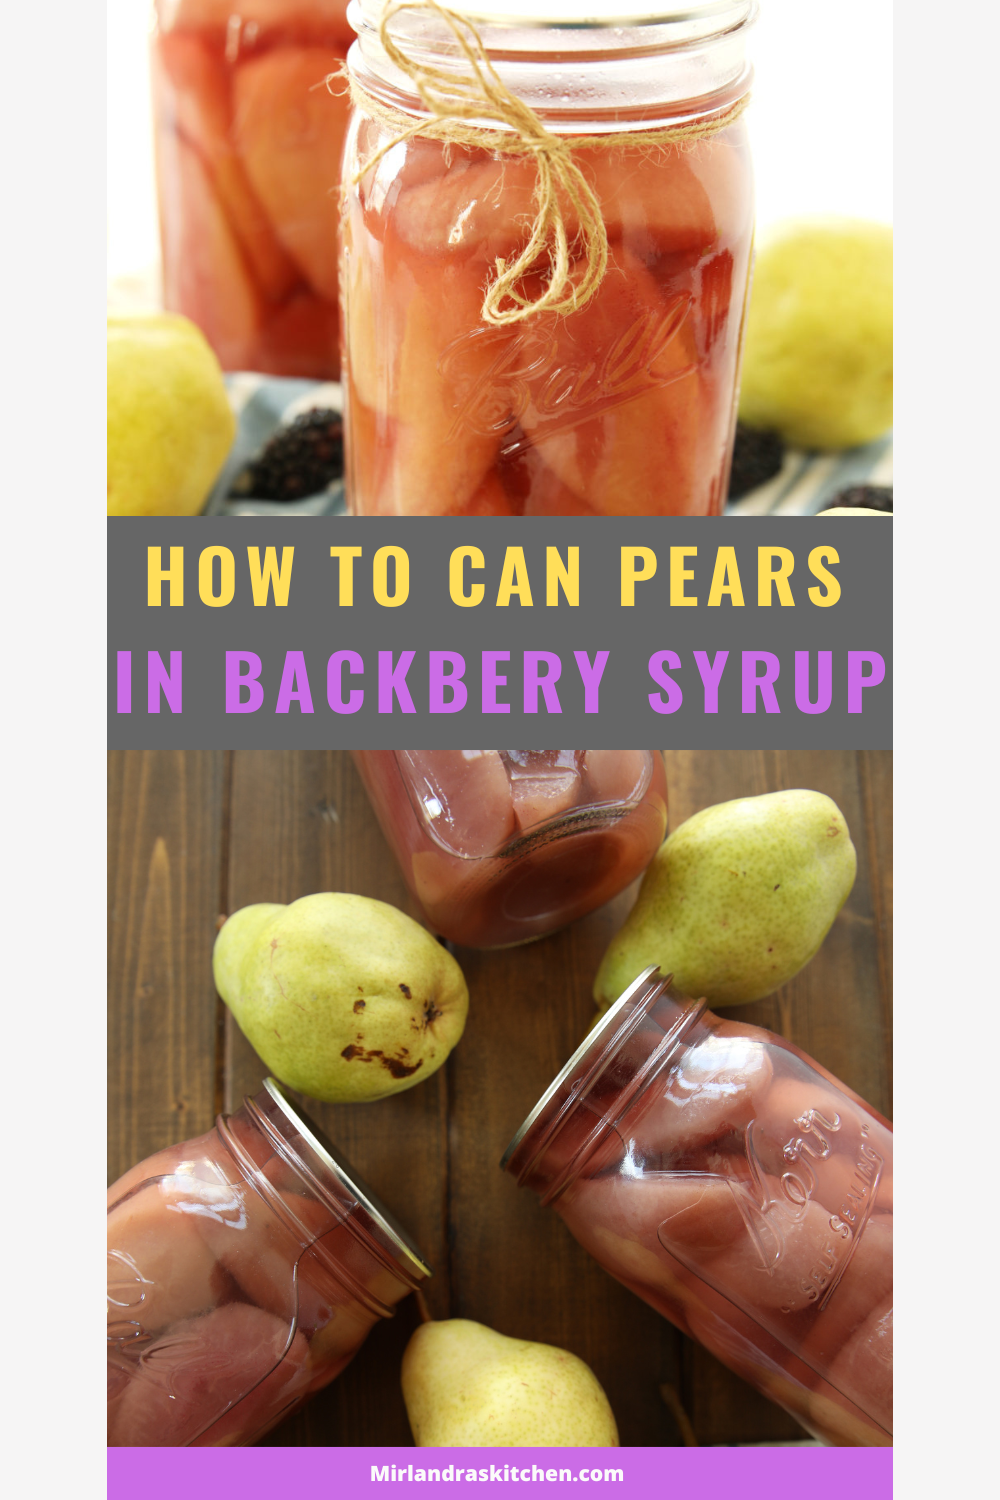
Pears canned in blackberry simple syrup are a delightful treat and they make beautiful jars of tinted fruit. My kids ask me for “purple” pears every year. Pears have a delicate sweetness that plays well with other flavors, and blackberries bring a bright, tangy depth that keeps things from being overly sweet. The syrup is a rich purple-pink — just enough to give your pear slices a blushing glow.
Whether you’re an experienced home canner or brand new to the process, this recipe is approachable, beautiful, and absolutely worth your time. If you are new to canning (welcome) pears are fairly easy and this is a great place for you to start!
Why Canning Pears With Blackberry Simple Syrup Works
I love flavors that bring a little surprise and even a bit of complexity to food. I used to find pears very “basic” (this would be a serious insult if I lived in France but hopefully the pears don’t take offence!) They are a fine fruit but not always bursting with flavor.
A few years ago I started experimenting with a lightly spiced pear jam with a hint of warm spices and I caught the vision for how delightful pears could be. It has been an interesting line of thought to pursue and this recipe came from trying different things with pears.
I do occasionally eat pears fresh but I tend to pair them (pun intended) with savory cheese for that complexity of flavor and texture that I enjoy.
How I Use Pears Canned In Blackberry Simple Syrup
These jars aren’t just for the pantry. They’re for gifting, for bringing a splash of summer to a dreary winter day, and for dressing up breakfasts, desserts, and even savory dishes. I love bringing them out in the winter when the best of summer fruit is just a memory. I also like to have them for holidays and fancy brunchs.
Serving Ideas for Blackberry Pears
- Over yogurt or ice cream: The syrup doubles as a berry sauce.
- In cocktails or mocktails: Try muddling pear slices into a sparkling drink.
- With roasted meats: The sweet-tart combo is lovely with pork or chicken.
- On a cheese board: Serve slices alongside creamy brie or tangy goat cheese.
What kind of pears are best for canning
The easiest kind of pear to get ahold of is a green Bartlett pear. They are nice and firm and widely available. Bosc, or Anjou are also lovely.
But my favorite kind of pear to can is a red Bartlett. They have a smoother skin for pealing and I felt like the prep went faster. They also have great flavor. Watch for these at the very end of August and beginning of September. It is a short season but if you can find them they are worth it.
How to Peel Pears for Canning
Pears are generally peeled before you can them. This gives the best flavor and texture. There are two main methods.
#1. Use a vegetable peeler to remove the skins. Then, cut the pear in quarters from stem to blossom and remove the core. This peeler from OXO is sharp and comfortable to hold so you can get the job done quickly and without cutting yourself.
#2. Use a Apple Peeler Machine. If you prepare a lot of apples and pears it is worth buying this simple hand crank peeler. This model is adjustable so it can be set just to peel and doesn’t have to slice and core at the same time. You could use it that way but it would take too much of the fruit out of the middle in the process. However, if you just set it up for peeling it should be great! There are a lot of cheap versions out there. This version of the apple peeler is not overly expensive and is also good quality. I would be careful of the super cheap ones.
I make a ton of apple sauce and apple crisp and fried apples so I get plenty of use out of my apple peeler and it is my preferred way to prepare any fruit I can shove on there.
Which is Better for canning Pears? Raw Pack Vs. Hot Pack
The question with pears and peaches is always raw packing or hot packing the fruit. The question comes down to how you want to cook the pears for canning.
Bottom line, I’ve done raw pack and hot pack with pears – both were good. Raw pack is fast and easy but sometimes the fruit shrinks down some because you haven’t cooked it at all first. Hot pack takes more time but once they are canned the jars remain fairly full looking because all the shrinkage has already happened in the cooking.
I think it is totally personal preference. I’ve included instructions for both in the recipe card. You can also learn more about basic water bath canning in Water Bath Canning For Beginners tutorial. This is likely to answer additional questions you have about raw and hot packing fruit.
How to Can Pears in Blackberry Syrup
Ingredients You’ll Need
You don’t need a long grocery list to make something special — just a few fresh ingredients and some basic canning supplies.
For the fruit and syrup:
- Fresh ripe pears — Bartlett, Bosc, or Anjou work beautifully. Look for fruit that’s ripe but still firm enough to hold its shape after canning.
- Blackberries — fresh or frozen, whichever is best where you live.
- Sugar — regular white granulated sugar works best for a clean, bright flavor.
- Water — if you live where the water has strong flavors consider filtering it before using it
- Lemon juice or citric acid — optional, but helps preserve color and adds brightness.
Canning equipment:
- Pint or quart canning jars with lids and rings.
- Water bath canner (or a deep stockpot with a rack).
- Jar lifter, funnel, and basic kitchen tools.
For more information on canning equipment please read my Water Bath Canning For Beginners Tutorial. There are lots of tips and equipment information in that post.
Making the Blackberry Simple Syrup
The syrup is the heart of this recipe — it’s what transforms ordinary canned pears into something extra fancy.
Step 1: Combine your ingredients
In a medium saucepan, add 2 cups of blackberries, 2 cups of sugar, and 4 cups of water. Stir to combine.
Step 2: Simmer and extract flavor
Bring the mixture to a gentle boil, then reduce heat and let it simmer for 5–10 minutes, mashing the berries slightly to release their juice. The water will deepen into a beautiful ruby color.
Step 3: Strain or keep it rustic
For a smooth, jewel-toned syrup, pour the mixture through a fine mesh strainer or cheesecloth, pressing to extract every drop of liquid. If you love the idea of little blackberry bits in your jars, skip the straining and leave it rustic.
Step 4: Taste and adjust
Blackberries can be tart — taste your syrup and adjust sweetness if needed by adding another tablespoon or two of sugar.
After your syrup is prepped the rest is just a straightforward pear canning process in a water bath or steam canner.
Learning how to can pears in blackberry simple syrup isn’t just about putting food in jars — it’s about capturing a perfect flavor pairing and making it shelf-stable so you can enjoy it year-round. The gentle sweetness of pears, the vibrant tang of blackberries, and the gorgeous color of the syrup make this a recipe you’ll return to again and again.
It’s beautiful enough for gifting, easy enough for beginner canners, and delicious enough to make you wonder why you didn’t try it sooner. So go ahead — grab some pears, stir up a pot of blackberry syrup, and create a little edible magic.
Tools You Might Like for Canning Pears
- Plastic Lids for Mason Jars. Once you open a jar it is so nice to have a screw on plastic lid to seal it with. These are favorites.
- Quart Mason Jars – They have SO many fun, pretty patterns now for gifting.
More Canning Recipes To Enjoy
- My Grandmother’s Spiced or Pickled Peaches Canning Recipe
- Canning Fresh Peach Jam
- Mixed Berry / 3 Berry Jam
How to Can Pears in Blackberry Simple Syrup
Ingredients
For the Blackberry Simple Syrup: Enough for 4 quarts with 1 cup of syrup left over
- 10 cups water
- 5 cup sugar
- 5 cup blackberries frozen or fresh
For the Pears
- 12- 14 pounds of Red Bartlett pears or your favorite pears
- 1 cup lemon juice see Note #2
- 2 quarts cool water
Instructions
To Prepare the Blackberry Simple Syrup
- Bring water, sugar, and the blackberries to a boil and then turn down to a simmer for 10 minutes.
- Strain through a sieve and press the pulp out. Removing all seeds and just pressing through what is easy.
- Use the syrup hot over the raw pack fruit just like you would any other canning syrup. (You will need just over 2 cups of syrup per quart. See Note #3 for using leftover syrup.)
To Prepare the Pears
- Make the blackberry simple syrup and keep it handy to reheat when you are ready.
- In a large mixing bowl add the lemon juice and water.
- Start heating water in your canner until it comes to a boil. If it is ready before the fruit, turn off; it will return to a boil faster when needed.
- Peel pears if desired (this is optional but I think it is nicer). Cut pears into quarters and remove the stems / cores. As you cut the fruit, put it into the lemon water to soak.
To Can the Pears in a Water Bath Canner
- Decide if you are going to hot pack or raw pack. This recipe works well both ways.
- To hot pack, add pears to a large pot of boiling syrup and cook 5 min till hot through. Use a slotted spoon and put in quarts. Then cover with hot syrup leaving ½” head space.
- To raw pack use hand or slotted spoon to remove pear quarters from lemon water. Load quart jars. Pour boiling syrup over the top leaving ½” head space.
- Fill one jar at a time to maintain freshness.
- Remove air bubbles by shaking gently, tapping, or using a plastic spatula.
- Wipe rims clean.
- Add lids and put on rings to finger tight.
- Place jars in boiling water, fully covered by at least 2” of water.
- Process PINTS for 20 minutes of QUARTS for 25 minutes for 1-1,000 ft Altitude. (See Note #4)
- Remove jars with a jar lifter and place on a few towels or a cutting board. DO NOT place them on a cold surface. Hot jars can crack with a big temperature change.
- Let jars cool at room temperature; lids will seal as they cool.
- Any unsealed jars: refrigerate and eat within a week.
- Sealed jars: label and store in a cool, dark place for up to 18 months.
Helpful Recipe Notes
Altitude adjustments:
o 1,001–3,000 ft: +5 min
o 3,001–6,000 ft: +10 min
o 6,001–8,000 ft: +15 min
o 8,001–10,000 ft: +20 min NUTRITION FACTS: The software gets confused by canning recipes. Please assume the nutrition facts for this recipe are useless 😉
Your Rating Matters
When you leave a comment or star rating, it means more than you might think. It helps me understand what you’re enjoying, builds trust for other readers, and supports real, tested cooking content. If you have a moment, I’d truly appreciate you sharing your experience. - Mirlandra
Nutrition Estimate
A Note on Nutrition
Nutritional info is an imperfect estimate. Please take it with a grain of salt.
I read each and every comment and I try to respond to questions asap, so ask away! If you’ve made a recipe, I would love to hear about it! Please come back and share your experience and give the recipe a 5-star rating so other people will know how much you loved it!
 />
/>
Leave a Reply