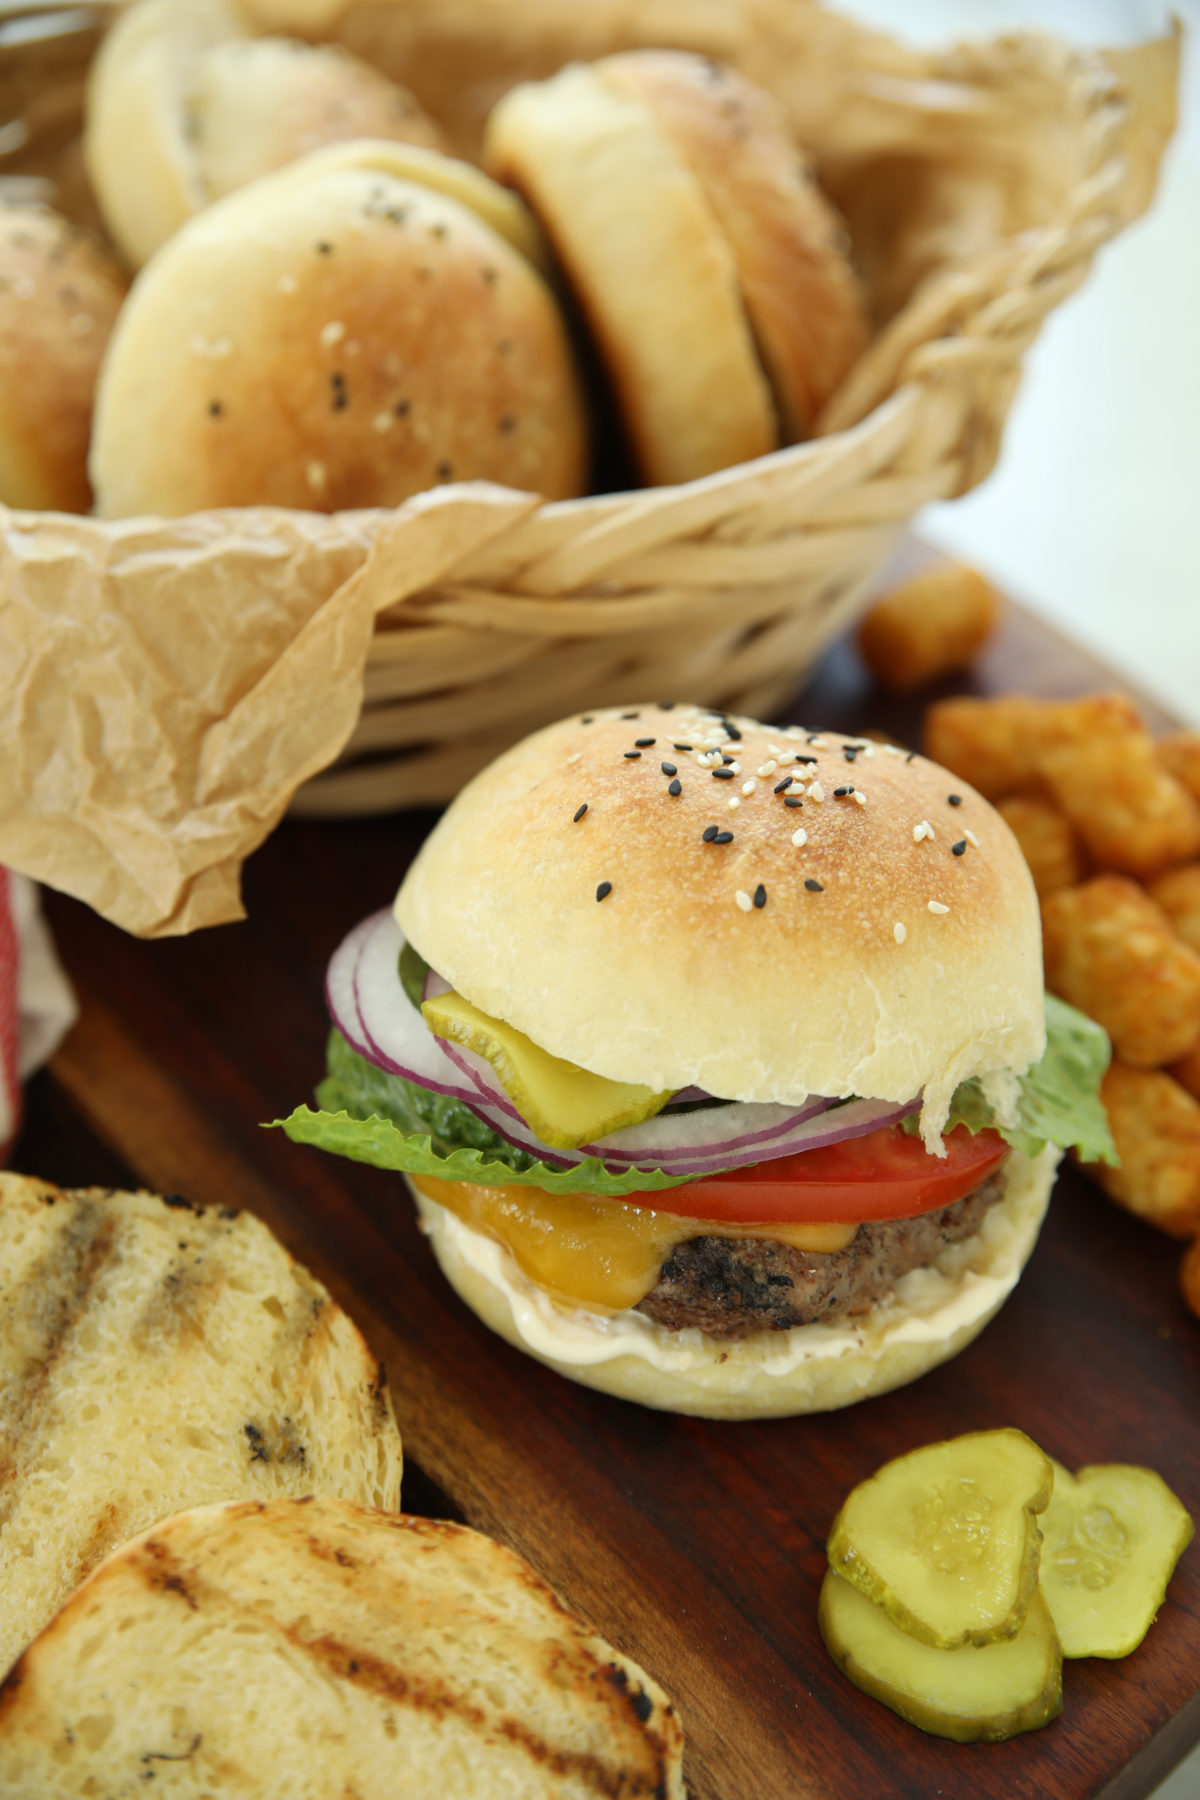
If you’ve ever bitten into a homemade burger and thought the bun is the weak link, this recipe is about to change everything. These sourdough hamburger buns are soft, golden, and sturdy enough to hold up to the juiciest burger you can pile together. And they taste like actual bread, not a foam insert.

New to sourdough? Start Here! How To Feed Sourdough Starter Beginners Guide Easy Sourdough Bread Recipe for Beginners (Artisan Loaf)
The secret weapon here is buttermilk. It makes the crumb impossibly tender and adds a gentle tang that plays beautifully with the sourdough. A cold overnight rest in the refrigerator develops the flavor and makes the morning shaping session genuinely easy. The cold dough is a dream to work with.
Yes, this recipe takes two days. But the active hands-on time is maybe 30 minutes total, and the payoff is twelve beautiful buns that make your cookout guests ask what bakery you found them at.
What Makes These Sourdough Hamburger Buns Different
Buttermilk makes them extraordinary. Most sourdough bun recipes use water or plain milk. Buttermilk adds richness, tenderness, and a subtle tang that takes these to another level.
The cold overnight rise is your friend. The refrigerator does the heavy lifting while you sleep. Cold dough also shapes up cleanly and easily — no sticky wrestling match in the morning.
Twelve buns, freezer-ready. This recipe makes a full dozen. Eat what you need and freeze the rest. They thaw beautifully and taste just-baked.
No complicated sourdough techniques. No stretch and folds, no scoring, no Dutch oven. If you have an active starter and a stand mixer, you can make these.
What You Need to Know Before You Start
Your starter needs to be active — really active
This recipe relies on active sourdough starter, not discard. Feed your starter 4–8 hours before you plan to mix the dough. You want it bubbly, doubled, and at peak activity. If your starter isn’t doing its thing, your buns will be dense and sad. Don’t skip this step. If you need a refresher on getting your starter ready, here’s exactly how to feed your sourdough starter.
Buttermilk temperature matters
Warm your buttermilk to somewhere between 75–90°F — think pleasantly warm, not hot. Too hot and you risk slowing your starter down. Cold buttermilk straight from the fridge will drag out your bulk ferment significantly. A quick 20–30 seconds in the microwave usually does it; just check with a thermometer.
Bread flour is non-negotiable here
The high protein content in bread flour gives these buns structure and that satisfying chew. All-purpose flour will work in a pinch but the buns will be softer and less sturdy — fine for sandwiches, less ideal for a loaded burger.
Plan your two days
This is a two-day recipe, but it’s genuinely flexible. Day one is mostly hands-off. Day two the buns are in the oven before lunch.
Day 1: Mix dough → bulk ferment 2–3 hours → refrigerate overnight
Day 2: Shape → proof 2–3 hours → bake
How to Make Sourdough Hamburger Buns
Mix the Dough
Add the warmed buttermilk, beaten eggs, sugar, active starter, softened butter, bread flour, and salt to the bowl of your stand mixer fitted with the dough hook. (Learn more about which stand mixer you need here.)
Mix on low until the ingredients come together into a shaggy, rough mass — about 1–2 minutes. Then increase to medium and knead for 3–4 minutes until the dough is mostly smooth, silky, and elastic. It will clear the sides of the bowl and feel slightly tacky but not sticky. Don’t over-knead; you’re not going for a fully developed windowpane here.
Bulk Ferment
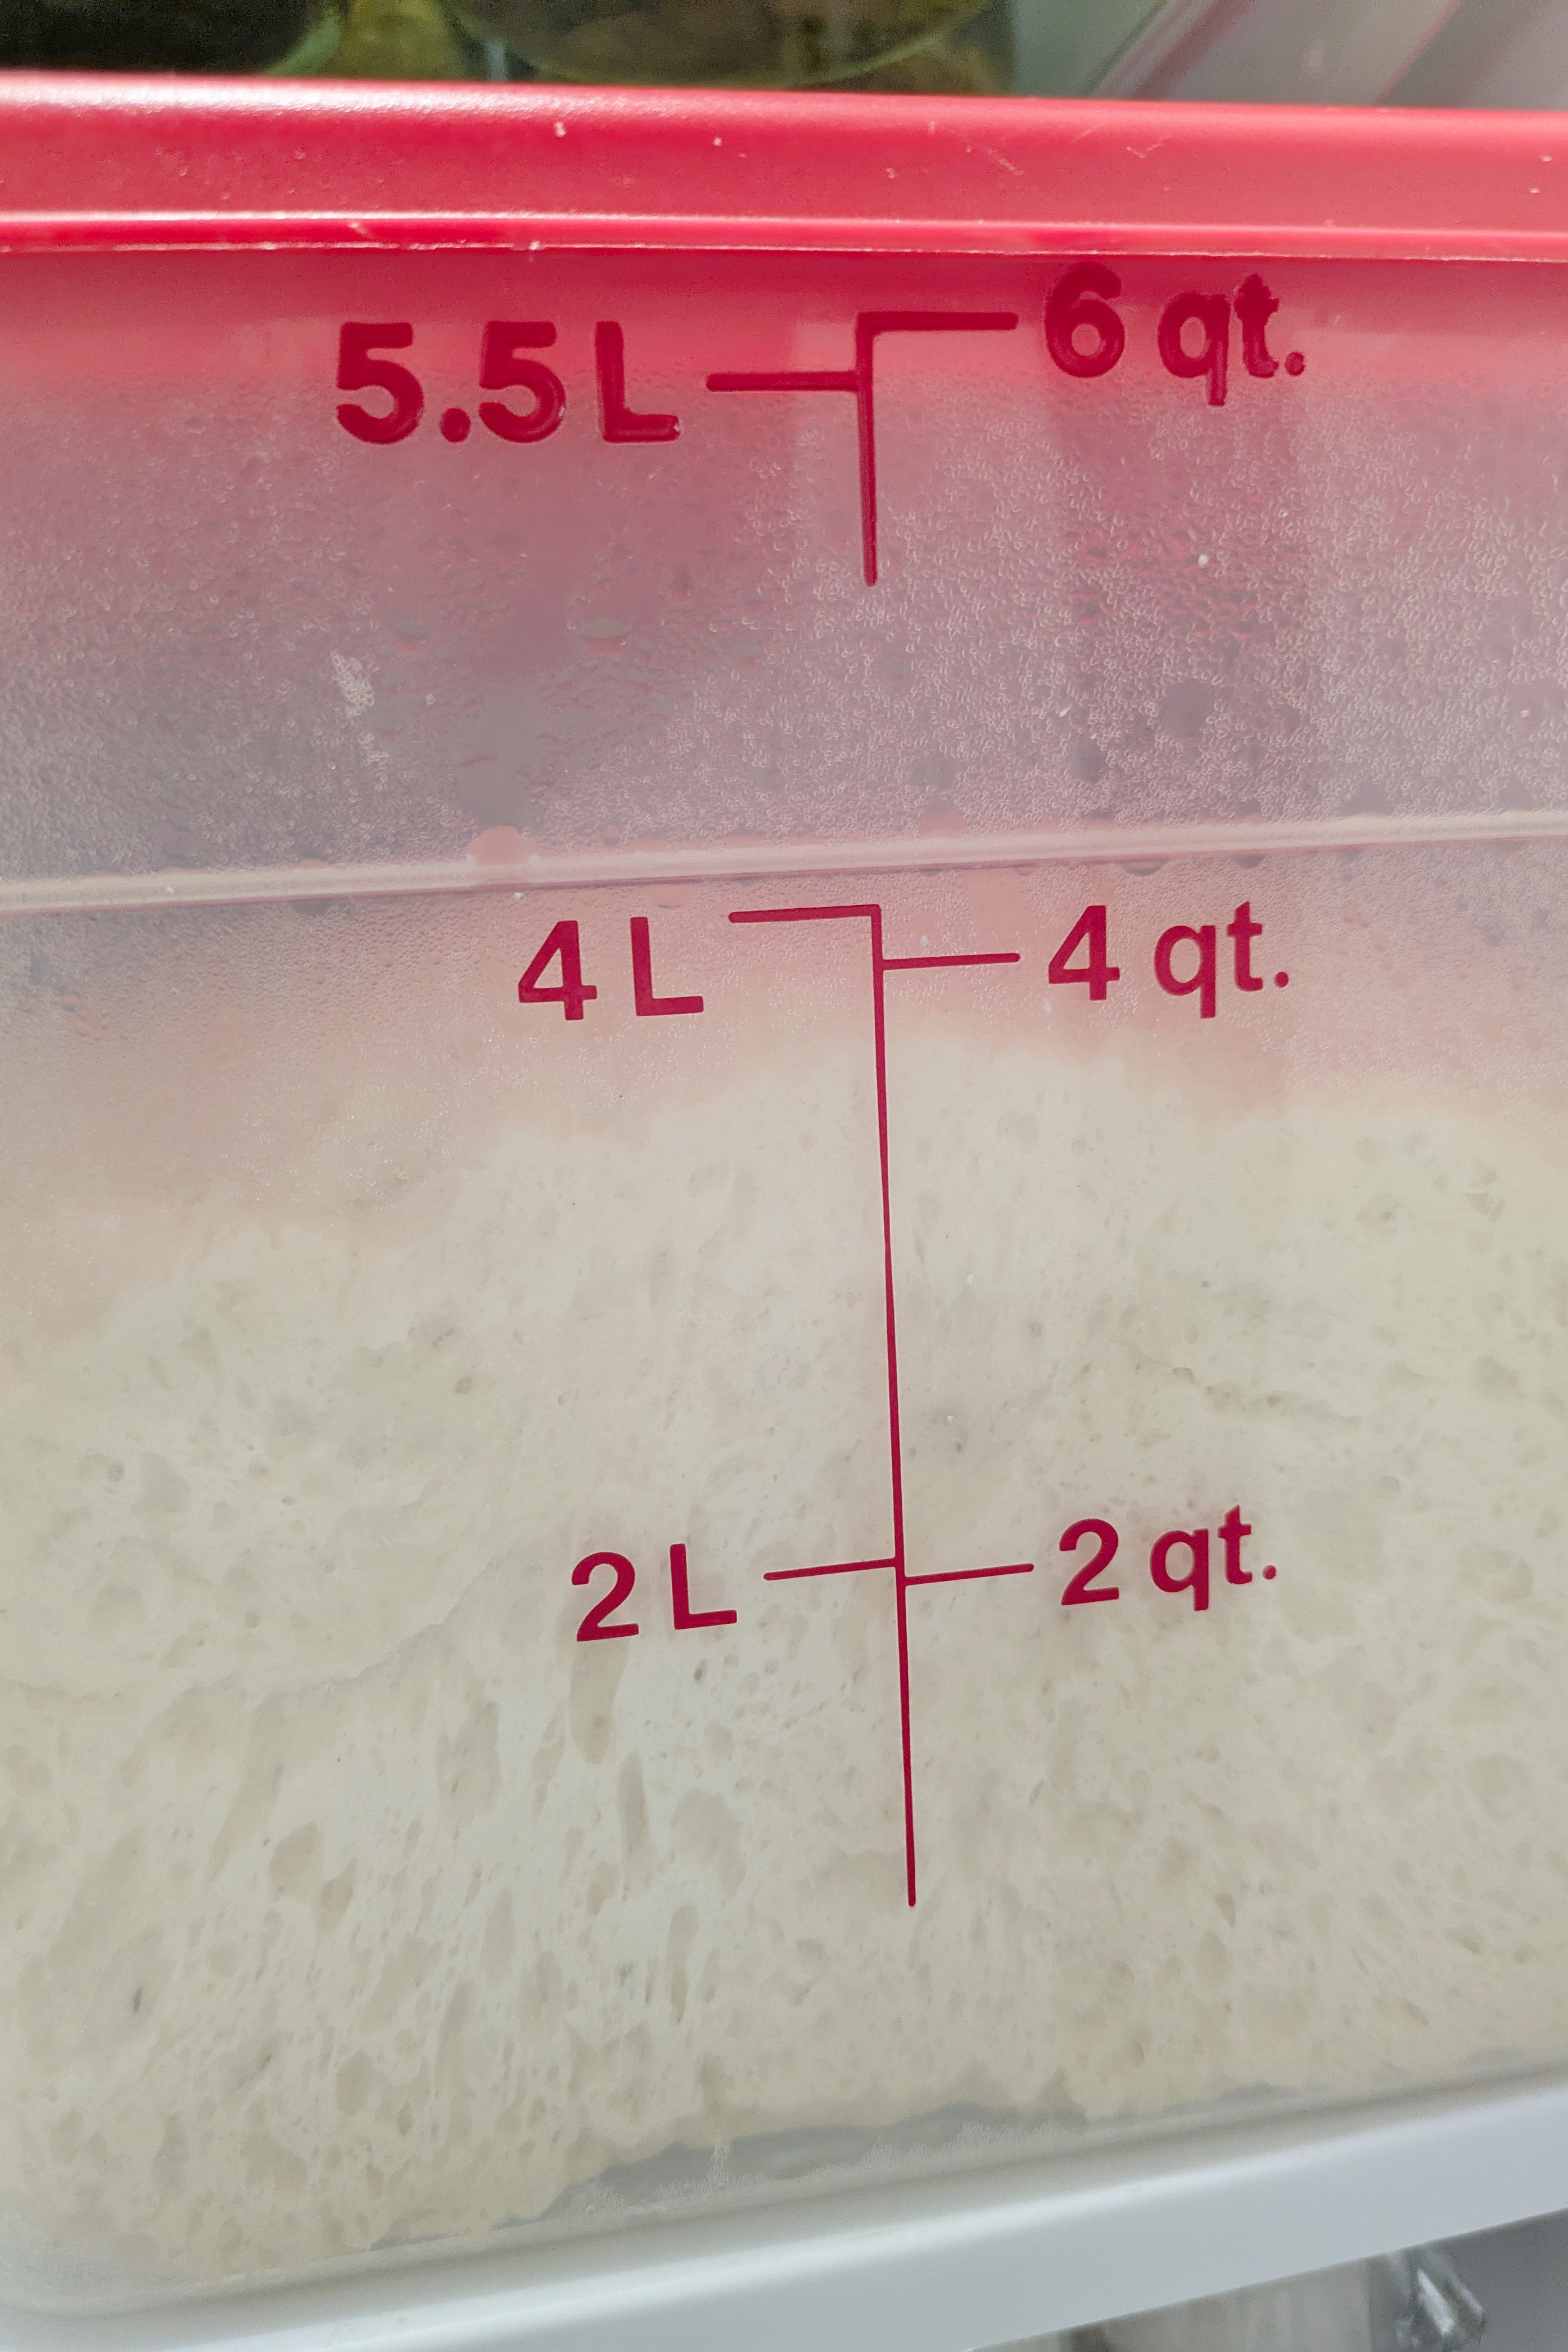
Transfer the dough to a clear container — a Cambro works perfectly here, or any large bowl where you can see through the sides. Cover and leave it at room temperature for 2–3 hours.
You’re watching for two things: the dough should roughly double in volume, and you should see good fermentation bubbles developing along the sides and bottom of the container. Those bubbles are your best signal that the dough is alive and ready. Trust the bubbles more than the clock — a warmer kitchen will move faster, a cooler one slower.
Refrigerate Overnight
Once the dough has bulked up nicely, cover tightly and move the whole container to the refrigerator. It will sit there overnight — anywhere from 8 to 16 hours is fine. The cold slows fermentation way down and lets flavor develop slowly. It also firms the dough up, which makes shaping so much easier.
Shape the Buns
In the morning, pull the dough straight from the refrigerator. Cold dough is the goal here — don’t let it warm up first.
Turn it out onto a clean work surface (no flour needed; the cold dough won’t stick). Using a kitchen scale, divide the dough into 12 equal pieces, approximately 175–180 grams each.
To shape each bun: Flatten a piece of dough slightly with your palm. Fold the edges up toward the center, rotating as you go, like you’re gathering the dough into a little bundle. Pinch the seam together. Flip it seam-side down onto the work surface. Cup your hand over the dough ball and use the edge of your palm — where it meets the work surface — to drag the ball toward you in a small circular motion. The friction against the counter will create surface tension and pull the dough into a tight, smooth round. A few rotations is all it takes. You want a ball that feels taut on top and holds its shape.
Place shaped buns on parchment-lined sheet pans, leaving a few inches between each one. Press each ball down gently with your palm to flatten it slightly into a disc. This helps them bake up as wide burger-shaped buns rather than dinner rolls.
Final Proof
Cover the pans loosely and let the buns proof at warm room temperature for 2–3 hours. You’re looking for noticeably puffy, airy buns that have spread and puffed — they should look soft and pillowy when you gently press one with a fingertip and it springs back slowly.
Don’t rush this step. Under-proofed buns will blow out on the sides during baking or come out dense in the center.
Top and Bake
Preheat your oven to 400°F.
Stir the olive oil into the melted butter and use a pastry brush to generously coat the tops of each bun. The olive oil keeps the butter from burning and adds a beautiful sheen. Sprinkle the sesame seeds over the tops and press them gently into the dough with your fingertips so they stick and don’t all fall off when you slice the buns.
Bake for 22–26 minutes until the buns are a deep, rich golden brown. Pull them when an instant-read thermometer inserted into the center reads 190–205°F. The exact time will vary by oven — start checking at 22 minutes.
Let the buns cool on the pan for at least 15 minutes before slicing. The interior is still setting up as they cool.
How to Know When Your Buns Are Done: Use a Thermometer
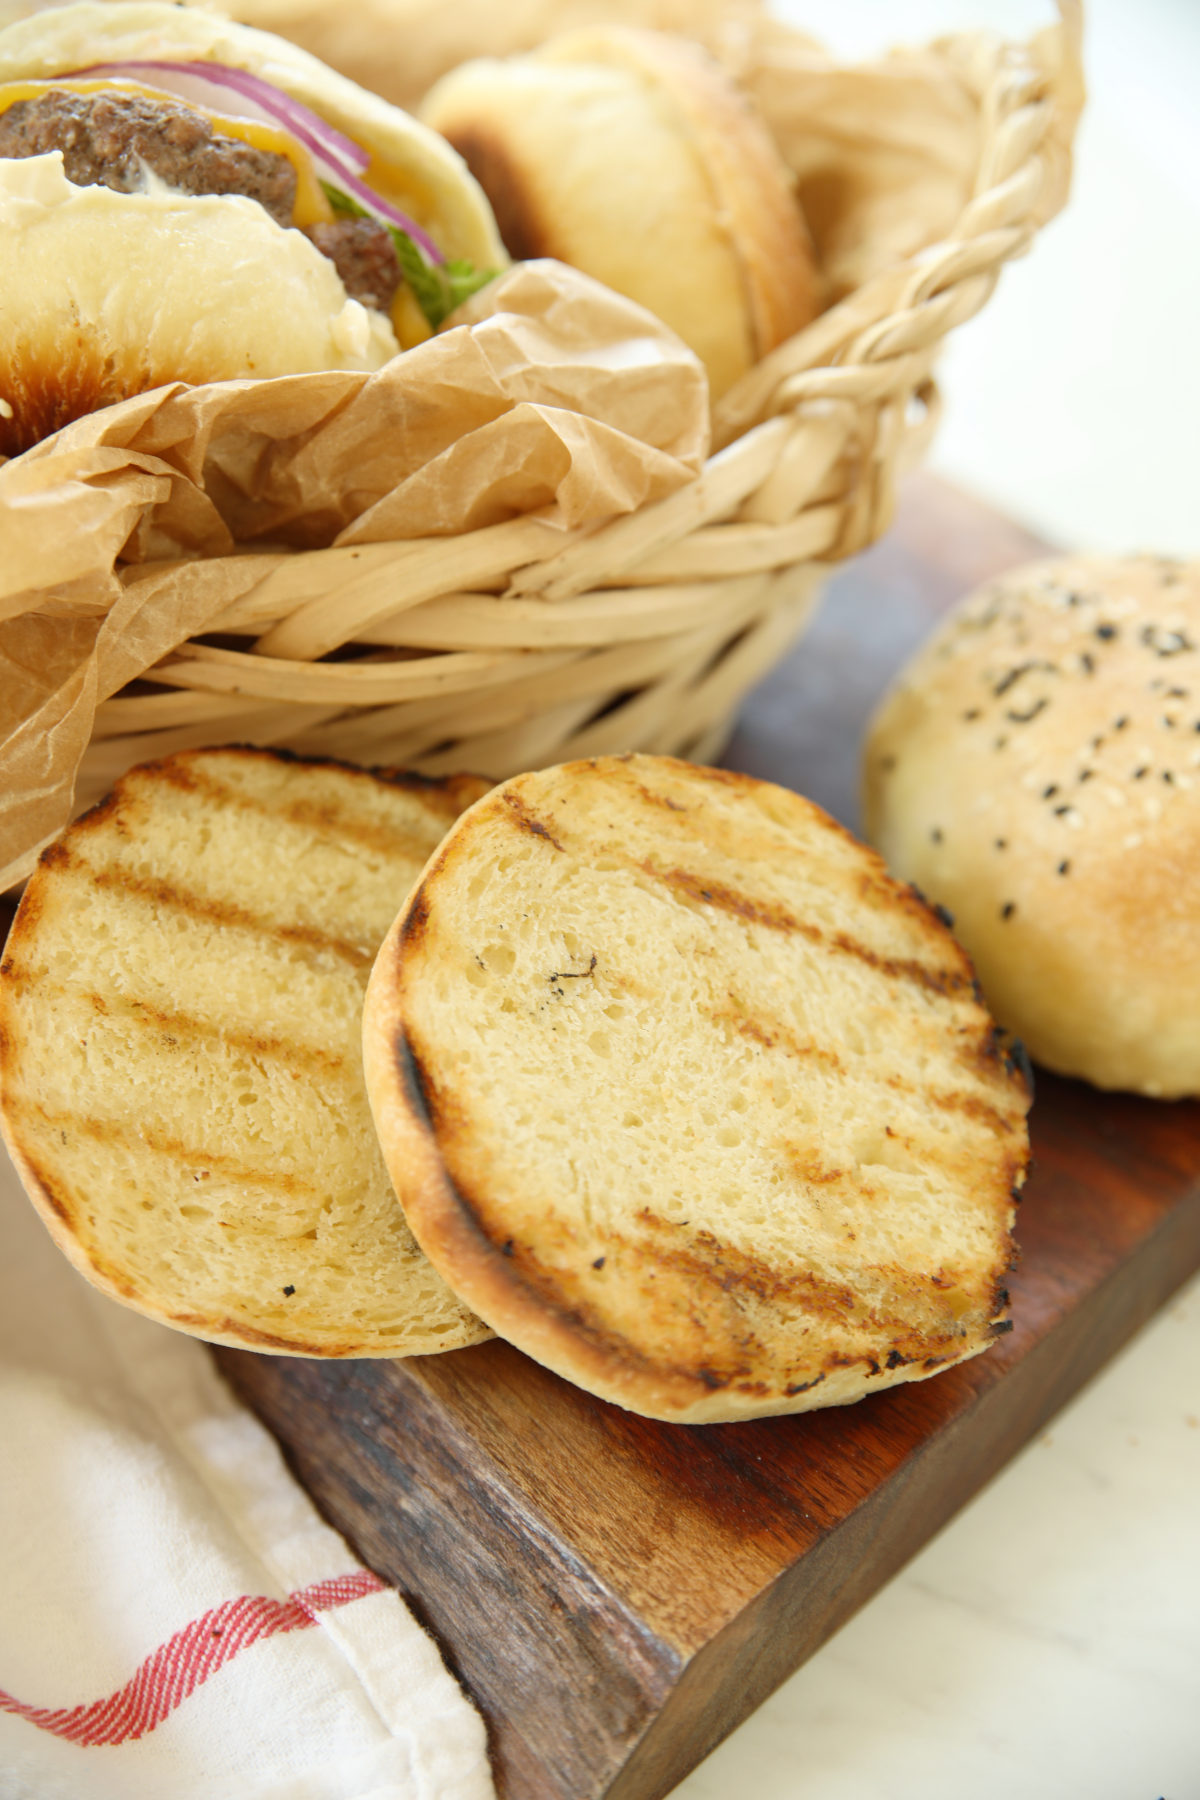
This is one of those tricks that sounds fussy until you try it once and then you never skip it again. Color alone can be tricky. The buns can look beautifully golden on the outside while the inside is still gummy and underbaked. A thermometer takes all the guesswork out.
Insert an instant-read thermometer into the side of a bun, angling it toward the center. You’re looking for an internal temperature of 190–205°F. Below 190°F and the crumb hasn’t fully set — you’ll get that dense, doughy texture in the middle that’s disappointing after all that work. Once you hit that range, pull them out with confidence.
This tip is especially helpful if your oven runs hot or cool, or if you’re new to sourdough baking. Enriched doughs like this one — with butter, eggs, and buttermilk — can brown faster on the outside than a lean bread dough would, so the color isn’t always a reliable signal. Trust the thermometer. (This is my favorite digital instant read thermometer!)
Tips for Perfect Sourdough Hamburger Buns
Don’t skip the scale. Weighing the dough pieces means every bun bakes at the same rate and you don’t end up with some hockey pucks and some dinner rolls.
Cold dough shapes beautifully. If your dough has been out for a while and starts to feel soft and sticky, stick it back in the fridge for 20 minutes. Cold dough is cooperative dough.
Press them flatter than you think you need to. Buns puff up a lot during proofing and baking. If they look too flat when you shape them, they’ll be perfect when they come out of the oven. I press them down by almost half.
Storing and Freezing
Room temperature: Once fully cooled, store in an airtight bag or container for up to 3 days.
Freezer: These freeze beautifully. Cool completely, then slip into a zip-top freezer bag and freeze for up to 3 months. To thaw, pull one out and leave it on the counter for an hour, or give it 20–30 seconds in the microwave. They taste fresh-baked.
To refresh: A quick 5 minutes in a 300°F oven or a split-and-toasted bun both work great.
What to Serve With Sourdough Hamburger Buns
These are born for burgers, but don’t stop there. They’re excellent for:
- The Best Hamburger Recipe — a classic done right
- How to Make a Smashburger — if you haven’t made smashburgers at home yet, these buns are your sign
- Pulled pork sandwiches
- An egg and cheese breakfast sandwich (a sausage patty is like a hamburger, right?)
Frequently Asked Questions
What size of hamburger are these buns for?
I used 1/3 pound beef patties in this post. If you like to serve small burger patties you could use this recipe but form 18 or 24 buns for a smaller option. Please take care to bake the recipe for less time if you make small buns!
Can I use sourdough discard instead of active starter?
Not for this recipe. Active starter is what leavens these buns — discard won’t have the oomph to get the job done over a long cold ferment.
Can I make these same-day without the overnight rise?
Technically yes, but you’ll lose some of the flavor development that makes these buns special. After bulk ferment, you could skip the fridge, shape immediately, proof, and bake but the cold overnight rest is really where the magic happens. The dough will also be harder to shape. Bottom line you can, but it won’t be as easy or the same result.
My buns came out dense. What went wrong?
Almost always one of two things: under-active starter or under-proofing on the final rise. Make sure your starter was truly bubbly and peaked before mixing, and make sure you gave the shaped buns the full 2–3 hours to get puffy before baking. Look at the dough to know that it is ready – don’t assume the timer has your back.
Can I make them without sesame seeds?
Absolutely. Use whatever you have on hand — regular white sesame seeds, black, or a mix of both. Black sesame seeds are beautiful but not always easy to find at a regular grocery store, so don’t let that stop you. Everything bagel seasoning and poppy seeds are both excellent here too. Or skip the seeds entirely — the butter and olive oil topping alone gives you a gorgeous, shiny golden crust.
Can I shape these as hot dog buns instead?
Yes! Shape the dough into oval logs instead of rounds and adjust your shaping accordingly.
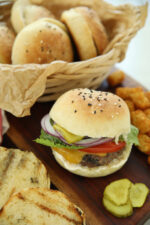
Sourdough Hamburger Buns with Buttermilk
Ingredients
Dough
- 480 grams buttermilk warmed (under 90°F)
- 2 large eggs beaten, room temperature
- 51 grams granulated sugar
- 400 grams active sourdough starter (at peak, bubbly and ready)
- 110 grams salted butter softened
- 1030 grams bread flour
- 20 grams salt
Topping
- 3 Tablespoons salted butter melted
- 1 teaspoon olive oil
- 3 Tablespoons sesame seeds (see note)
Instructions
Mix the dough
- In the bowl of a stand mixer fitted with the dough hook, combine starter, buttermilk, eggs, sugar, and butter. Mix on low until combined.
- With the stand mixer running on low add the flour, and salt. Mix on low until shaggy, then knead on medium for 3–4 minutes until mostly smooth and elastic.
Bulk ferment
- Transfer to a clear container, cover, and ferment at room temperature for 2–3 hours until roughly doubled and showing good bubbles along the sides.
- Refrigerate overnight. Cover tightly and refrigerate 8–16 hours.
Shape
- Remove dough from the refrigerator while still cold and turn out onto a clean work surface (no flour needed). Using a kitchen scale, divide into 12 pieces, approximately 175–180 grams each. (I weigh the full batch of dough and divide by 12 to know what each roll should weigh. This is the easiest way to form consistent rolls.)To shape each bun, flatten a piece slightly, fold the edges in toward the center while rotating to gather it into a round bundle, then flip seam-side down. Cup your hand over the dough and drag it in small circles against the counter to build surface tension into a tight, smooth round.
- Place on parchment-lined sheet pans a few inches apart and press each gently into a flattened disc. (You can bake 6 or 12 buns / pan.)
Final proof
- Cover and proof at warm room temperature for 2–3 hours until noticeably puffy and airy.
- Stir olive oil into melted butter. Brush generously over buns. Sprinkle with sesame seeds and press gently to adhere.
Bake
- Bake at 400°F for 22–26 minutes until deep golden brown and internal temperature reaches 190–205°F. Cool on pan at least 15 minutes before slicing.
- Buns freeze well for up to 3 months. Cool completely before freezing.
Helpful Recipe Notes
Your Rating Matters
When you leave a comment or star rating, it means more than you might think. It helps me understand what you’re enjoying, builds trust for other readers, and supports real, tested cooking content. If you have a moment, I’d truly appreciate you sharing your experience. – Mirlandra
Nutrition Estimate
A Note on Nutrition
Nutritional info is an imperfect estimate. Please take it with a grain of salt.
New to sourdough? Start Here! How To Feed Sourdough Starter Beginners Guide Easy Sourdough Bread Recipe for Beginners (Artisan Loaf)
Leave a Reply