These Christmas M&M cookie bars start with my favorite chocolate chip cookie dough, baked into thick bars and loaded with red and green M&Ms. If you love a soft, chewy chocolate chip cookie, these bars are for you. All you need is one bowl and one 9×13 pan (no mixer!), and you get 24 thick bars to share.
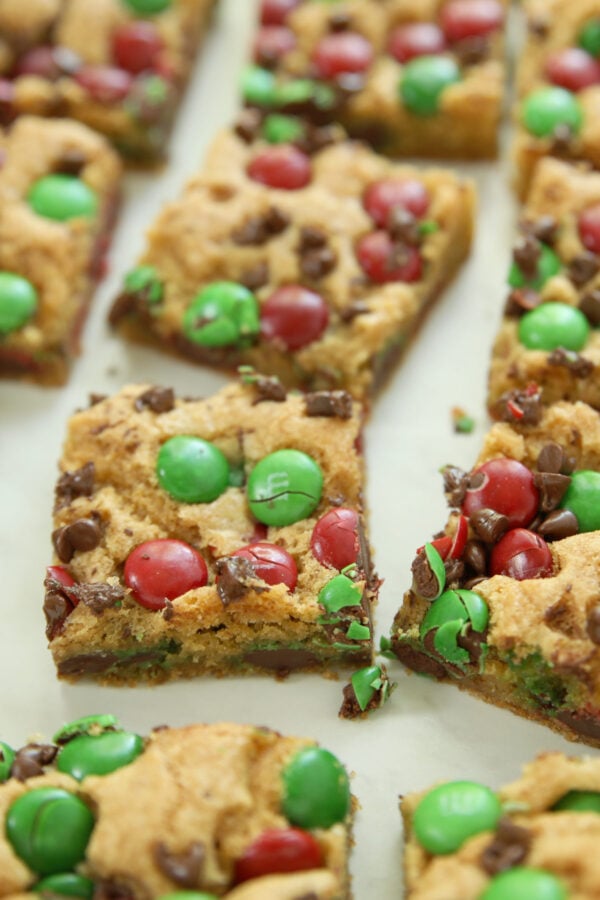
I tested batch after batch until these baked up thick, soft and chewy from the edges all the way to the center. No juggling three cookie sheets, just one pan of M&M cookie bars with enough to share with everybody you love.
How to Make M&M Cookie Bars
The dough comes from my popular soft chocolate chip cookies. At first, I thought the recipe would translate right into bars, but I learned a few things along the way.
Why These M&M Cookie Bars Work
My first two batches looked fine going into the oven. Then the edges puffed up and set high, and the middle sank. By the time they cooled, the edges stood about an inch taller than the center!
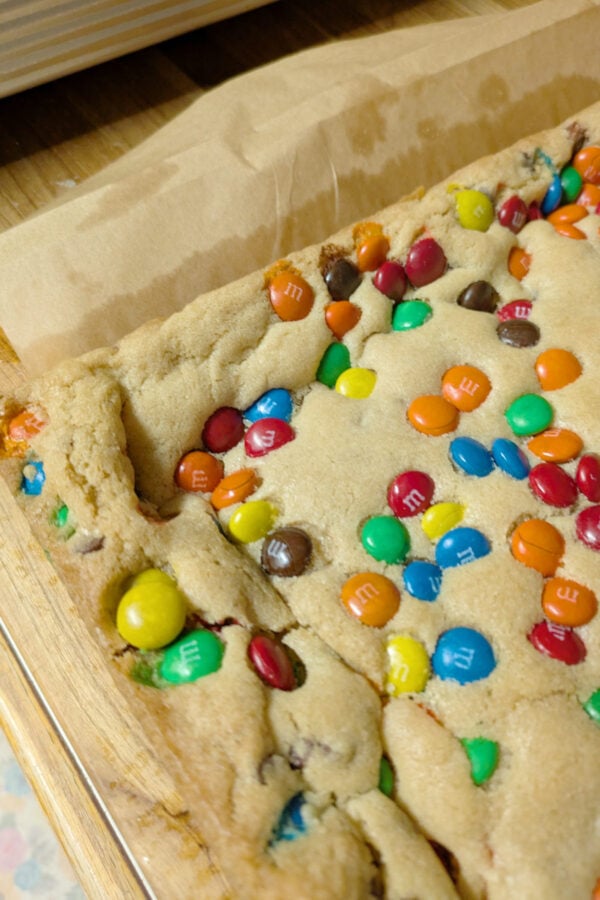
So I went back to the kitchen and fixed it one change at a time.
- Melted butter, not creamed. Beating soft butter with sugar whips air into the dough. That air made the edges puff while the center collapsed. Melted butter adds no air, so the bars bake flat and even with a dense, chewy, almost brownie-like texture. It also means you don’t need a mixer.
- A smaller batch. A full cookie recipe was too thick for a 9×13 pan. The middle couldn’t bake through before the edges were done, so I scaled it to three-quarters.
- Fewer mix-ins. At our house, we always get carried away with the chocolate, and Ella is always the one asking for more! My first batch had 2½ cups of candy and chocolate, and we lost the flavor of the cookie. So we reined ourselves in a little. Now there are M&Ms in the dough and more on top, and the soft, chewy cookie gets to shine.
- A lower oven and a longer bake. Baking at 325°F lets the center cook through before the edges get hard. I pulled my first batch at 25 minutes, and it was underbaked. These need 30 to 35 minutes.
- An extra egg yolk. The yolk adds richness and helps keep the bars soft and chewy for days.
Ingredients for M&M Cookie Bars
You probably have everything in your pantry already. The exact amounts are in the recipe card below.
- Salted butter, melted: for flavor and that flat, chewy texture.
- Brown sugar and white sugar: more brown sugar keeps the bars moist and chewy and adds that hint of caramel flavor.
- One egg plus one egg yolk: the extra yolk makes them richer.
- Vanilla extract: a generous amount, because it really comes through.
- Flour: spoon it into the measuring cup and level it off. Scooping straight from the bag packs in extra flour, and the bars turn out dry.
- Baking powder and baking soda: together, they’re part of what gives these bars that soft, chewy cookie texture.
- Salt: the right amount to perfectly balance the sweetness and bring out the chocolate flavor.
- M&Ms: some go in the dough and some go on top.
- Mini chocolate chips (optional): just for the top. They got lost inside the bars, but a sprinkle on top adds a little extra chocolate and looks fun with the M&Ms.
Step by Step
- Prep the pan. Heat the oven to 325°F. Line a 9×13 pan with a parchment sling, letting the paper hang over the sides.
- Mix the wet ingredients. Whisk the melted butter and both sugars in a large bowl. Add the egg, yolk and vanilla, then whisk for about 30 seconds until smooth and glossy.
- Add the dry ingredients. Stir in the flour, baking powder, baking soda and salt with a spatula until no dry streaks remain.
- Add the M&Ms. Stir in the first portion of M&Ms.
- Press and top. Press the dough evenly into the pan. Scatter the rest of the M&Ms and the mini chips over the top.
- Bake. Bake for 30 to 35 minutes, until the top is golden and the center looks fully set with no jiggle.
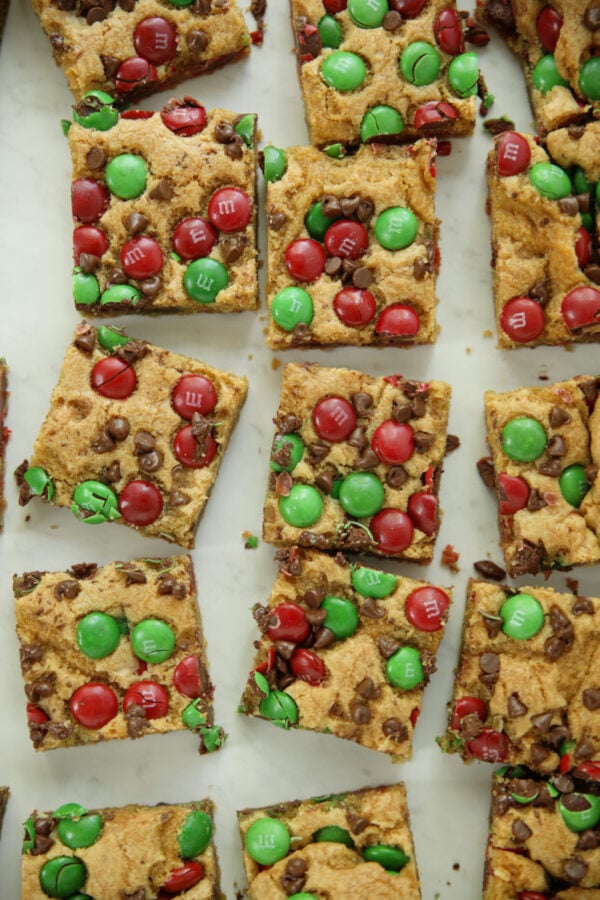
- Cool, then cut. Let the bars cool completely in the pan. Lift them out with the parchment and cut into 24 bars.
Tips for Perfect Cookie Bars
- Use a metal pan. It bakes more evenly and gives a better crust than glass. I love my USA Pan 9×13.
- Press the dough flat. An even layer bakes evenly. Pay attention to the corners.
- Wait for no jiggle. Start checking at 30 minutes. Give the pan a gentle nudge, and if the center wobbles, give it a few more minutes.
- Cool completely before cutting. Warm bars are soft and crumbly. Let them cool all the way in the pan, then lift them out with the parchment and cut with a sharp knife.
Why Did My Cookie Bars Sink?
Sunken cookie bars usually come down to one of three things. The dough had too much air beaten in, the layer was too thick, or the bars came out too soon. That’s why this recipe uses melted butter, a three-quarter batch and a longer bake. If yours still sink, your oven may run cool. An inexpensive oven thermometer will tell you for sure, because the dial on your oven isn’t always right. You can even move it to a few different spots to check for hot and cold spots.
Change the Colors for Any Holiday
I baked these for my Christmas in July party, celebrating my 400th blog post! There was just one problem. You can’t buy Christmas M&Ms in July. So my daughter, Ella, sat at the kitchen table and sorted every red and green M&M out of a pile of regular bags for me. If you can’t find holiday colors, sorting works any time of year, and it’s a great job for little helpers.
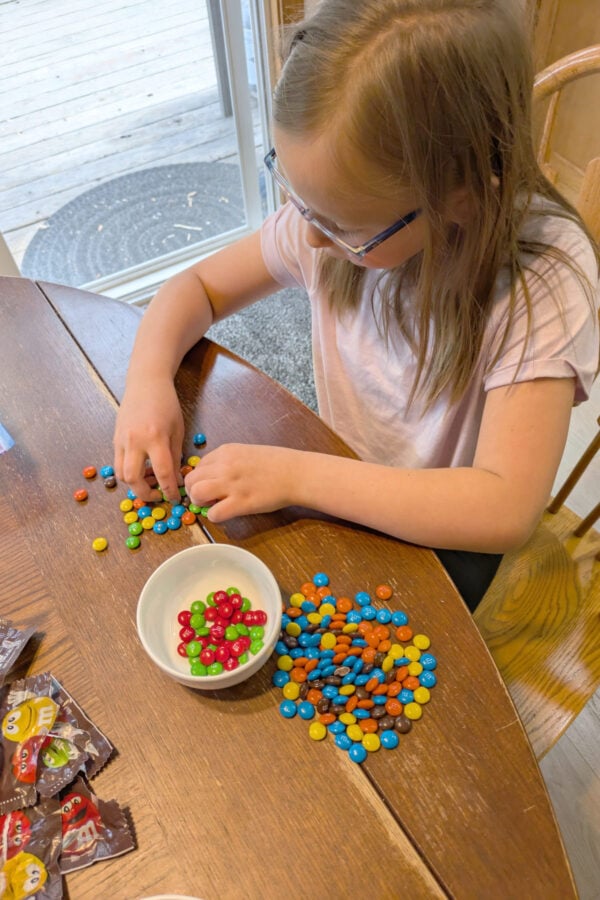
Red and green M&Ms make these perfect for Christmas, but you don’t have to stop there. Try pastel M&Ms for Easter, pink and red for Valentine’s Day, or orange and brown for Halloween. Red, white and blue are great for the Fourth of July, and rainbow M&Ms work for birthdays and every summer picnic.
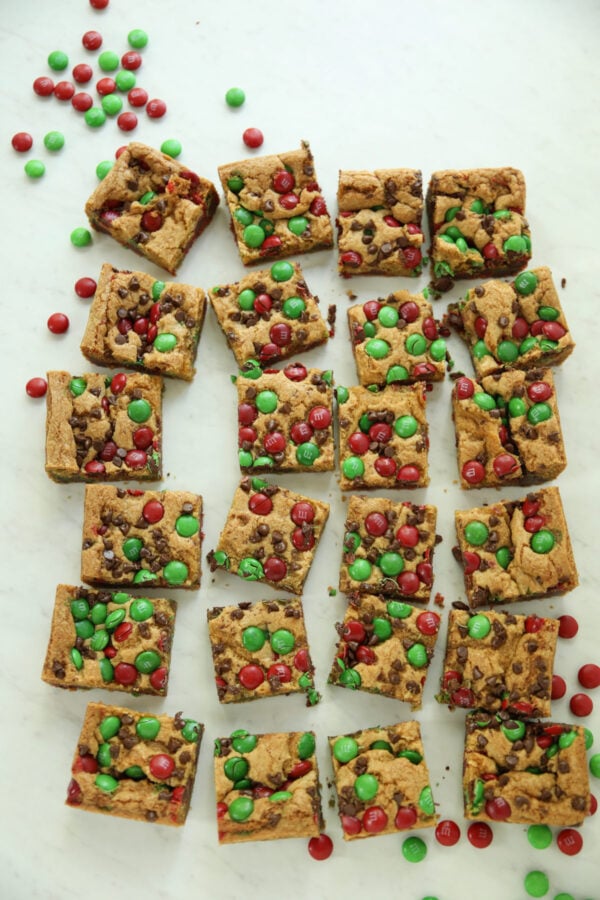
Easy to Take to Picnics and Parties
Our family loves cookie bars for picnics and parties. You mix one batch, bake it in one pan and take it with you. This summer, my kids loved packing these on adventures to our favorite streams.

Cutting, Storing and Freezing
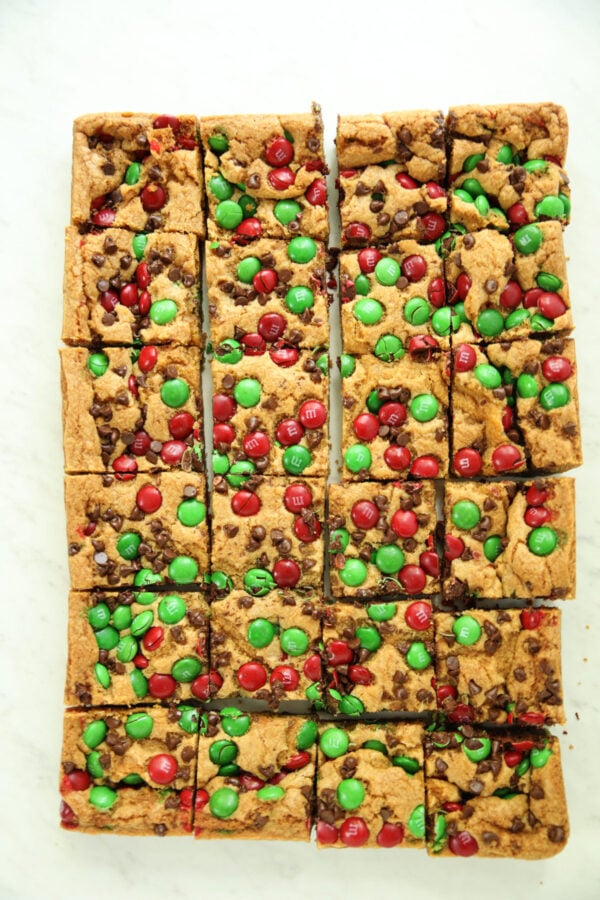
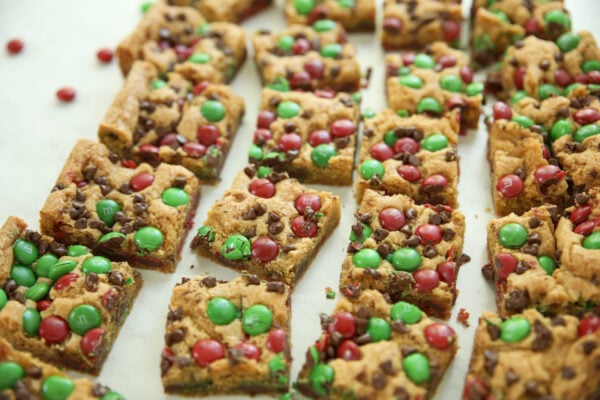
Cut the bars in a 6×4 pattern for 24 bars. They stack well in a container, so they’re easy to take to a party or tuck into a cookie tray.
Store the bars in an airtight container at room temperature for up to 4 days. To freeze, wrap them well and freeze for up to 3 months. Thaw at room temperature.
Frequently Asked Questions
Can I use regular chocolate chips instead of M&Ms?
Yes! Swap the M&Ms for the same amount of chocolate chips, or use a mix of both.
Can I bake these in a glass pan?
You can, but metal is best. Glass holds heat longer, so the edges can get dark and hard before the center is done.
Can I bake these on a sheet pan?
A half sheet pan is about twice the size of a 9×13. The dough would spread too thin, and you’d get crisp bars instead of thick, chewy ones.
Do I need a mixer?
Nope. Because the butter is melted, a whisk and a spatula are all you need.
Looking for more holiday baking? Check out my list of easy Christmas cookies.
More Cookie Bars to Love
- Easy Turtle Bars
- Sugar Cookie Bars With Raspberry Buttercream
- Pina Colada Cookie Bars
- Chocolate Chip Cookie Cake
Whether you’re filling a Christmas cookie tray or packing a picnic, these M&M cookie bars are an easy way to share something homemade. One bowl, one pan and 24 chewy bars. Enjoy!
Christmas M&M Cookie Bars
Ingredients
- ¾ cup salted butter melted
- 1 cup brown sugar packed
- ½ cup granulated sugar
- 1 large egg
- 1 large egg yolk
- 2½ teaspoons vanilla extract
- 2½ cups all-purpose flour spooned and leveled
- 1 teaspoon baking powder
- ¾ teaspoon baking soda
- ¾ teaspoon salt
- 1¼ cups M&Ms red and green for Christmas
Topping
- 1 cup M&Ms
- ¼ cup mini chocolate chips optional
Instructions
- Preheat the oven to 325°F. Line a 9x13 metal pan with a parchment sling, letting the paper hang over two sides.
- In a large bowl, whisk the melted butter, brown sugar and granulated sugar by hand until combined.
- Add the egg, egg yolk and vanilla. Whisk until smooth and glossy, about 30 seconds.
- Add the flour, baking powder, baking soda and salt. Stir with a spatula just until no dry streaks remain.
- Stir in 1¼ cups of M&Ms.
- Press the dough evenly into the prepared pan, all the way into the corners.
- Scatter the topping M&Ms and mini chocolate chips over the top.
- Bake for 30 to 35 minutes, until the top is golden and the center looks fully set with no jiggle. Start checking at 30 minutes.
- Let the bars cool completely in the pan on a wire rack. Lift them out with the parchment and cut into 24 bars (a 6x4 pattern) with a sharp knife.
Helpful Recipe Notes
Your Rating Matters
When you leave a comment or star rating, it means more than you might think. It helps me understand what you’re enjoying, builds trust for other readers, and supports real, tested cooking content. If you have a moment, I’d truly appreciate you sharing your experience. - Mirlandra
Nutrition Estimate
A Note on Nutrition
Nutritional info is an imperfect estimate. Please take it with a grain of salt.
Leave a Reply